

Start a document
Go to Documents, click New document and choose Send for signature. On a template’s page, you can also click Send for signature.Choose the document
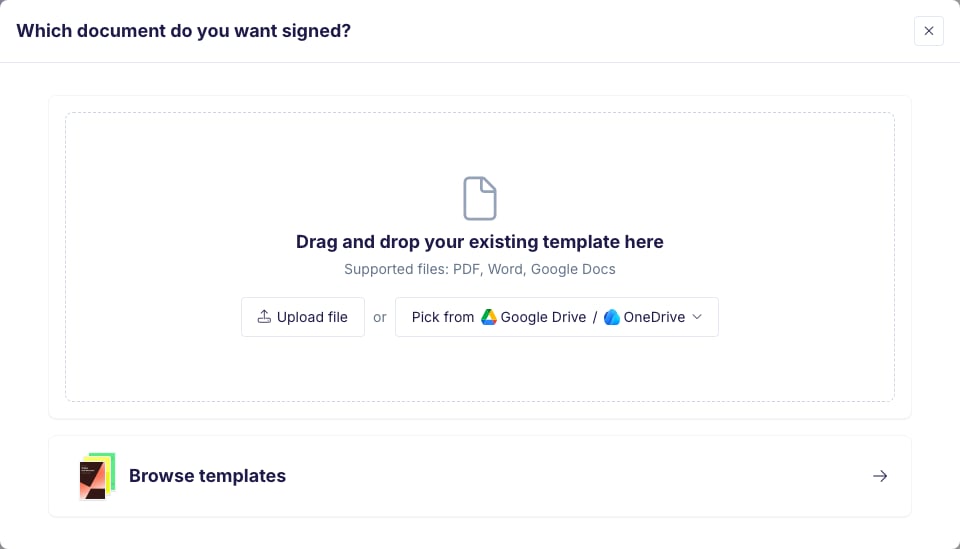
Pick the document people will sign:- Upload file: a PDF or Word file from your computer.
- Pick from Google Drive or OneDrive: a file from your connected account.
- Browse templates: one of your own templates under My Templates, or a template from the gallery.
Fill in the values
If the template has placeholders, the panel on the right lists them. Type a value for each one, and set the Document Name. The document on the left shows your values.Add the signing fields
Click Edit on the send page. What opens depends on the file.Word and Google Docs
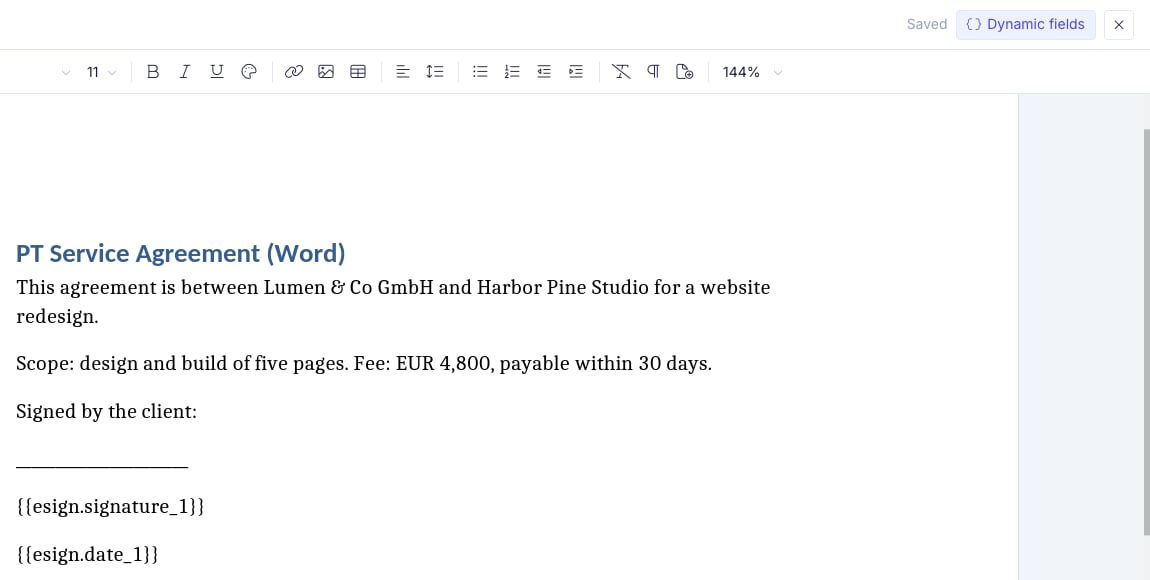
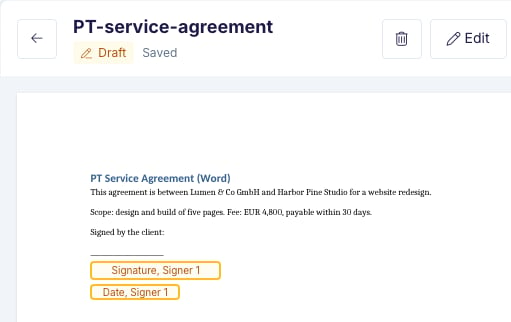
The fields come from signing tags in the document, such as{{esign.signature_1}} and {{esign.date_1}}. The number is the signer: _1 is signer 1. Each field sits where its tag is, so it moves with the text.
Edit opens:
- Word: the Word editor. Click where the signer signs, then click Dynamic fields, choose E-signature field, pick the Signer and click Signature or Date.
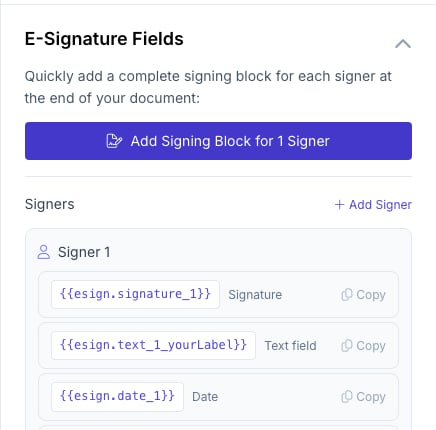
- Google Docs: your Google Doc in the editor, with E-Signature Fields on the right. Click Add Signing Block for 1 Signer to add a signing block at the end of the document. For more signers, click Add Signer first. Or click Copy next to a tag and paste it where the signer signs.

Every signer needs a signature field
For a Word file or a Google Doc, that is a signature tag such as{{esign.signature_1}}. For a PDF, it is a placed Signature field. Until every signer has one, the panel on the right shows this message and an Edit button, and you cannot send:
- Word and Google Docs: “Add a signature field in the document where each signer signs.”
- PDF: “Place a signature field for each signer.”
Who signs?
Click Send for signature. The Who signs? dialog lists each signer who has fields in the document. Enter a name and an email for each, then click Send. Each signer gets an email with a link to sign. If a signer has no signature field, the dialog shows the same message, with Edit in place of Send.Check before you send
- Preview shows what the signers will see. It sends nothing.
- Send a test to me sends the signing email to you only. The test is free, carries a watermark and does not count toward your plan. During a trial, this button is hidden.
Drafts
Your document saves as a draft from your first change, so there is no save button. Drafts you have not sent are listed at the top of Documents. Click Continue to pick up where you left off, or Delete to remove the draft. Drafts are deleted 30 days after their last change.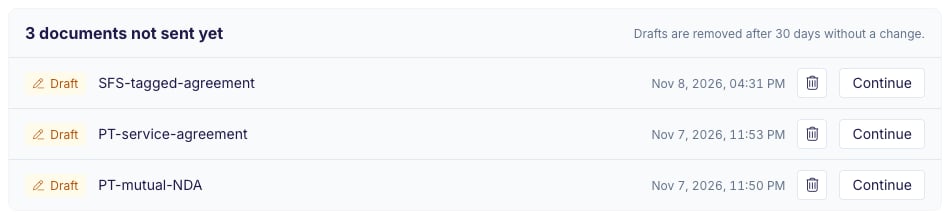
Trials and your plan
- During a trial, documents carry a watermark.
- A document you send for signature counts as one document in your plan, however many people sign it.
Send this often?
After you send, the document’s page shows “Send this often? Fill it from your records automatically.” Click Set up an automation to create an automation with the same template. Signing is on in the new automation, with the same signers. For a PDF, your placed fields go into the automation too. If a Word file does not have a signature tag for every signer, signing stays off, and the automation opens with the note “Add a signature tag in the template to turn on signing.”
From DocsAutomator Agent, Claude or ChatGPT
Ask DocsAutomator Agent, or your AI client connected through MCP, to get a document signed. Before anything is sent, it asks you to confirm the recipients. It gives you a link to the draft in DocsAutomator.- Word and Google Docs: the fields come from the signing tags in the document. If a signer has no signature tag, nothing is sent. You get the link to the draft, so you can add the tag with Edit and send from there.
- PDF: the fields are placed by text printed in the document.
create_document takes templateId in place of automationId:
templateId: the template to send.searchwithin: "my_templates"lists your templates, andin: "templates"lists the gallery. A gallery template is a Word file, so it signs at its tags.data: the placeholder values.recipients: one entry per signer, for example[{ "signer": 1, "email": "anna@acme.com", "name": "Anna Weber" }].fields(PDF only): where each signer signs, placed by text printed in the document:[{ signer, type, anchor, offsetX?, offsetY? }]. For a Word file or a Google Doc, leavefieldsout: the tags in the document are the fields. If you pass it, the call is refused with an error that says so.type:signature,initialsordate.anchor: text in the document, for example"Client signature". The field goes right after the first match.offsetXandoffsetY: points to move the field right and down.
mode:preview,testorlive. Without a mode, the document goes out as a test.
draftUrl, the link to the draft in DocsAutomator. For a PDF, it also has the page, position and number of matches of each anchor.
The REST API sends documents from an automation, with
automationId. See Create document.