

This feature is in Beta. Use Send Feedback in the AI editor to tell us what works and what does not.
How It Works
1
Select Create template with AI
When your automation has no template yet, the template area shows three cards: Create template with AI, Browse templates and Start from scratch, plus a drop zone for uploading a file. Select Create template with AI.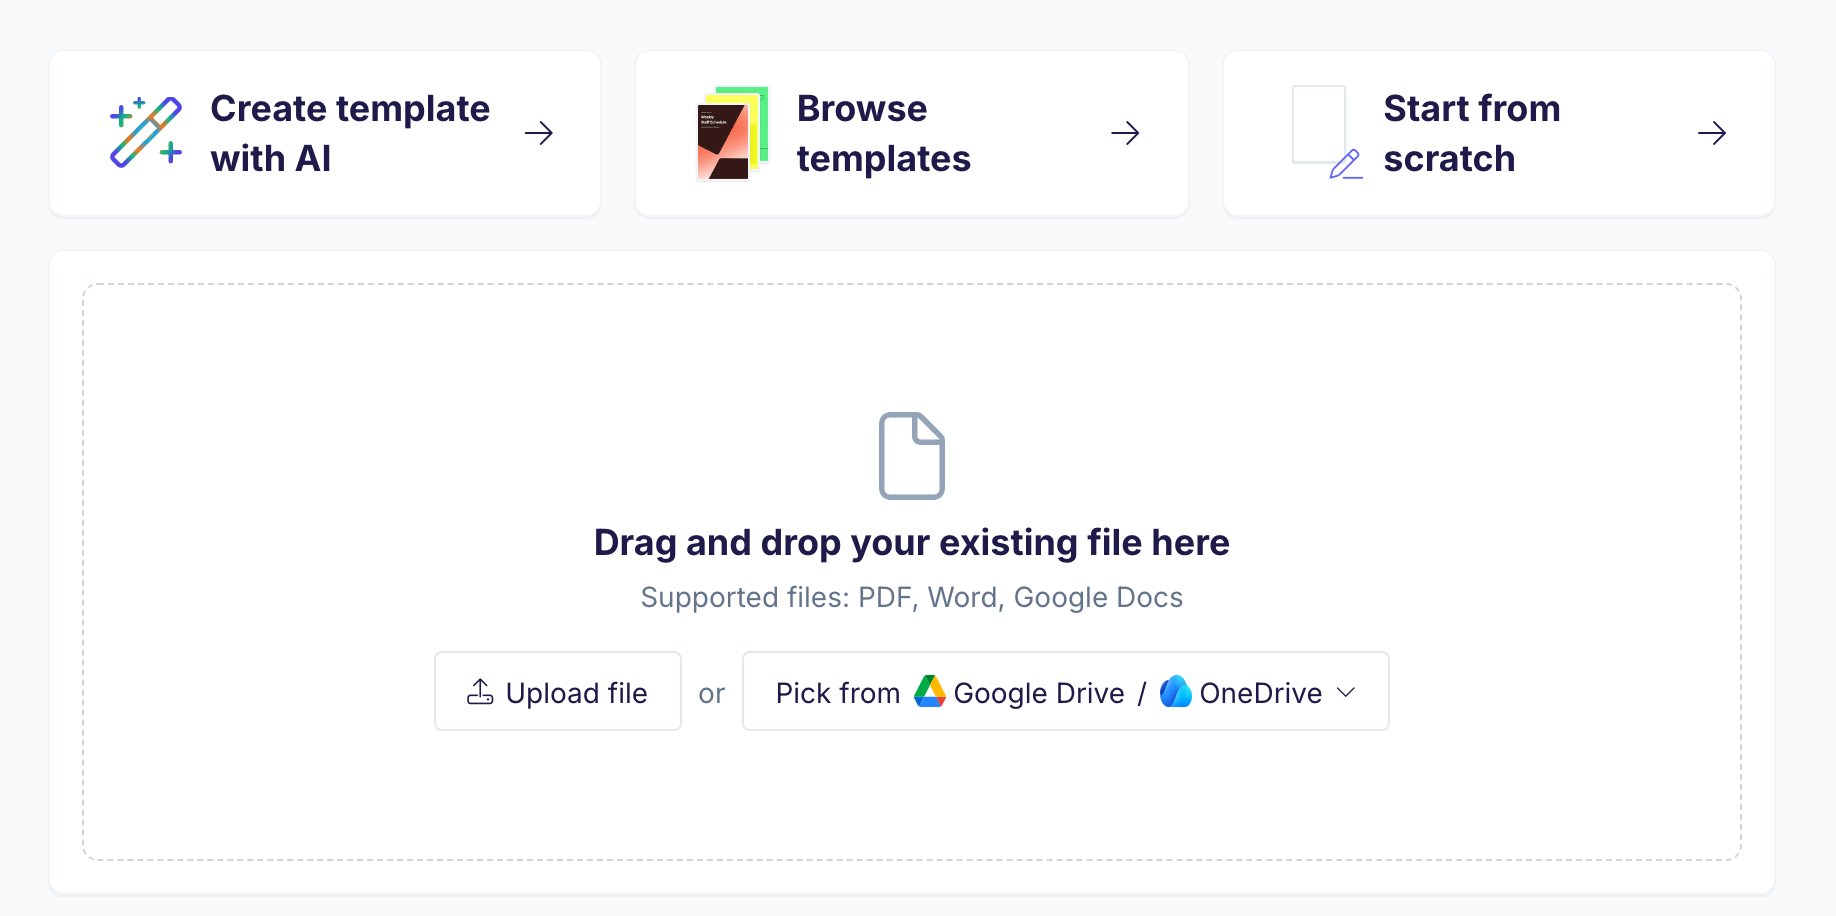
2
Describe your template
In Design a Word template with AI, describe the document you need. For example: “Quote for a landscaping company with client details, a line items table with quantity and unit price, subtotal, tax, total and a validity date.” You can also click one of the example prompts.These fields are optional: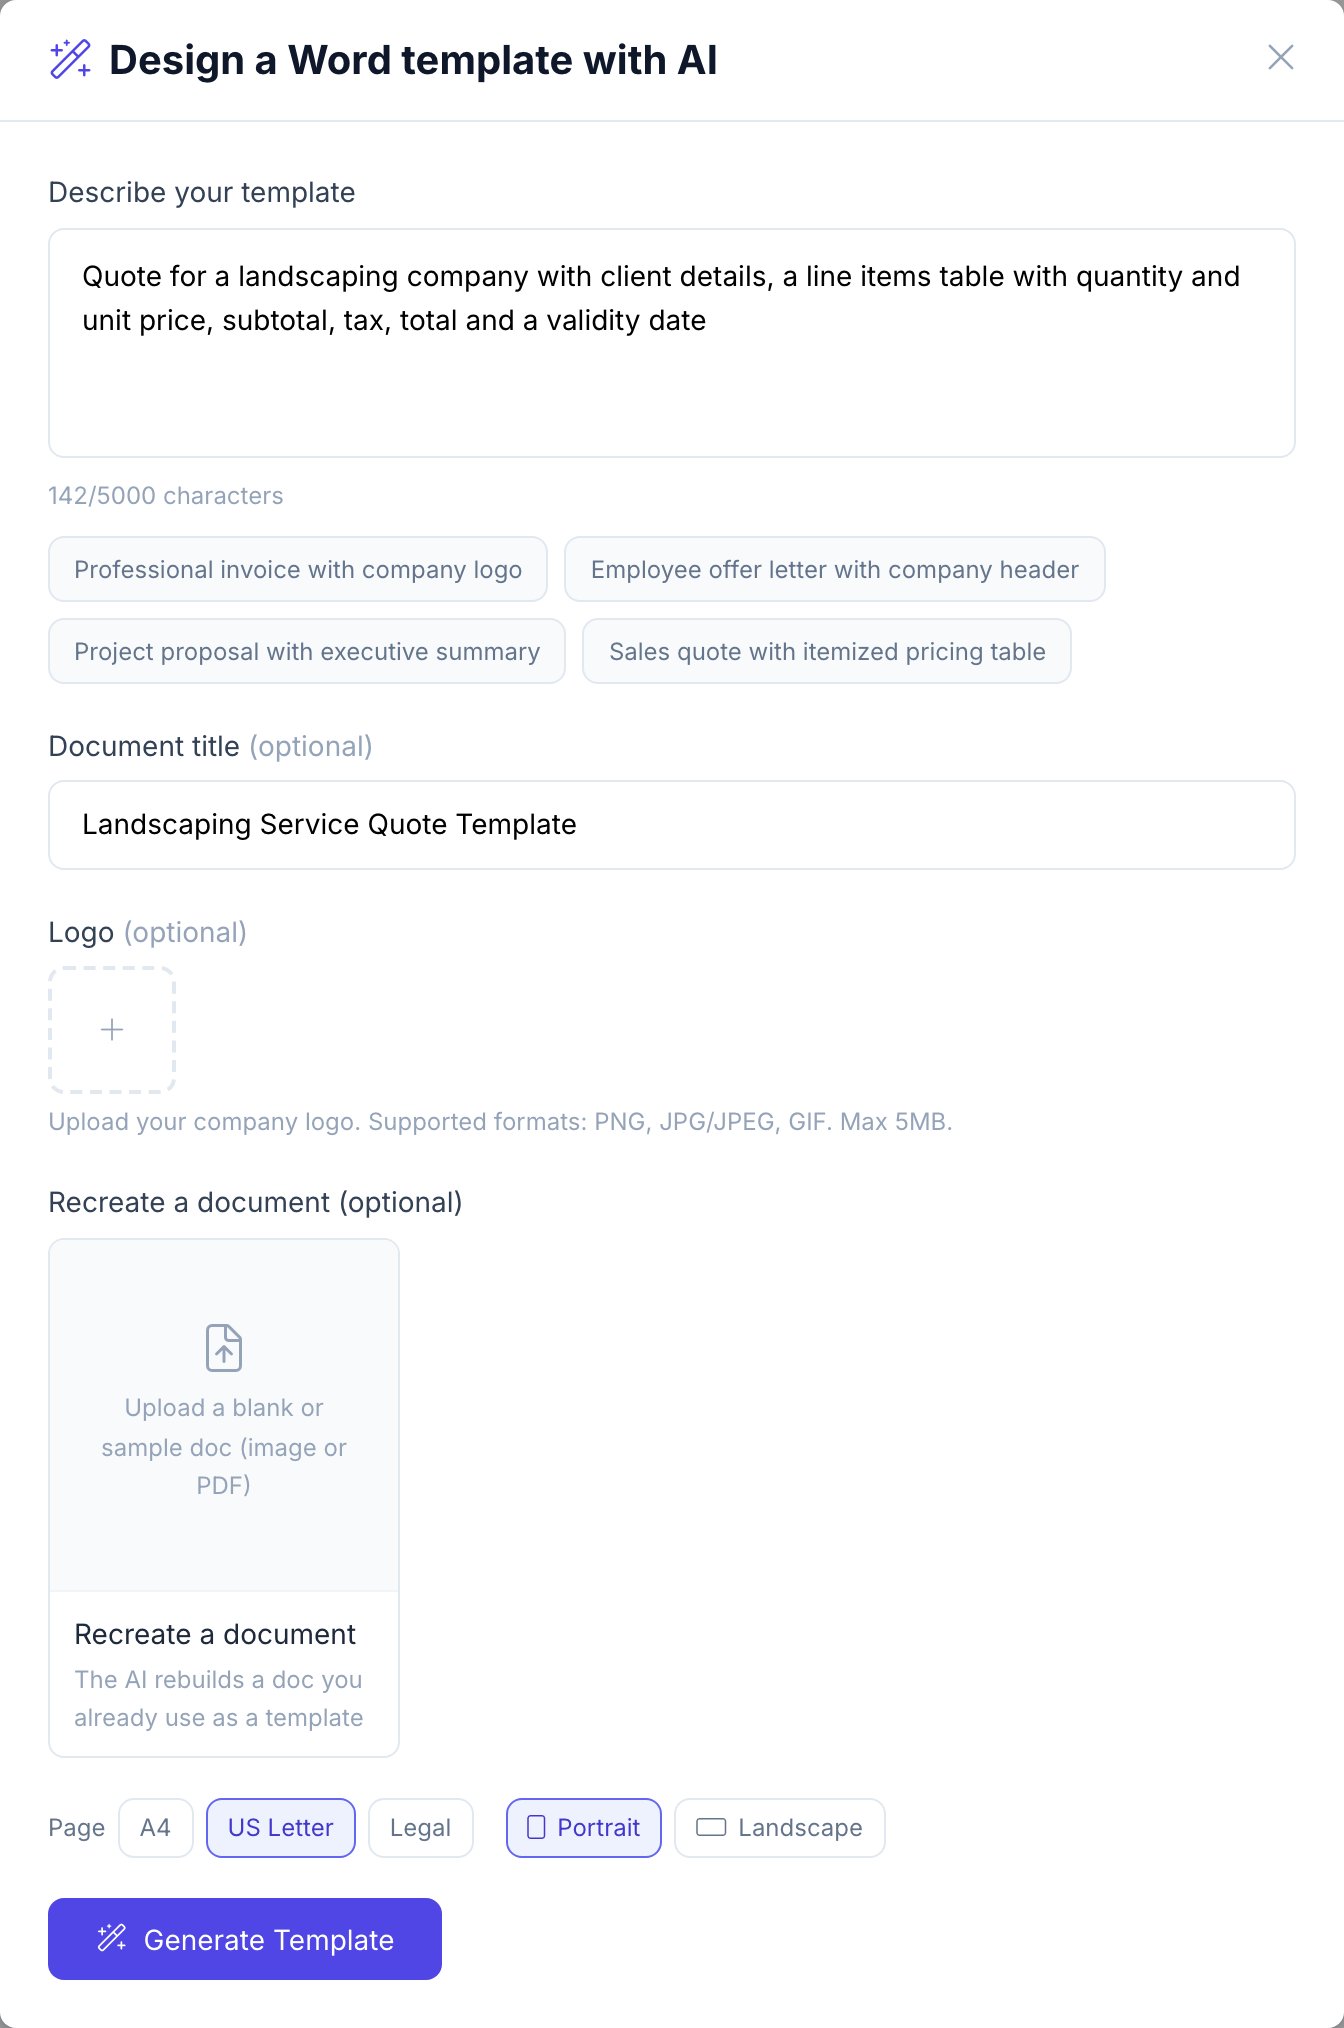
- Document title: the AI suggests one from your description.
- Logo: your logo goes into the header, and its colors become the brand color of the template.
- Recreate a document: upload a blank or sample version of a document you already use (an image or a PDF). The AI rebuilds it as a template.
- Page: A4, US Letter or Legal, in portrait or landscape.
3
Generate
Click Generate Template. The AI designs the template in the document style that fits your document. It usually takes less than a minute.
4
Refine with the chat
The template opens with a chat on the left and a preview on the right. Send instructions such as “Add a column for the discount”, “Move the validity date under the total” or “Add an e-signature block for two signers”. Each change updates the preview.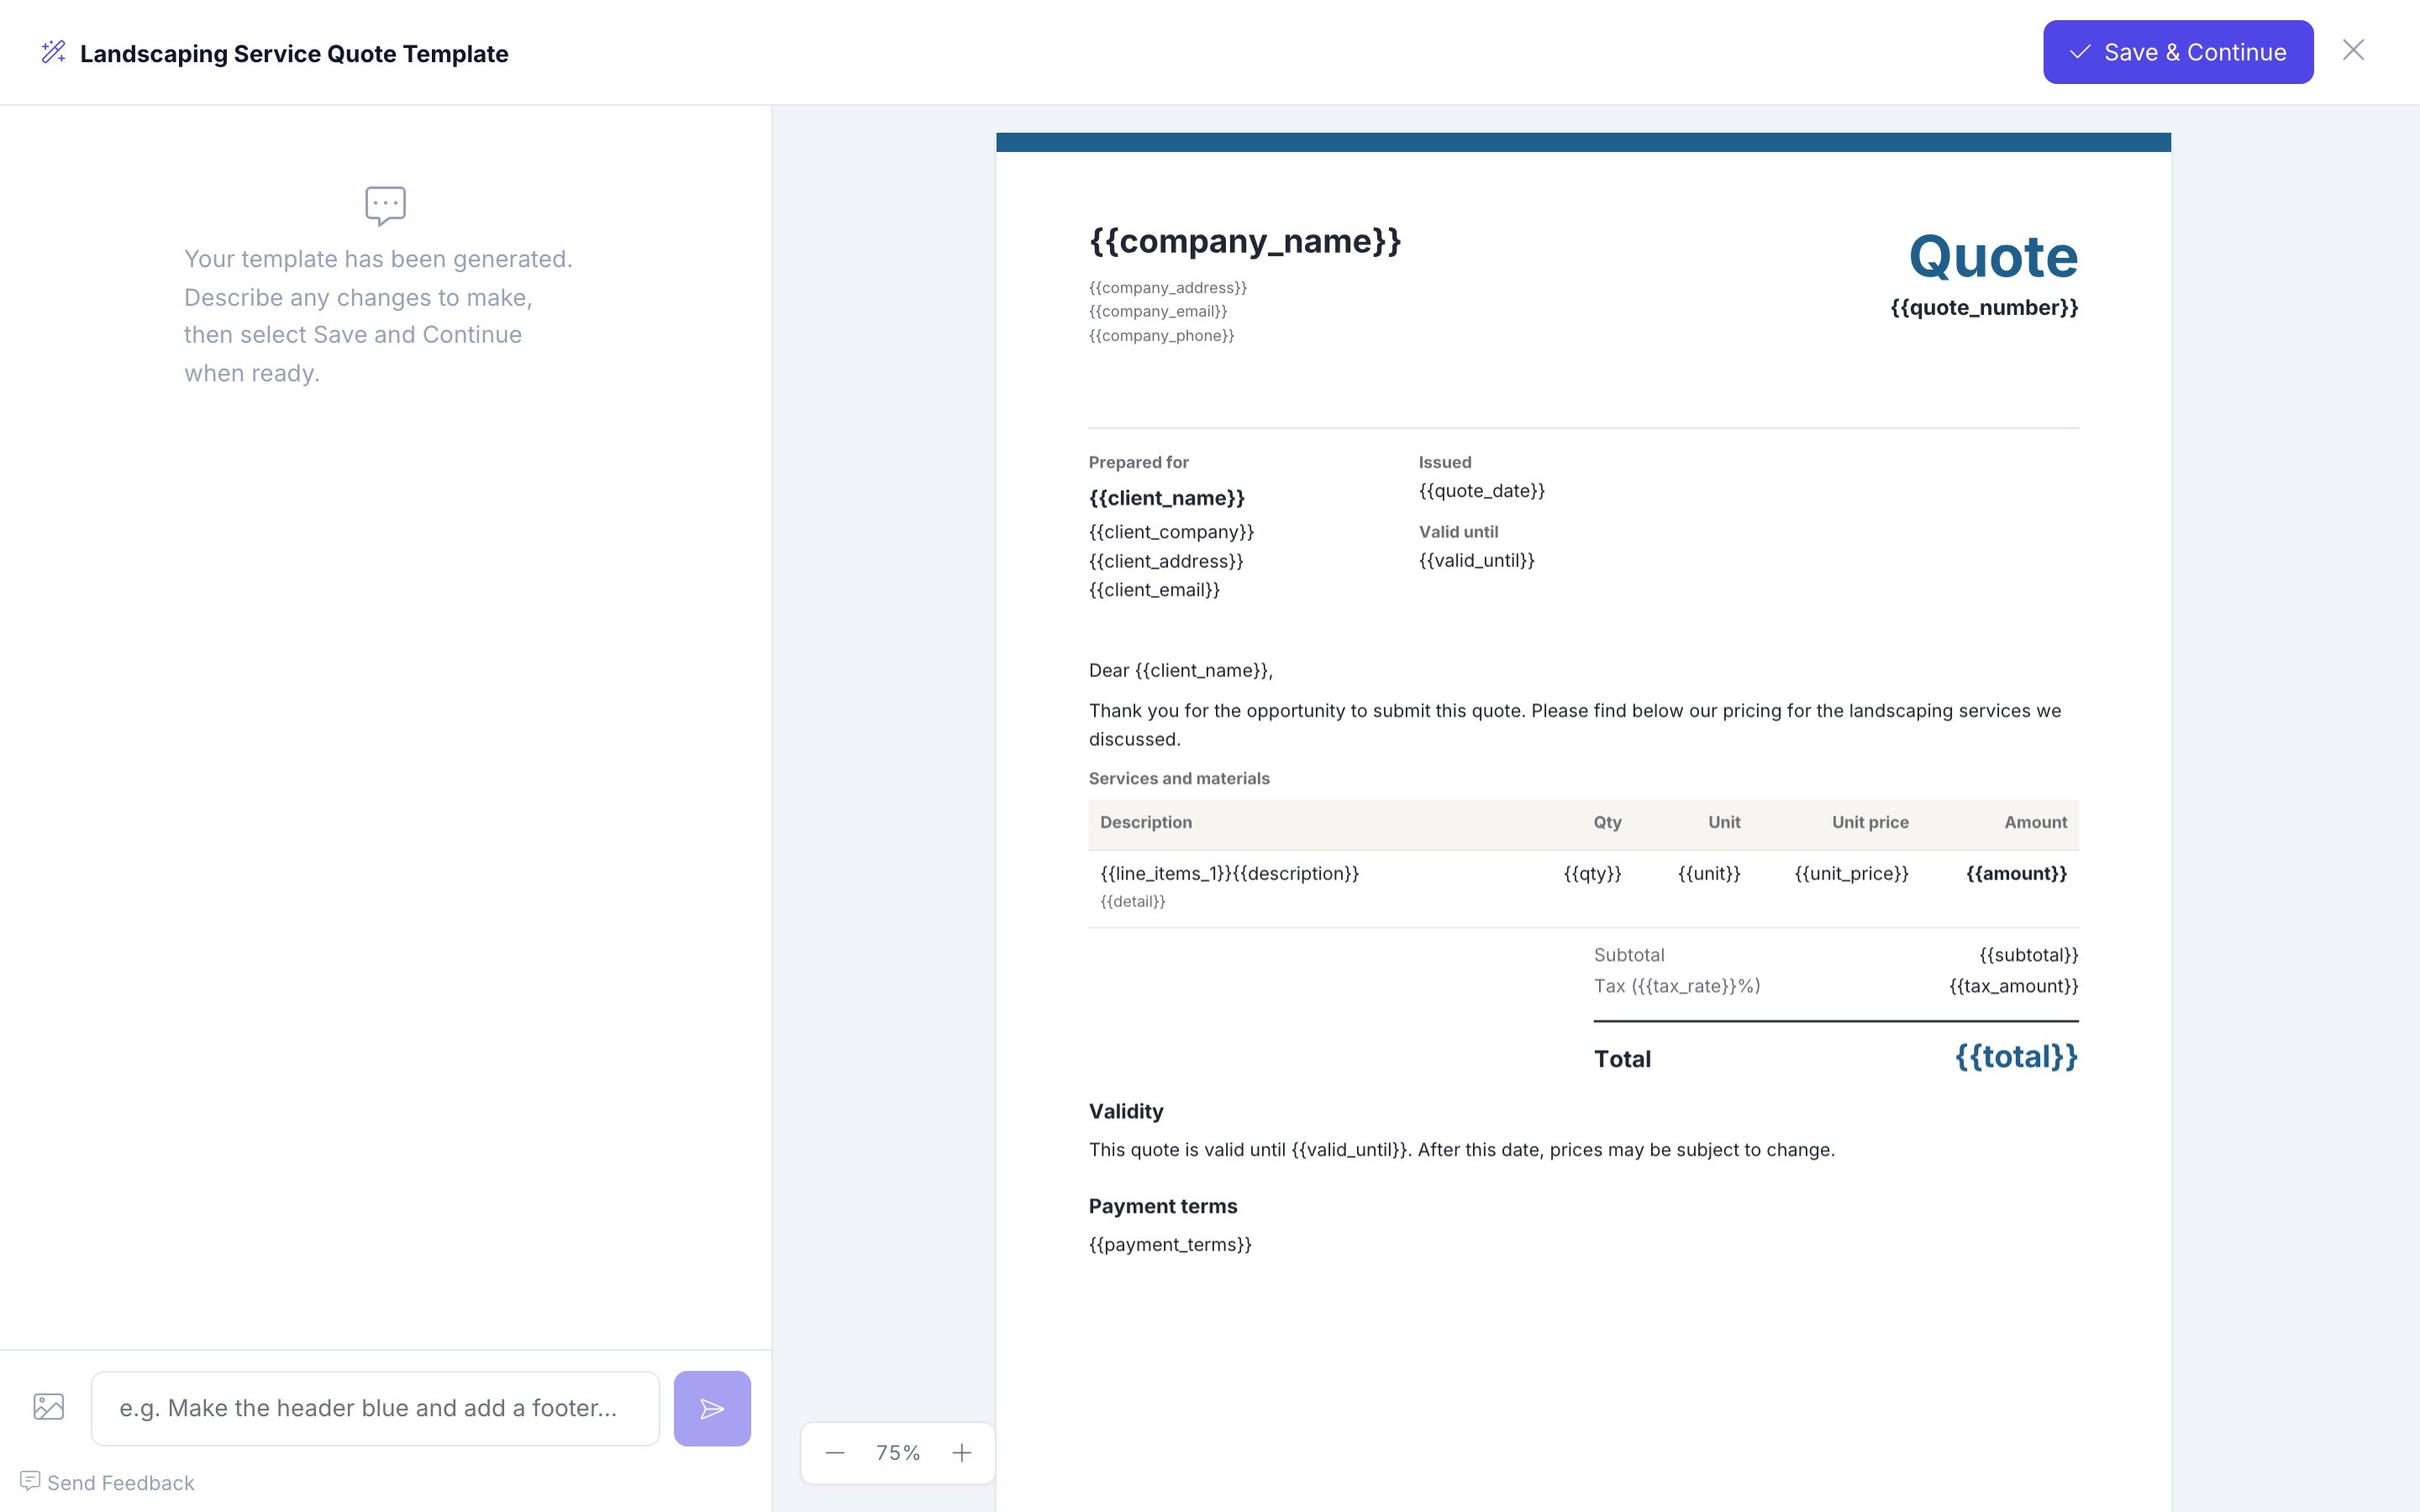
5
Save
Click Save & Continue to save the template to your automation. Then map your data to the placeholders.
Document Styles
Every template comes out in one of five document styles. The AI picks the style from the type of document you describe, so you do not choose one.
All five styles follow the same rules: one accent color used sparingly, a fixed set of text sizes, quiet headings and a footer on every page.
- Your brand color replaces the accent color of the style. Fonts, sizes and spacing stay the same.
- A recreated document keeps the look of the document you uploaded instead of a style.
- Templates you made earlier keep their look, also when you edit them.
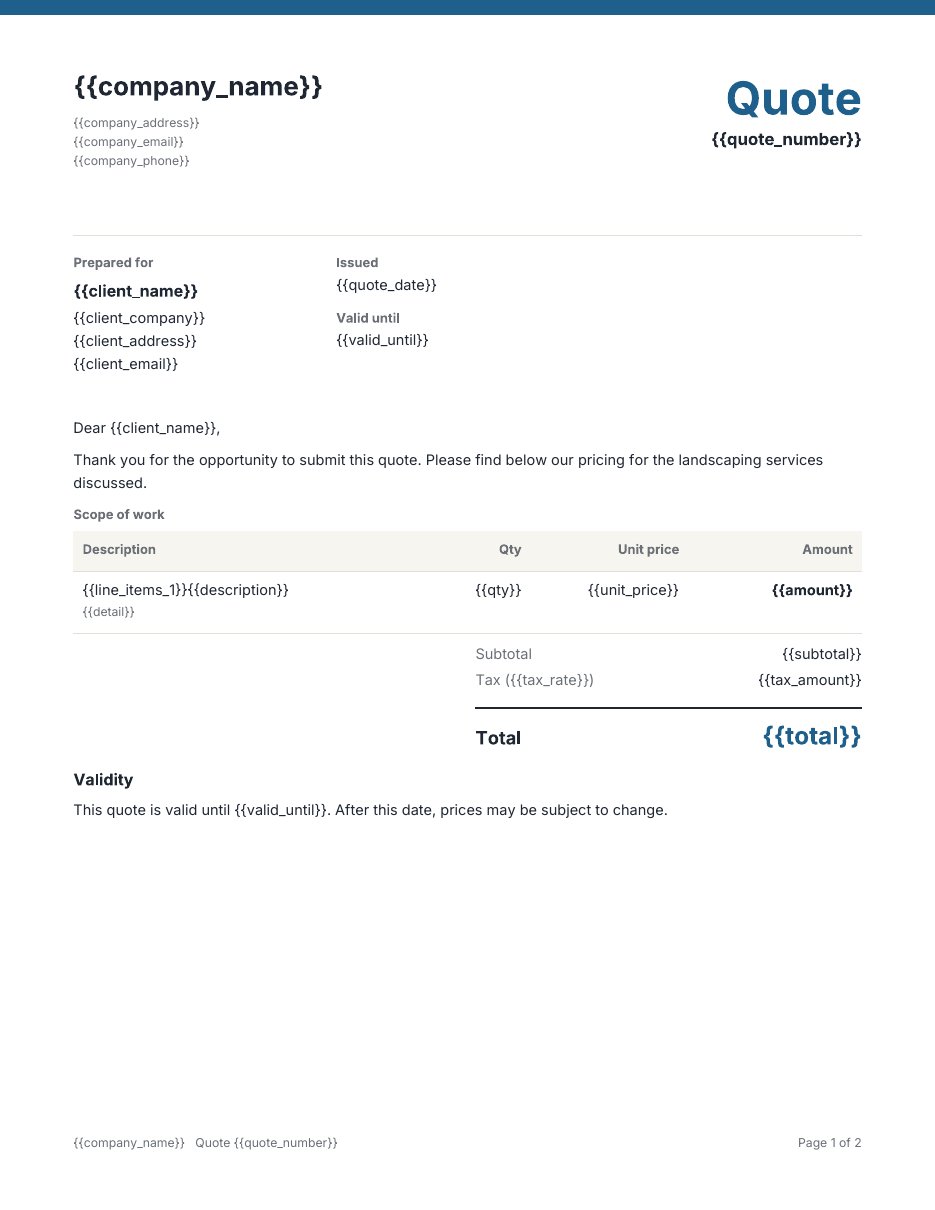
Ledger
A quote with a line items table and the grand total in the accent color.
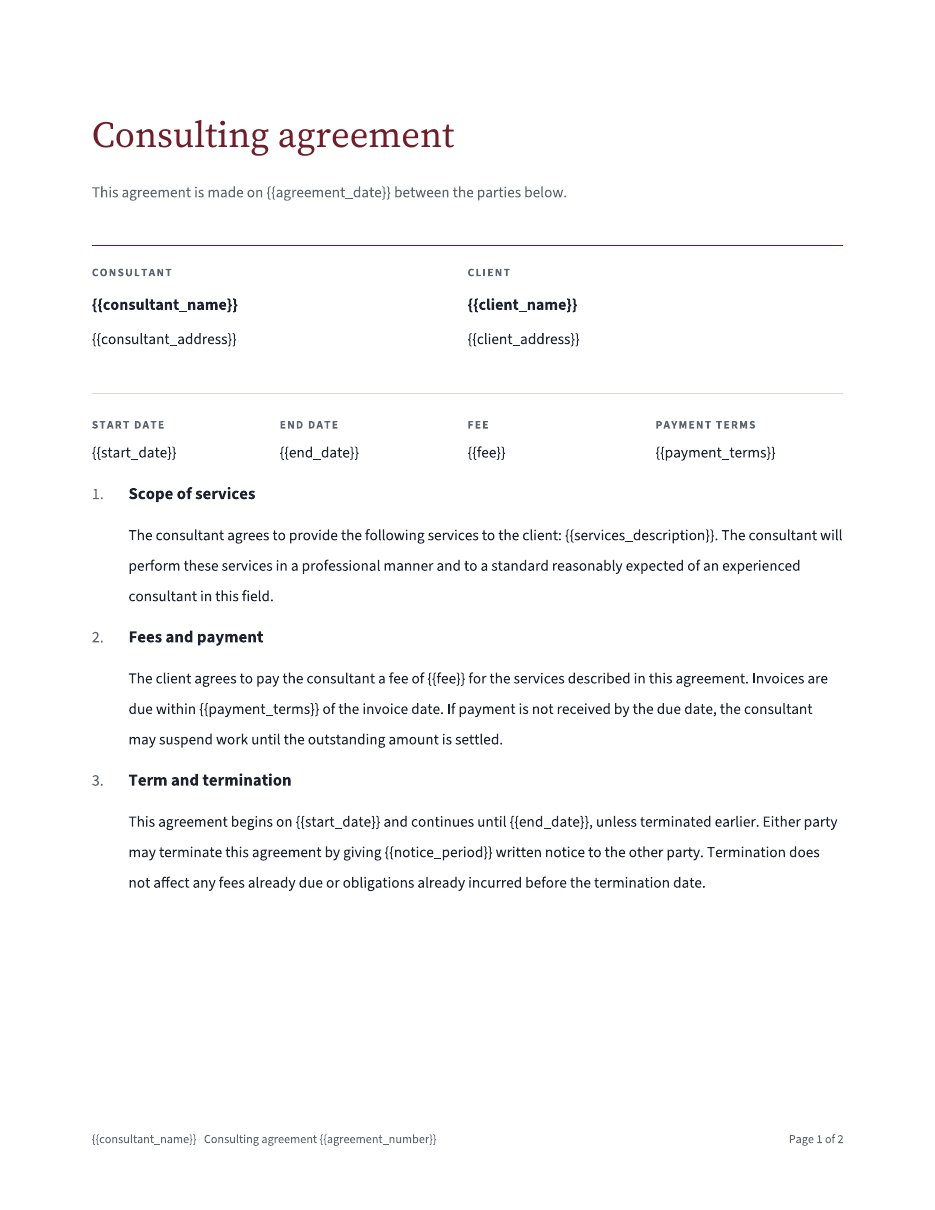
Counsel
A consulting agreement with the parties, key terms and numbered clauses.
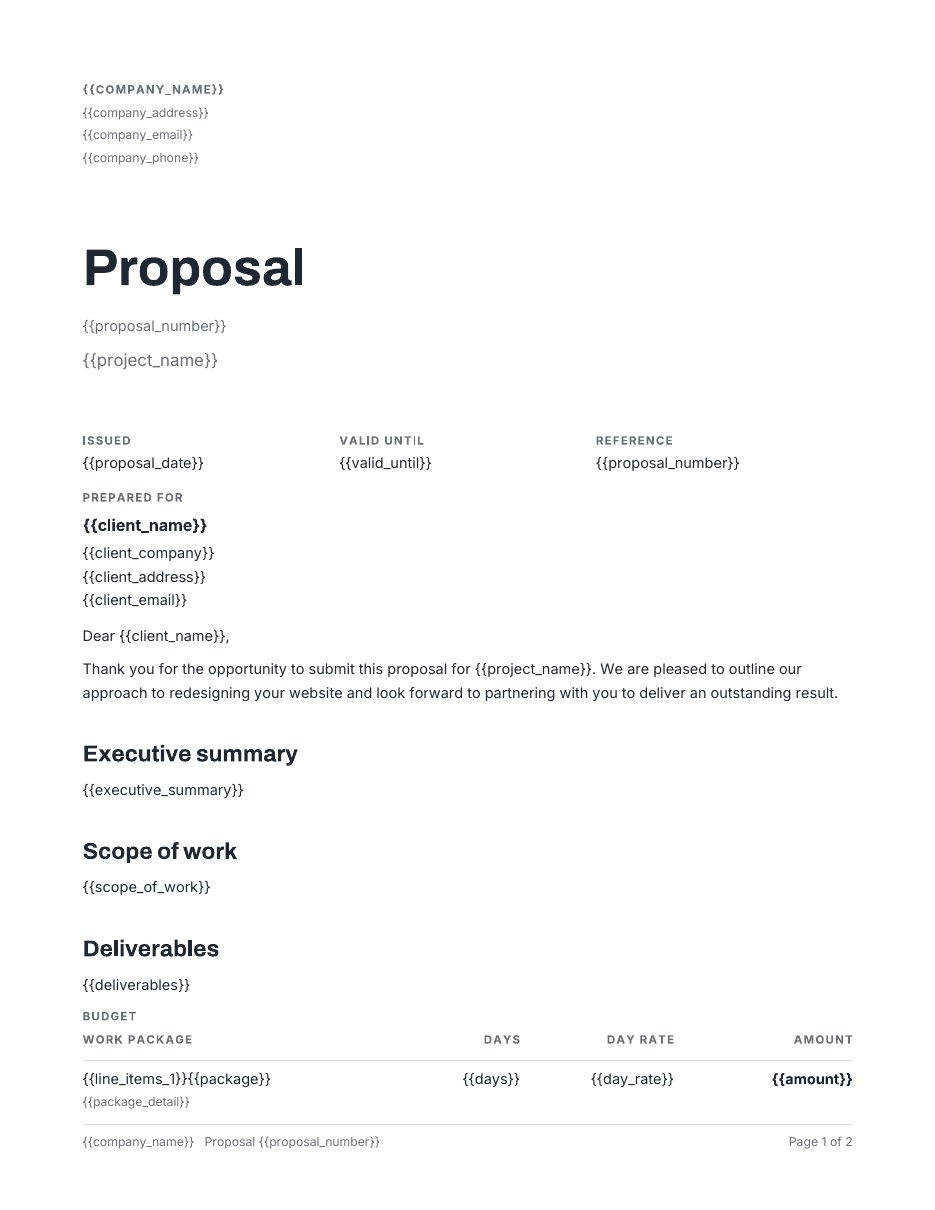
Studio
A project proposal with a summary, the scope of work and a budget table.
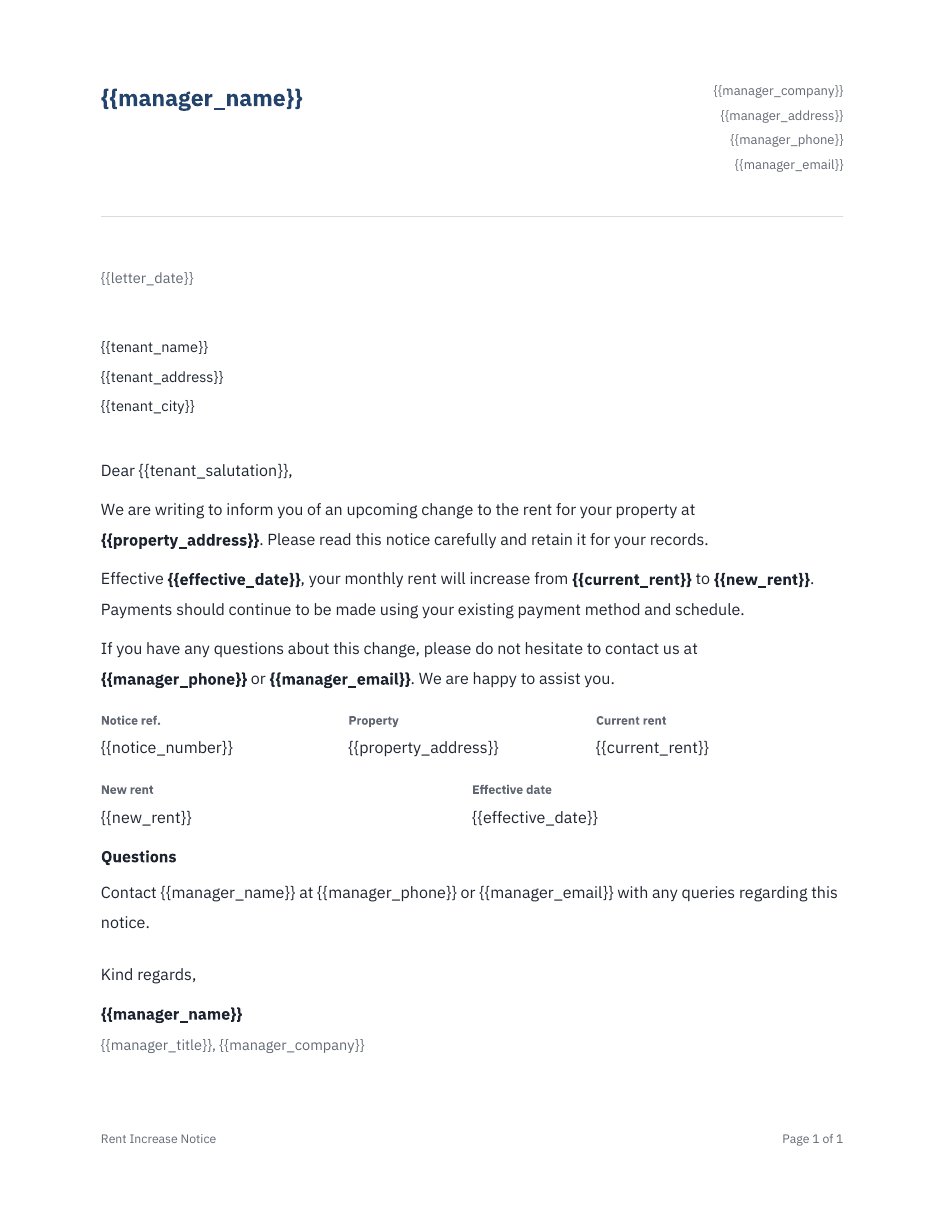
Letter
A notice to a tenant with the sender, the recipient and the key facts.
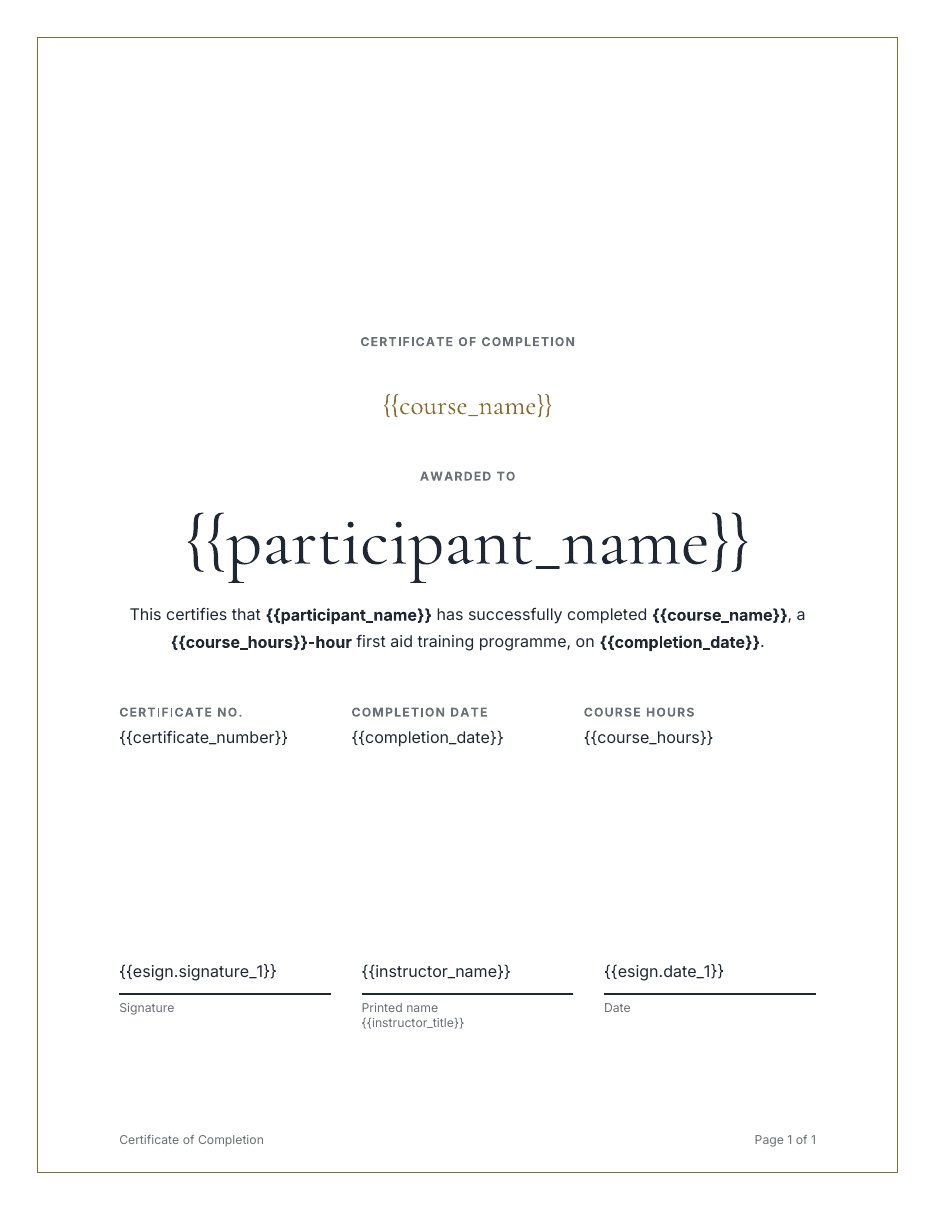
Certificate
A certificate of completion with the participant’s name in large type.
A Different Look
The template designer has no style picker. To get another look, tell the AI Agent, for example “Use the Counsel style for this template”. The agent then designs the template again in the style you ask for.Templates, Not Filled Documents
The AI designs a template: a document with placeholders such as{{client_name}} or {{total}}, which DocsAutomator fills with new data on every run. It never fills the template with the data of one client or one record.
- Text that is the same in every document stays in the template, for example your company details, standard terms and your signature block.
- Everything that changes from one document to the next becomes a placeholder, for example the client, the items, the amounts and the dates.
- When you paste a finished document into the AI Agent, the agent builds a template from it. The values you pasted become the sample data of the preview.
- The AI Agent also stores what each placeholder means and how its value prints, for example a currency or a date format. See Format Values.
Features
Logo and Brand Colors
Upload your company logo, and the AI places it in the header. It reads the colors of the logo and uses the main color as the accent color of the template.Recreate a Document
Upload a blank or sample version of a document you already use, as an image or a PDF. The AI copies its layout and look and turns the variable parts into placeholders. Use a blank or sample version, not a document that holds real customer data.AI Chat Editor
After the AI has generated your template, refine it with plain instructions:- Change the text, the layout or the colors
- Add or remove sections
- Add placeholders, line items or e-signature blocks
- Add images to the template
Undo
Do not like a change? Click Undo this change under the last message in the chat to go back to the previous version. You can undo several changes in a row.Tips
- Name the document type first: “Quote for …”, “Contract between …” or “Certificate of …”. The first words decide the style.
- Name your fields: if you know which data you will map, mention the fields. For example: “include fields for client_name, invoice_number and due_date”.
- Refine in the chat: start with a simple description, then add details with follow-up instructions.
- Upload your logo first: the AI then uses your brand color from the start.