

New to DocsAutomator? Start with the Quickstart Guide.
What you need
- A HubSpot user with Super Admin rights connects HubSpot for the whole team.
- The button on the record works on every HubSpot plan.
- Workflows need HubSpot Professional or Enterprise. Custom objects need HubSpot Enterprise.
Connect HubSpot
-
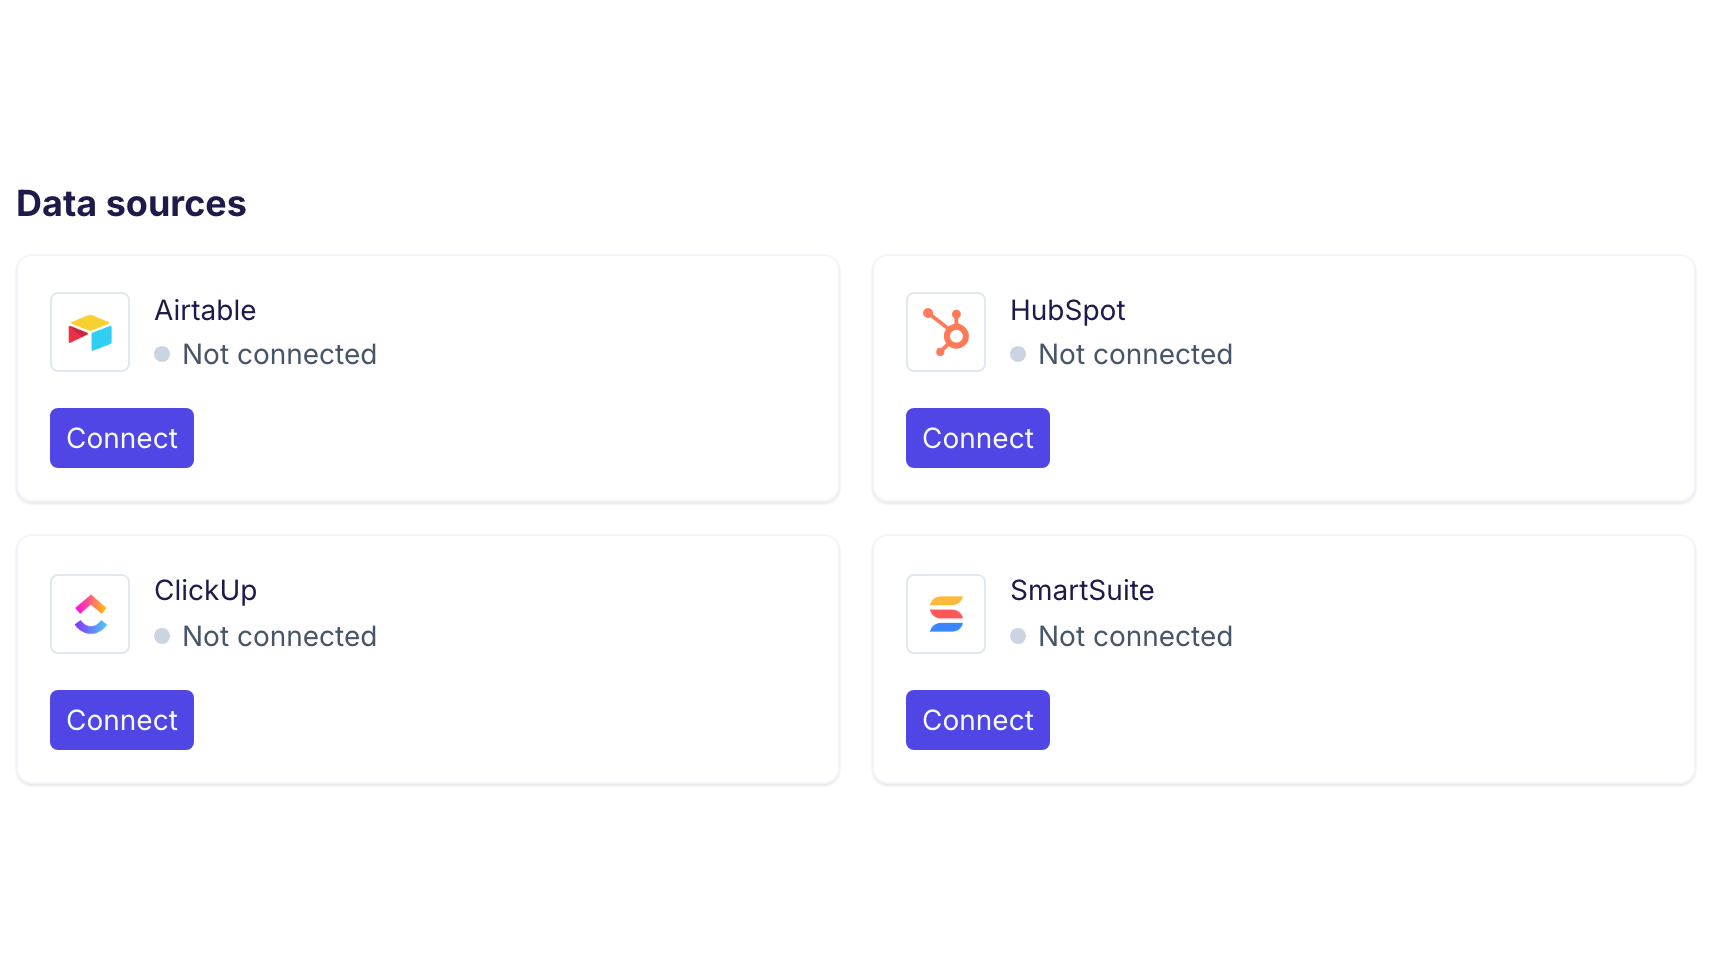
In DocsAutomator, open Settings, then Integrations, and click Connect on the HubSpot card.
-
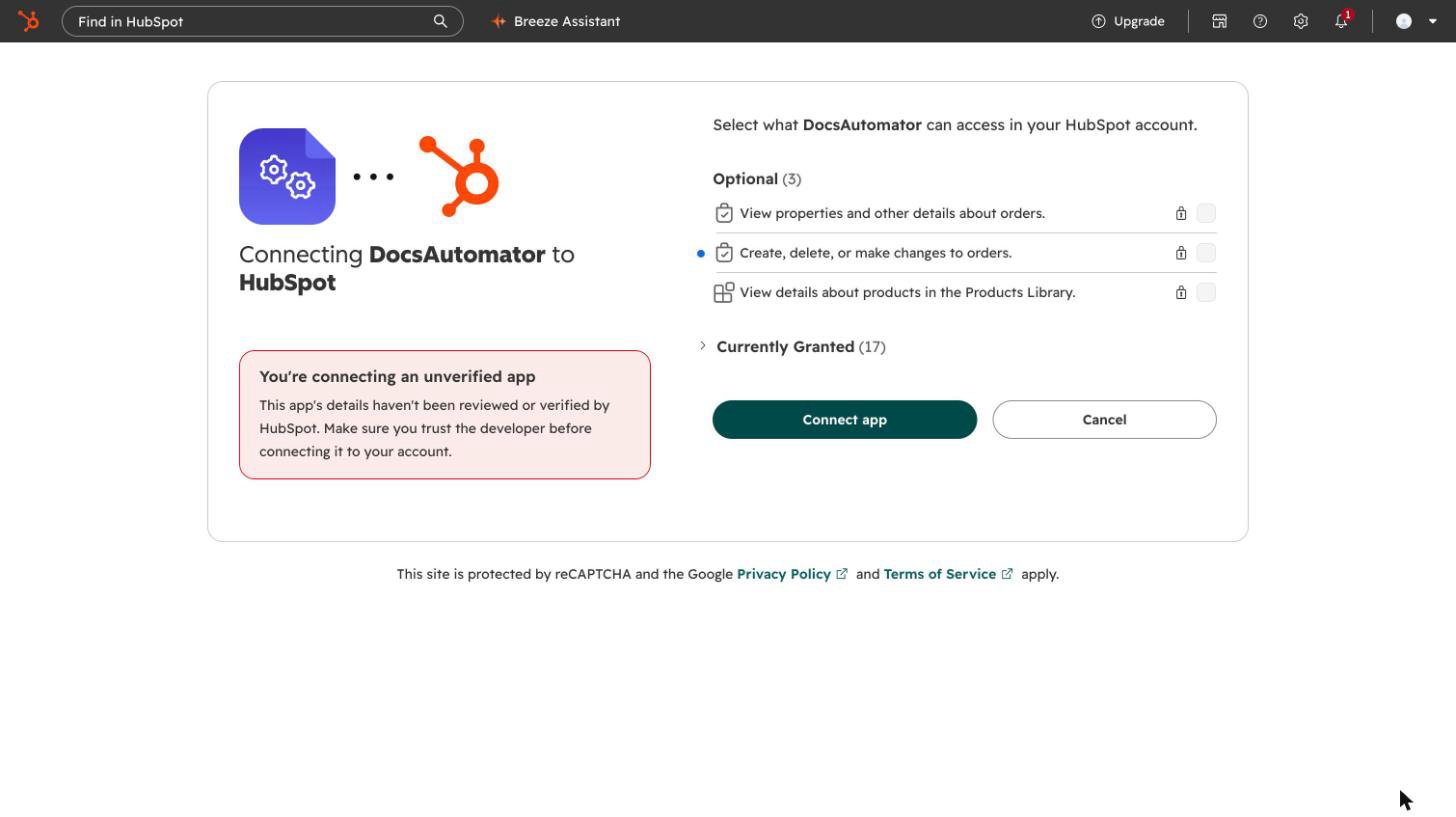
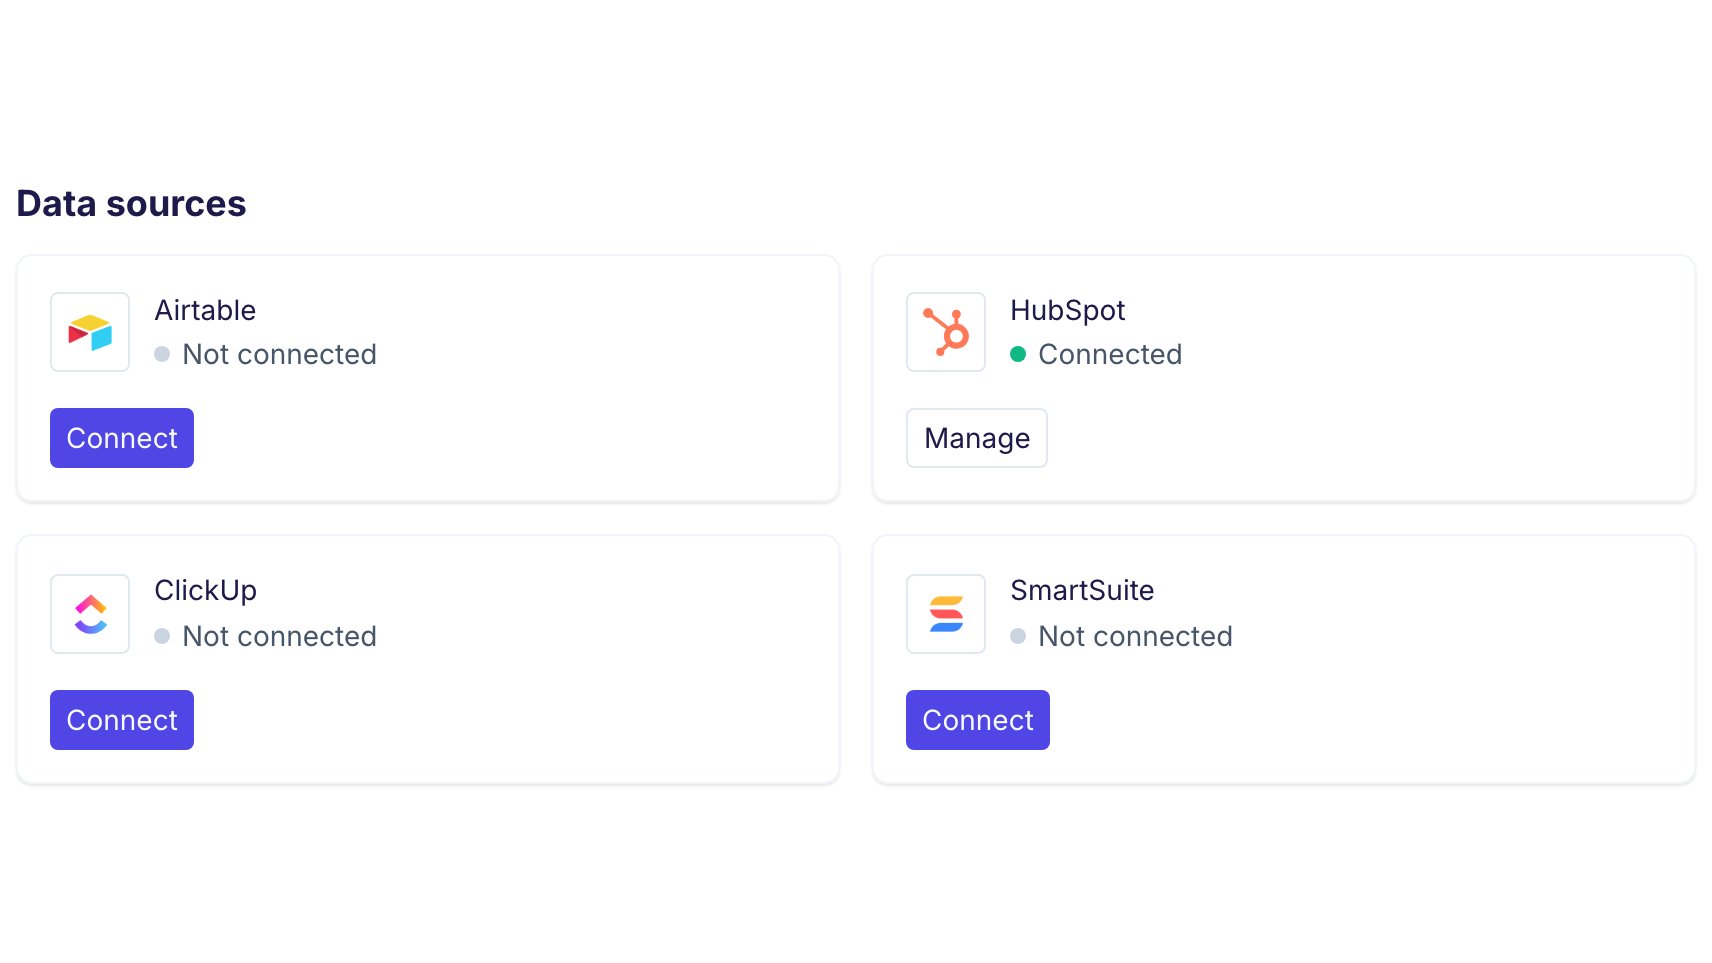
Choose your HubSpot account, check the permissions and click Connect app. Until HubSpot finishes its review of the app, HubSpot shows a note that the app is unverified and asks you to type I accept the risk before it connects.
Create an automation
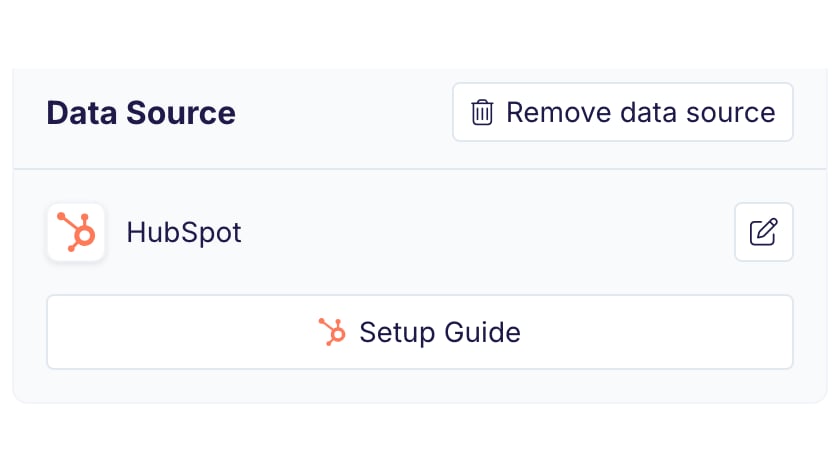
- Create an automation and choose HubSpot as the data source.
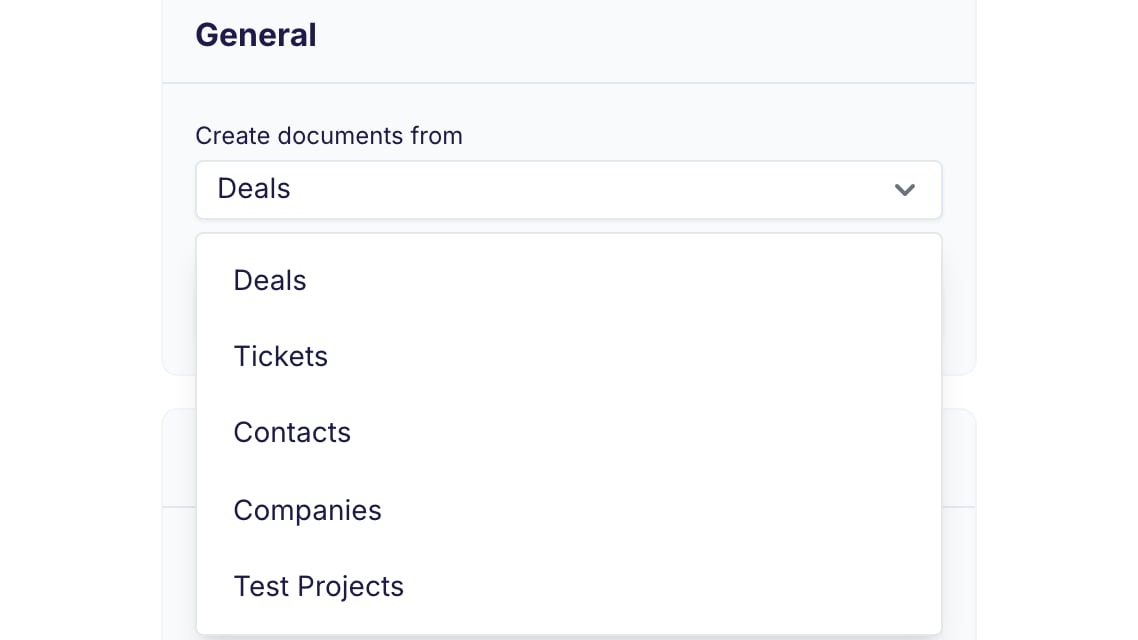
- Under Create documents from, choose the record type: deals, tickets, contacts, companies or one of your custom objects.
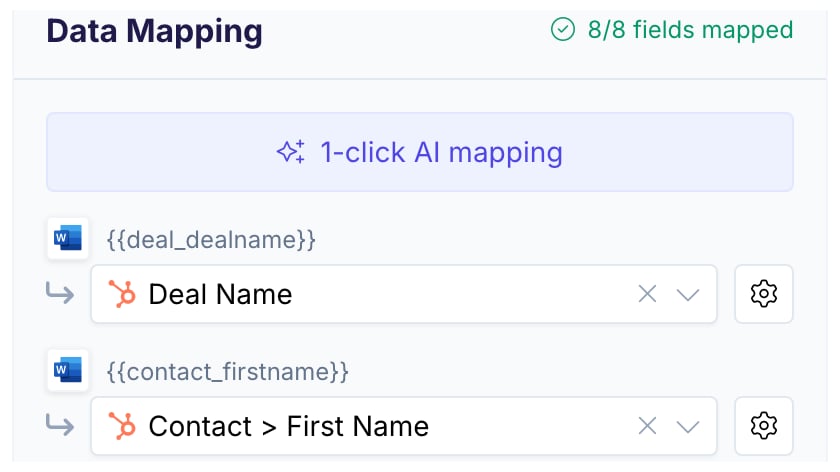
- Map the placeholders of your template to HubSpot properties. A placeholder whose name matches a property, such as
{{deal_dealname}}or{{contact_email}}, needs no mapping. - For a table, use
{{line_items_1}}. A deal’s line items fill it by themselves. You can also fill a table with associated records, such as a company’s deals.
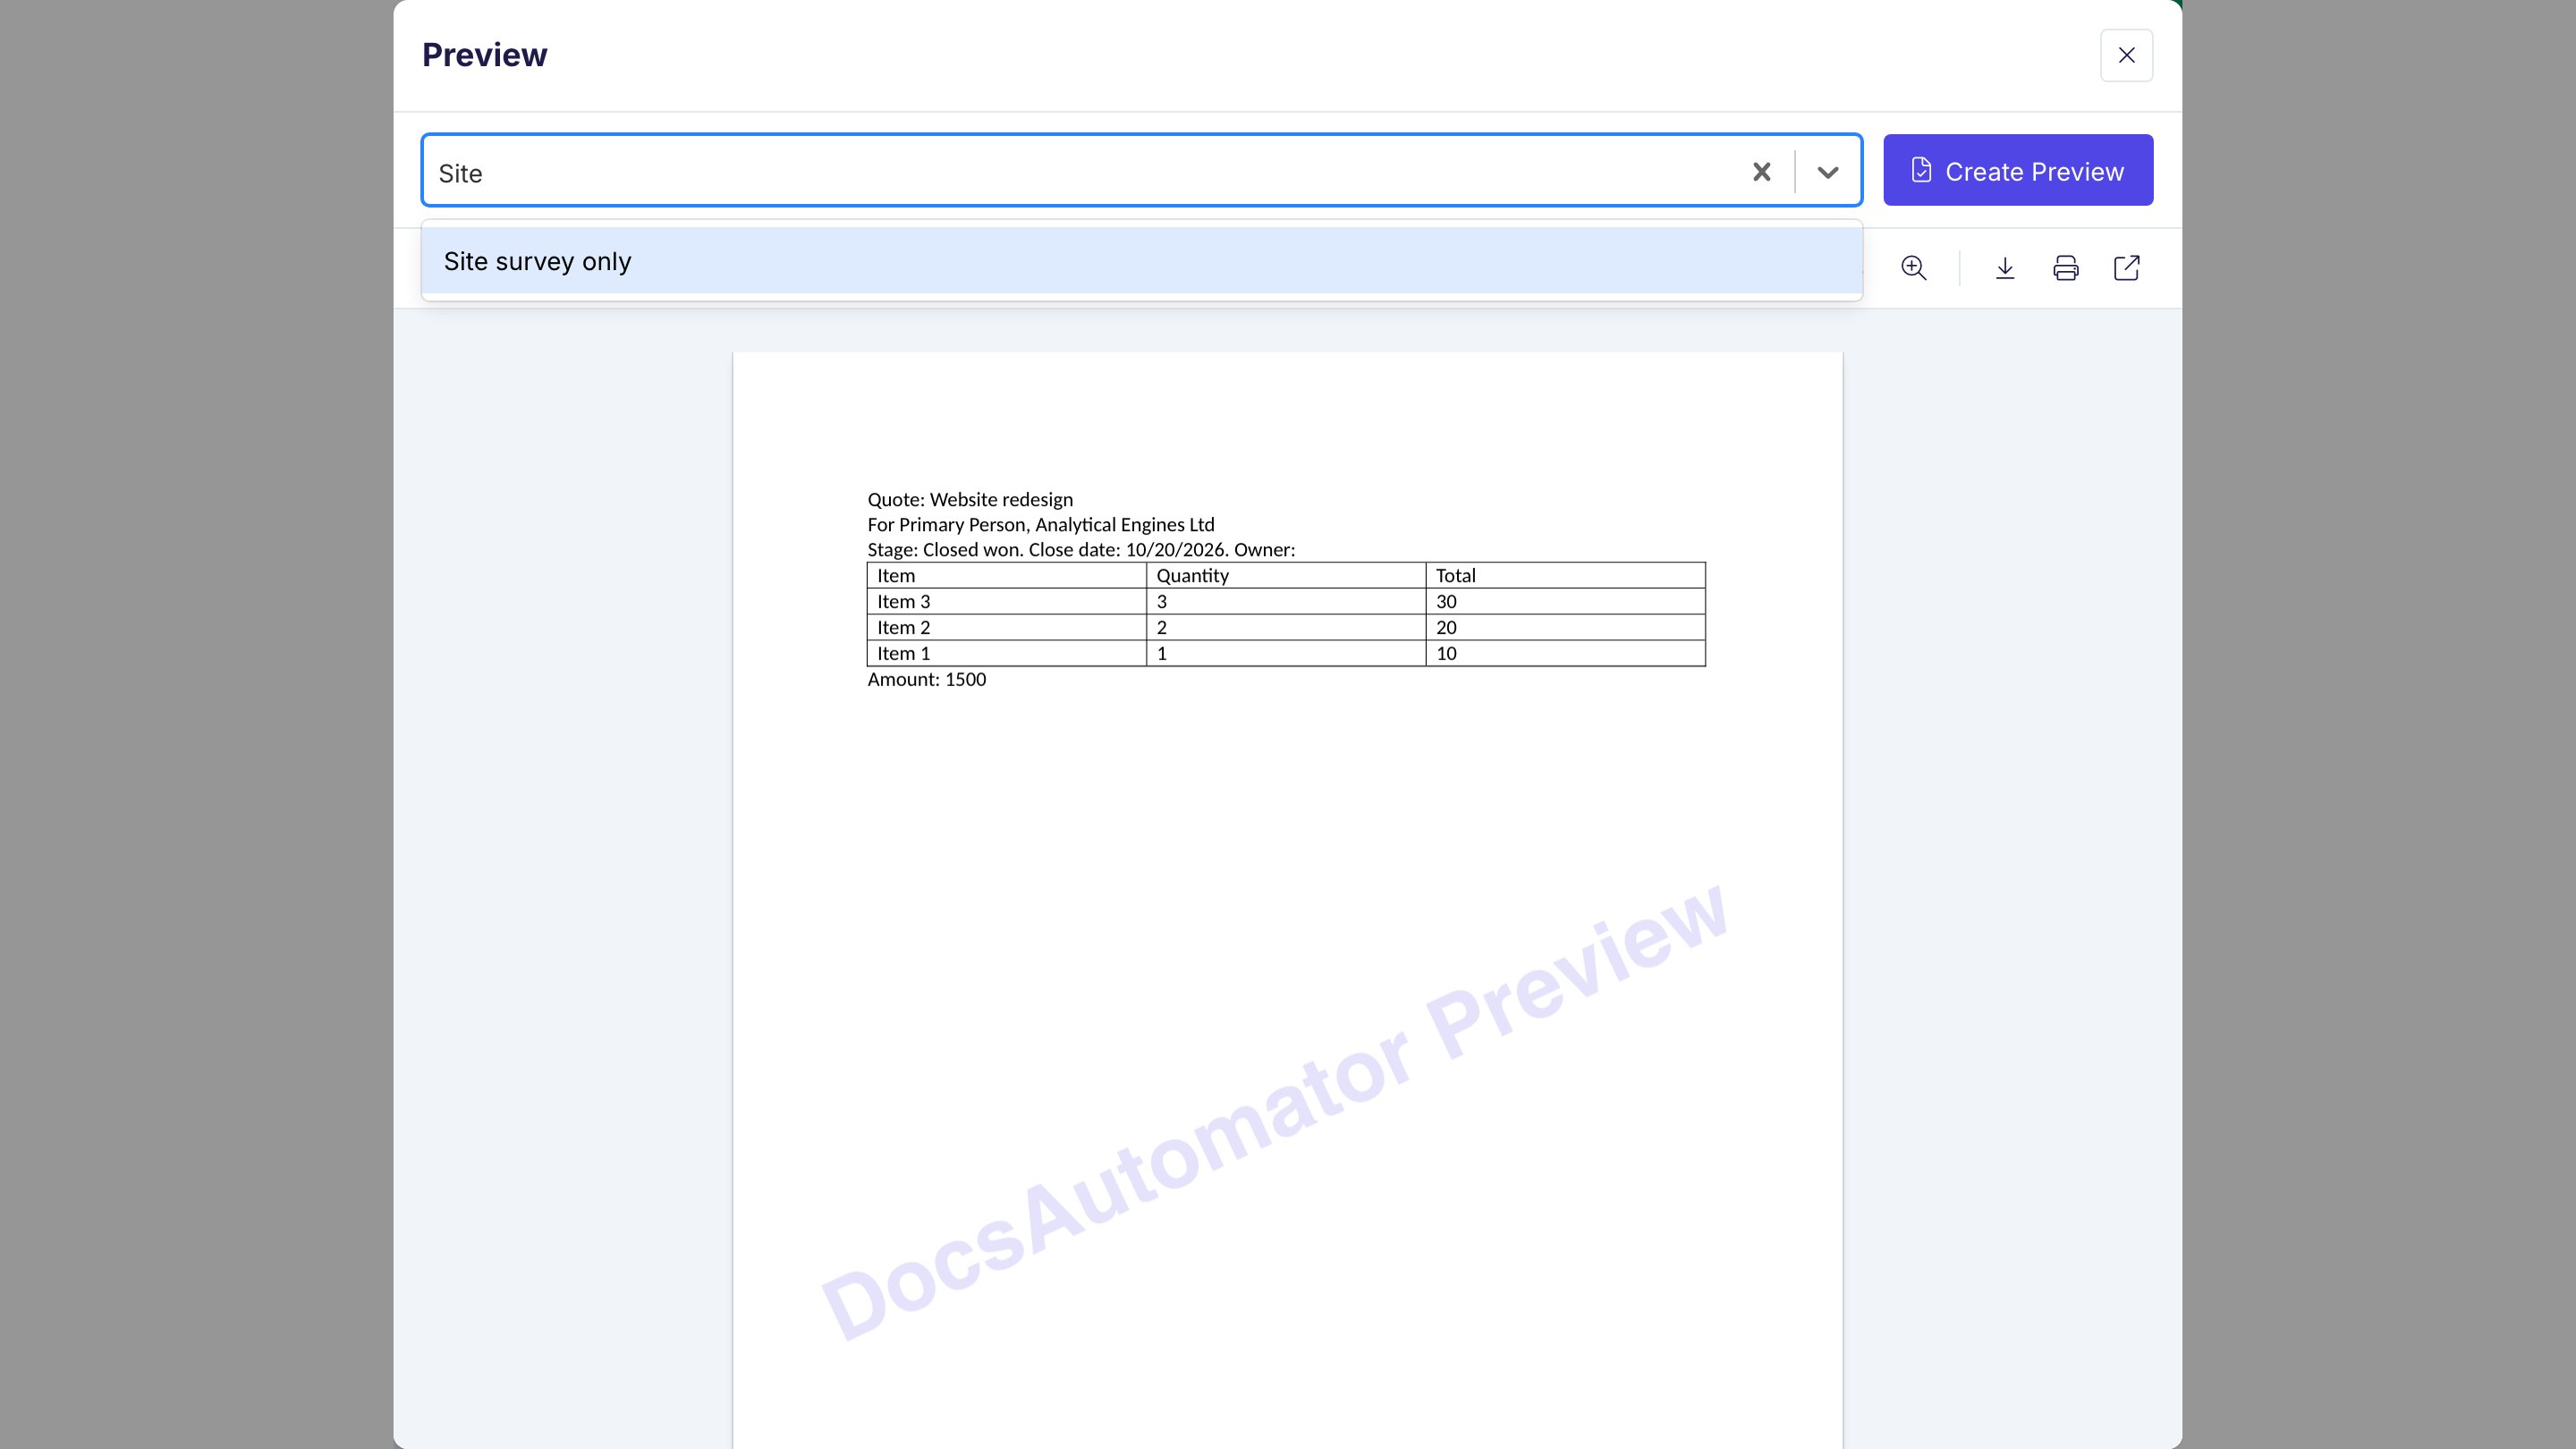
- Pick a record in the record picker and click Preview to check the document.
Create a document from the record
Add the DocsAutomator card to your records:-
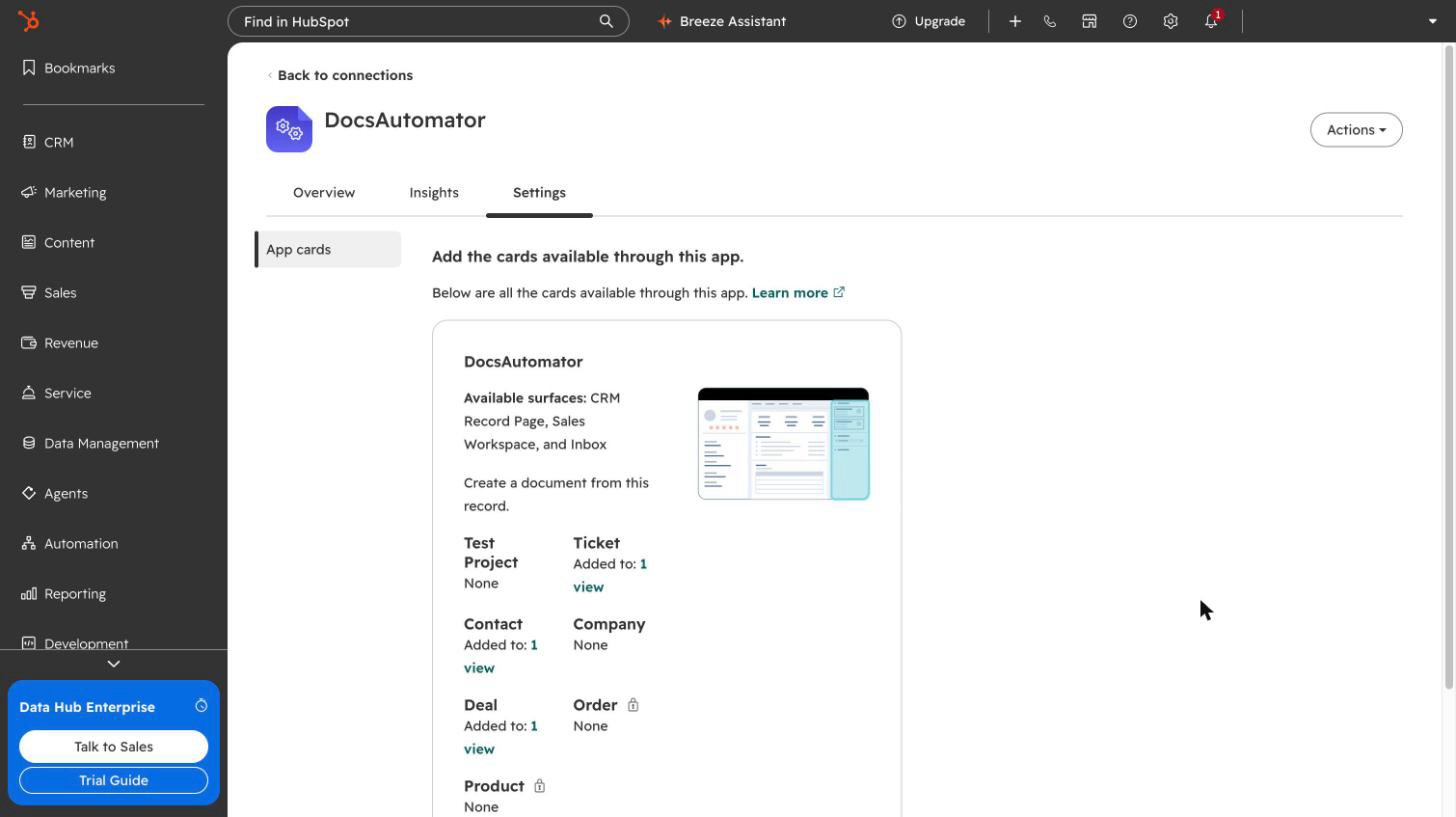
In HubSpot, open Settings, Integrations, Connected apps, DocsAutomator, then the Settings tab and App cards.
-
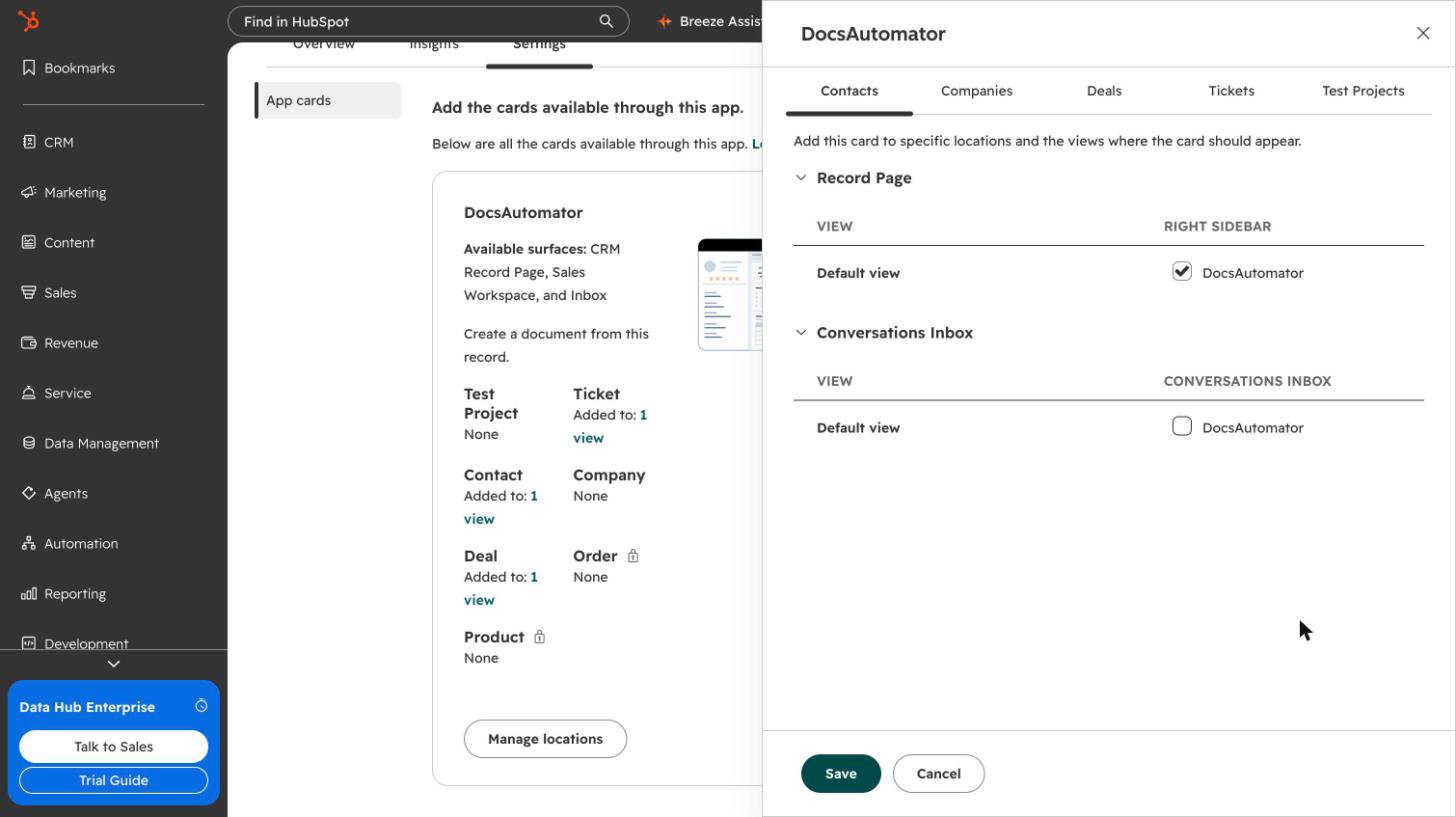
Find DocsAutomator and click Manage locations.
-
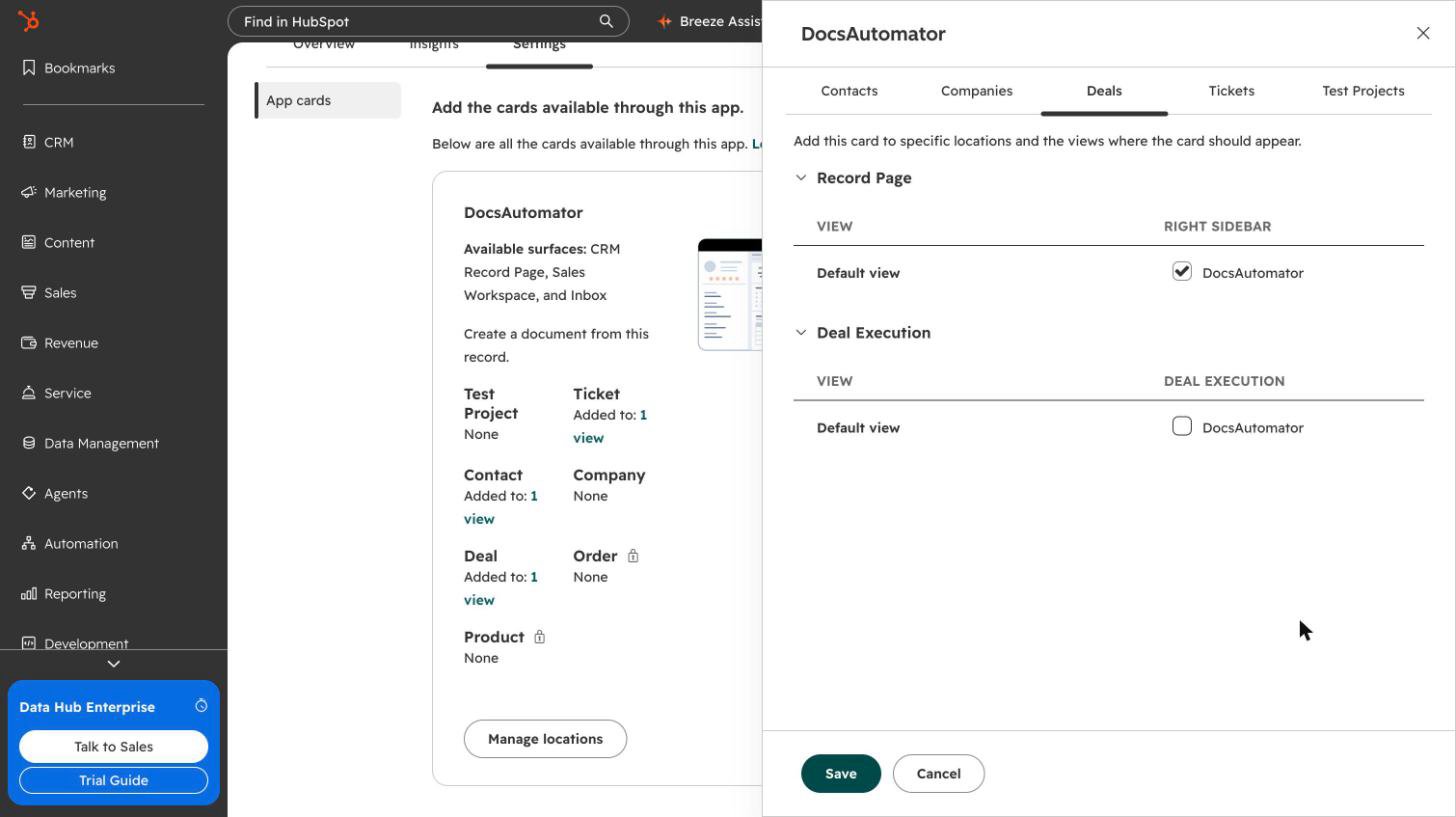
On the tab of your record type, under Record Page, tick DocsAutomator in the Right sidebar column for Default view, then click Save.
-
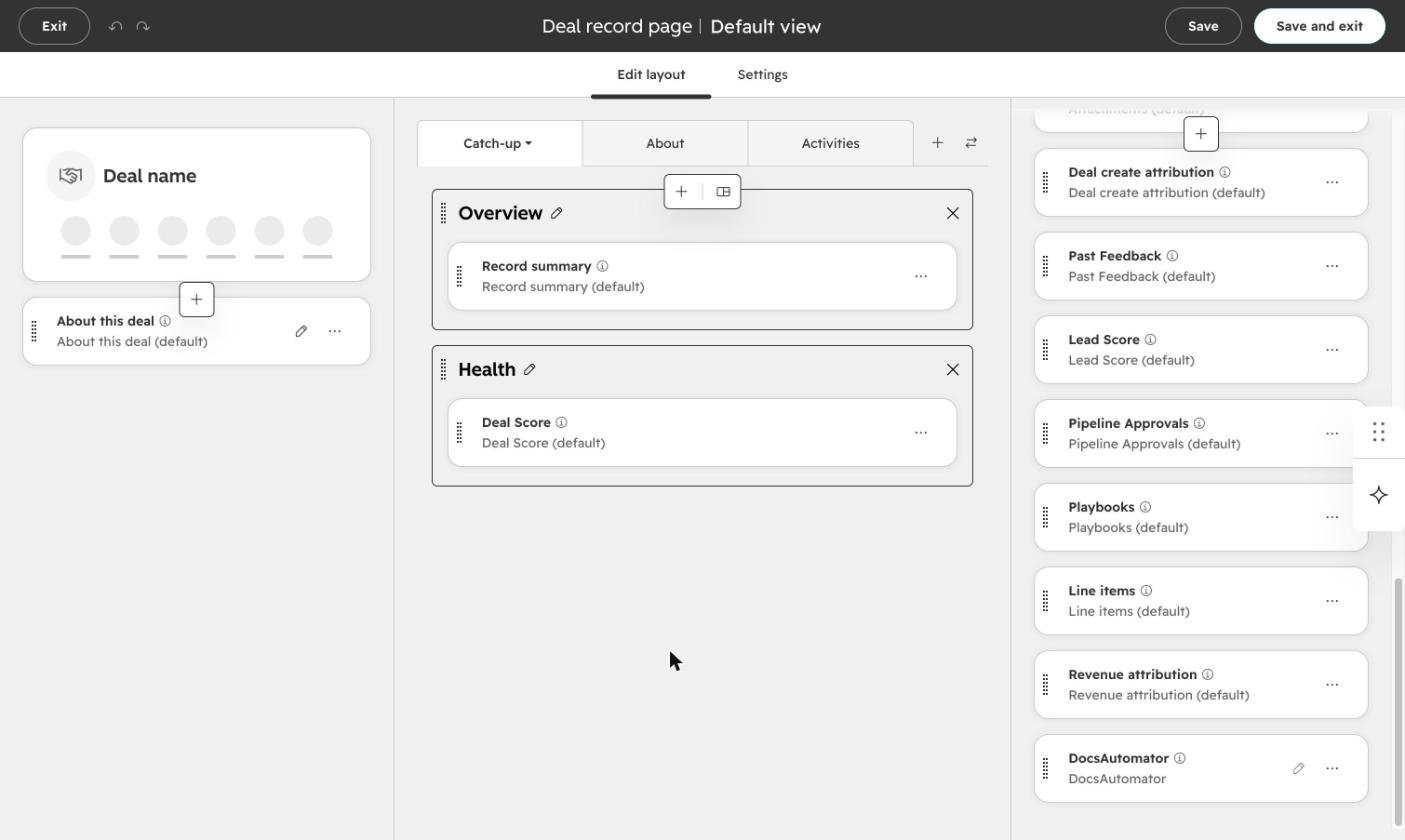
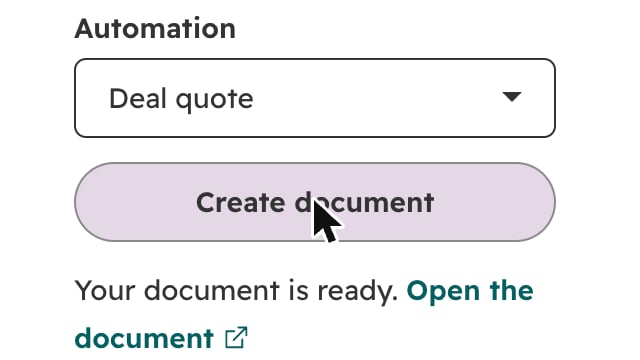
HubSpot adds the card at the bottom of the right sidebar. To move it up, open a record, click Customize, drag DocsAutomator to the top of the right column, then click Save and exit.
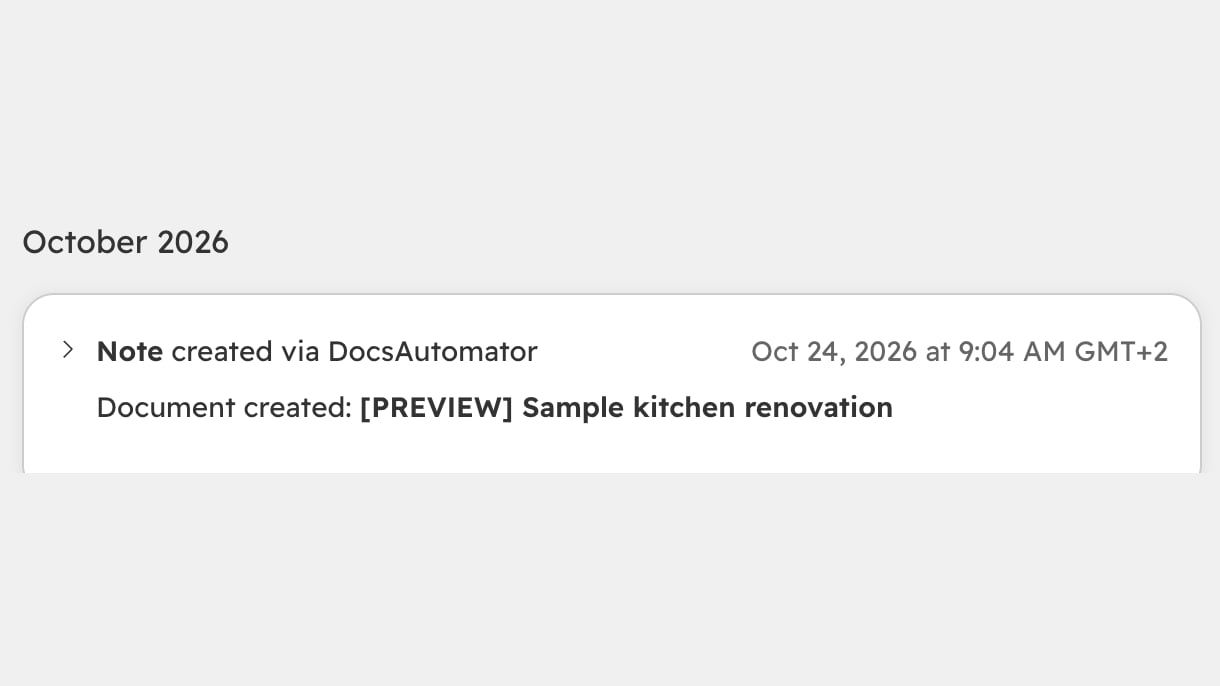
Create documents in a workflow
-
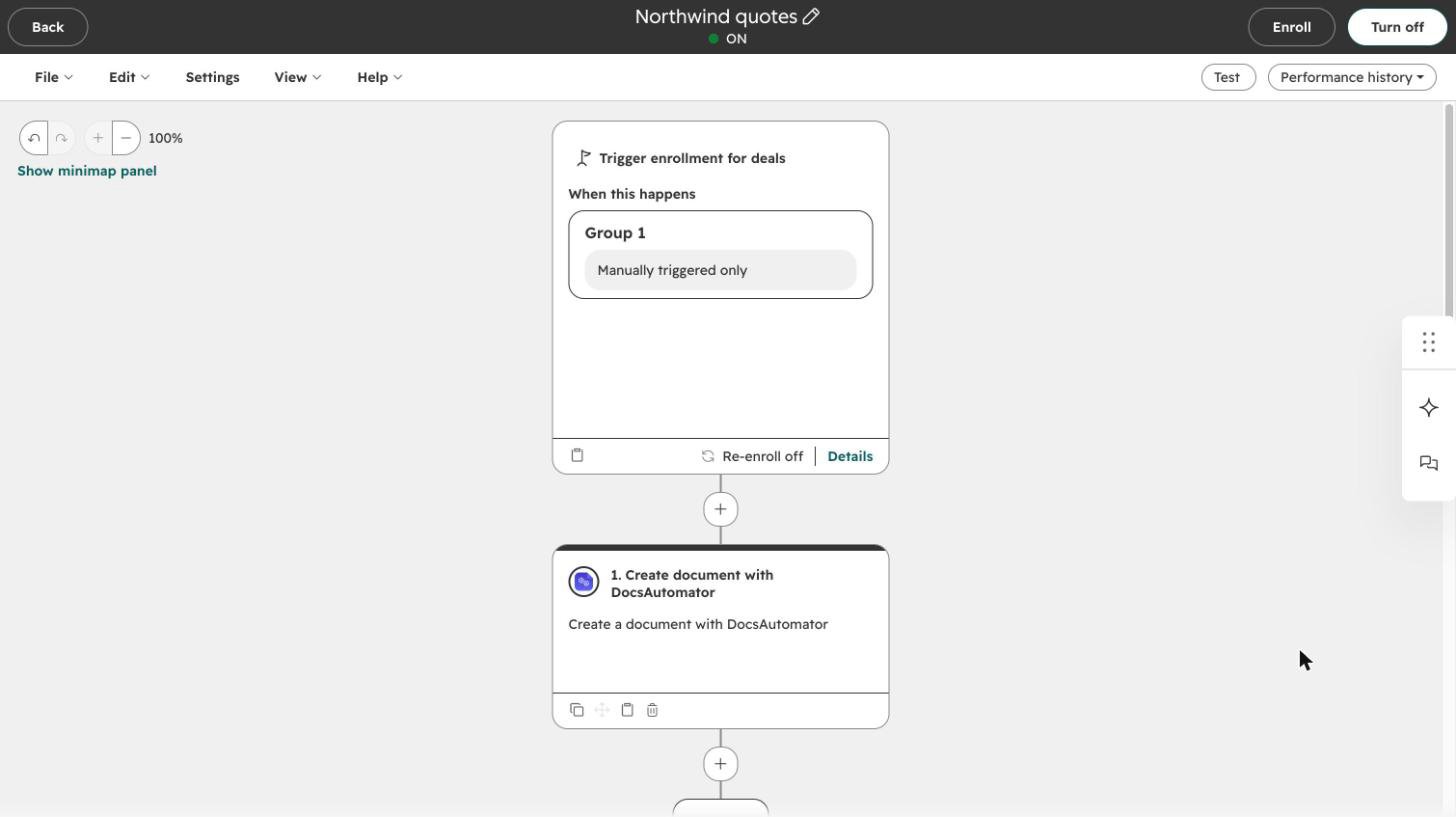
In HubSpot, open Automation, then Workflows. Create a workflow for your record type, or open one you have.
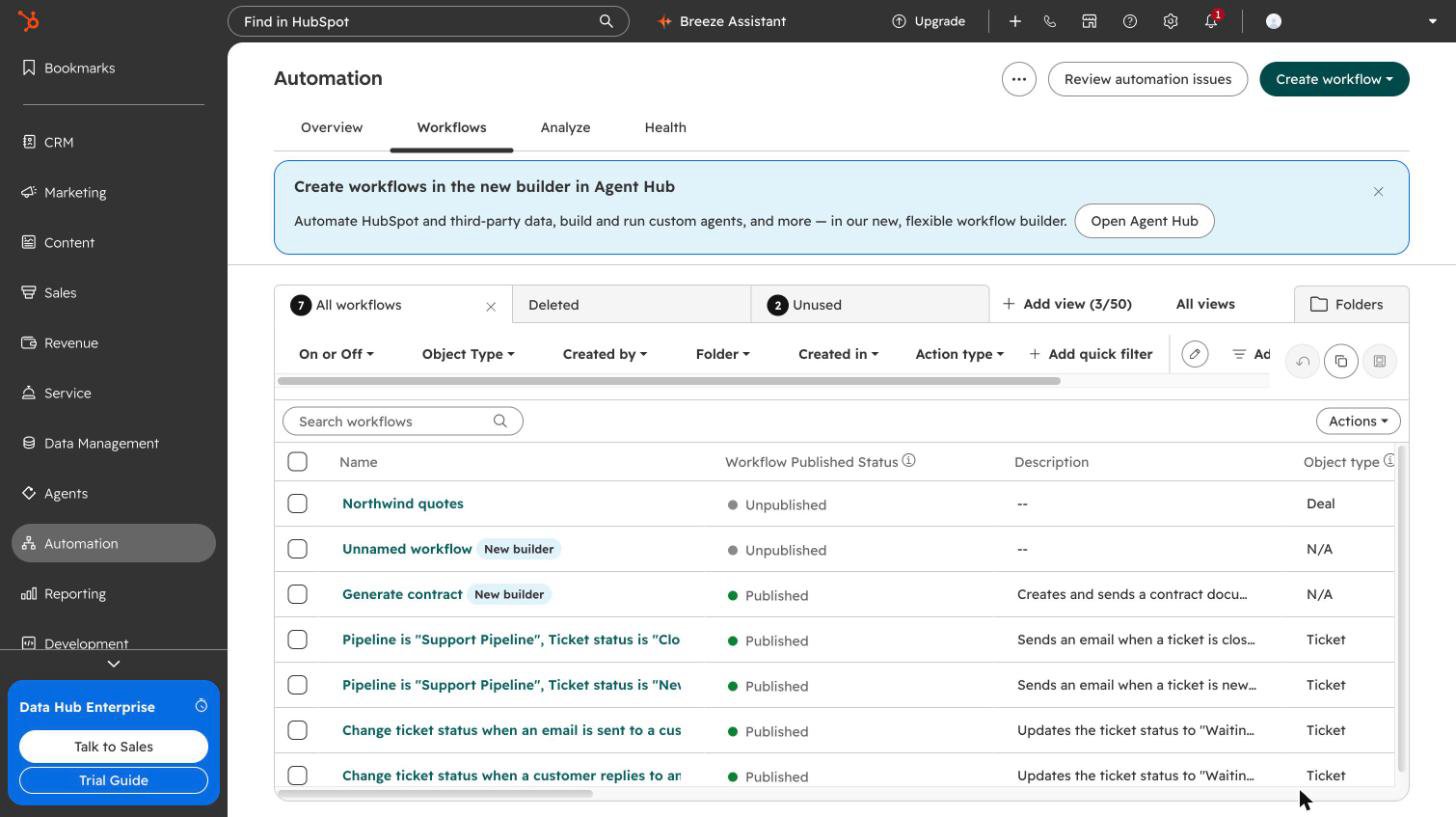
-
Add an action, search for Create document with DocsAutomator, and choose it.
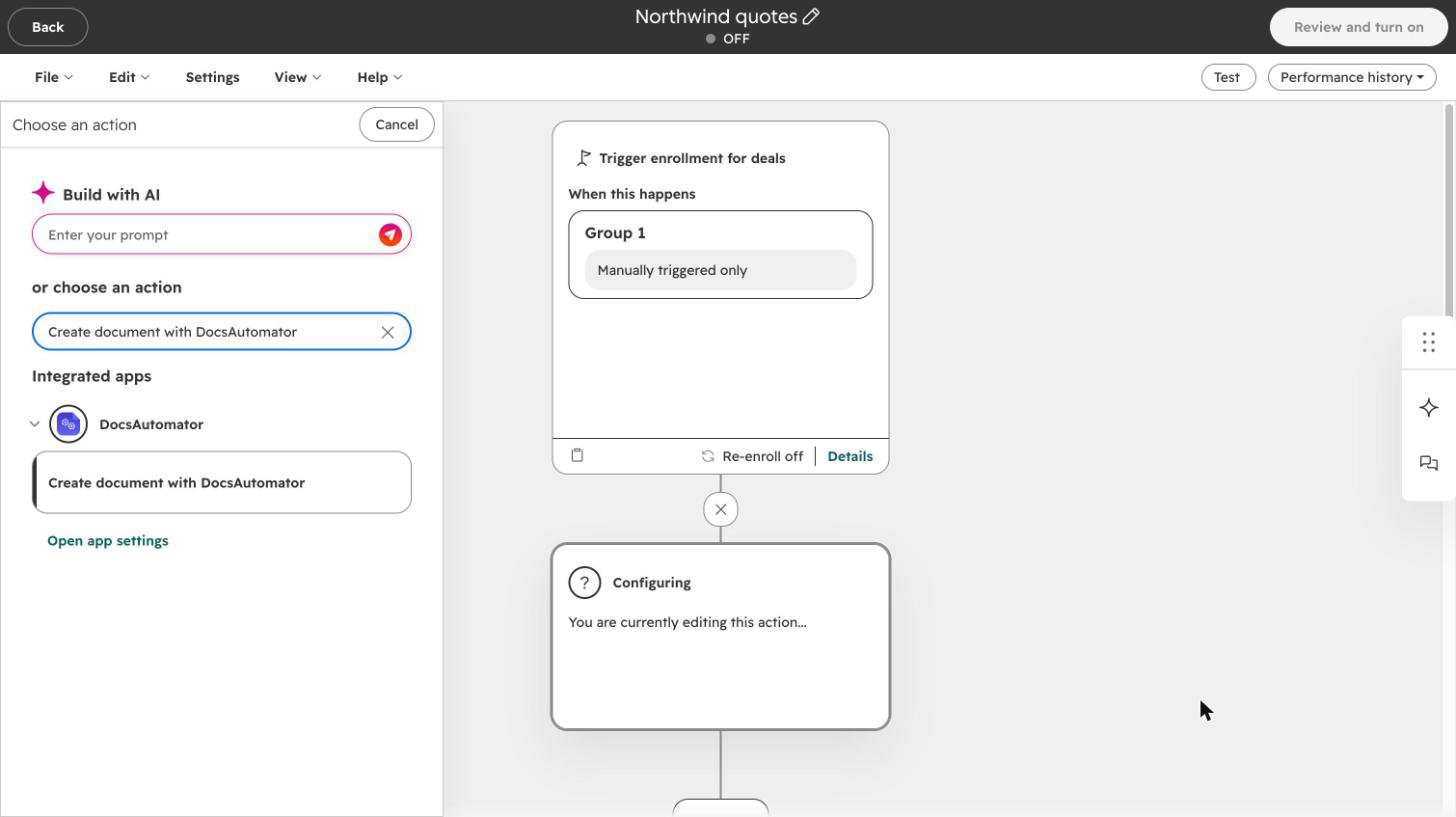
-
Leave the target record on the enrolled record. Under Automation, choose your automation.
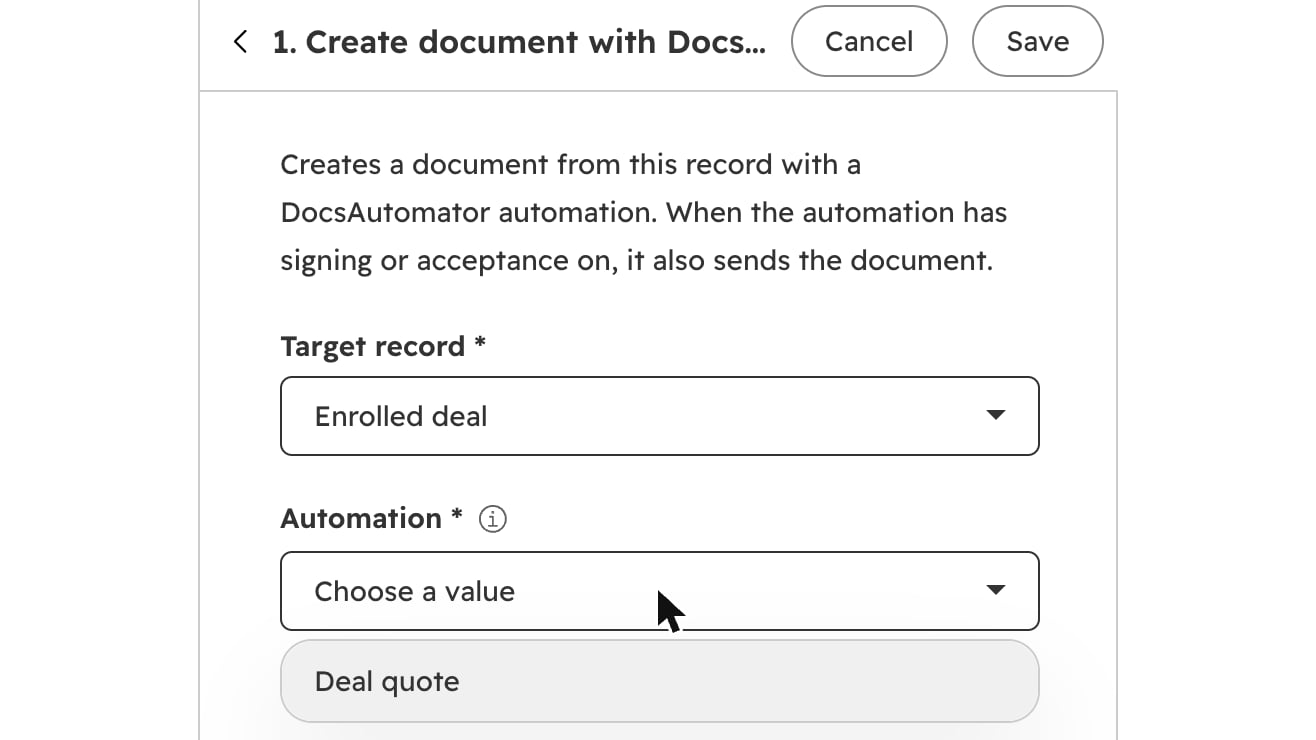
-
Save the workflow and turn it on.
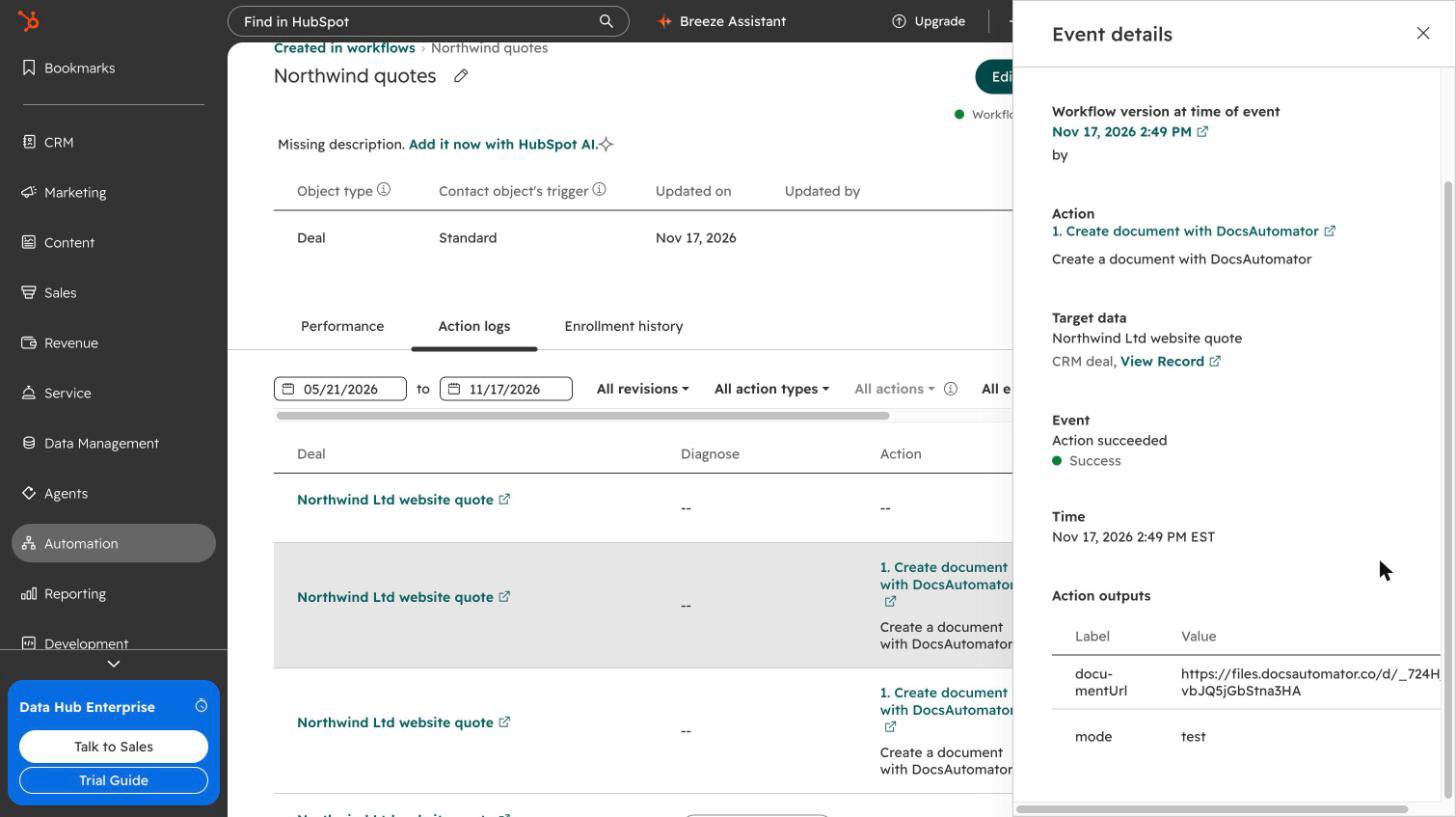
The workflow’s Action logs show the outputs of each run under their names.
Signing and acceptance
- The signer is the record’s primary contact by default. You can change it in the signing settings.
- After signing, the signed PDF comes back to the record as a second note.
- If a signer declines or the request expires, a note on the record says so.
- After signing, move the deal to: choose a stage for each pipeline. The default is to leave the deal where it is, because a won stage changes your revenue reports.
- A workflow step finishes when the document is sent, not when it is signed. To act on the signature, start a workflow on the new stage.
Write back to properties
- Save PDF URL to HubSpot writes the document link into a property you choose.
- The status (“Sent for signing” or “Sent for acceptance”, “Signed” or “Accepted”, “Declined”, “Expired”) can go into a property you choose.
When the connection stops working
DocsAutomator checks the HubSpot connection every day. If it stops working, the workspace owners get one email with a reconnect link, and the card shows Reconnect DocsAutomator. Runs fail with a reconnect message until you reconnect in Settings, Integrations.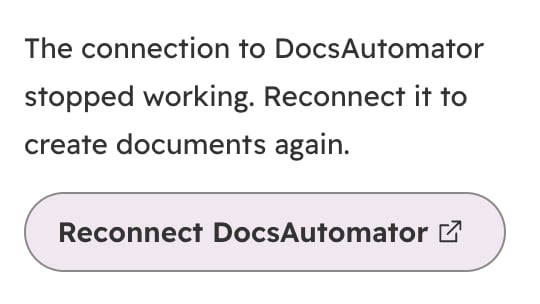
Disconnect or uninstall, and what happens to your data
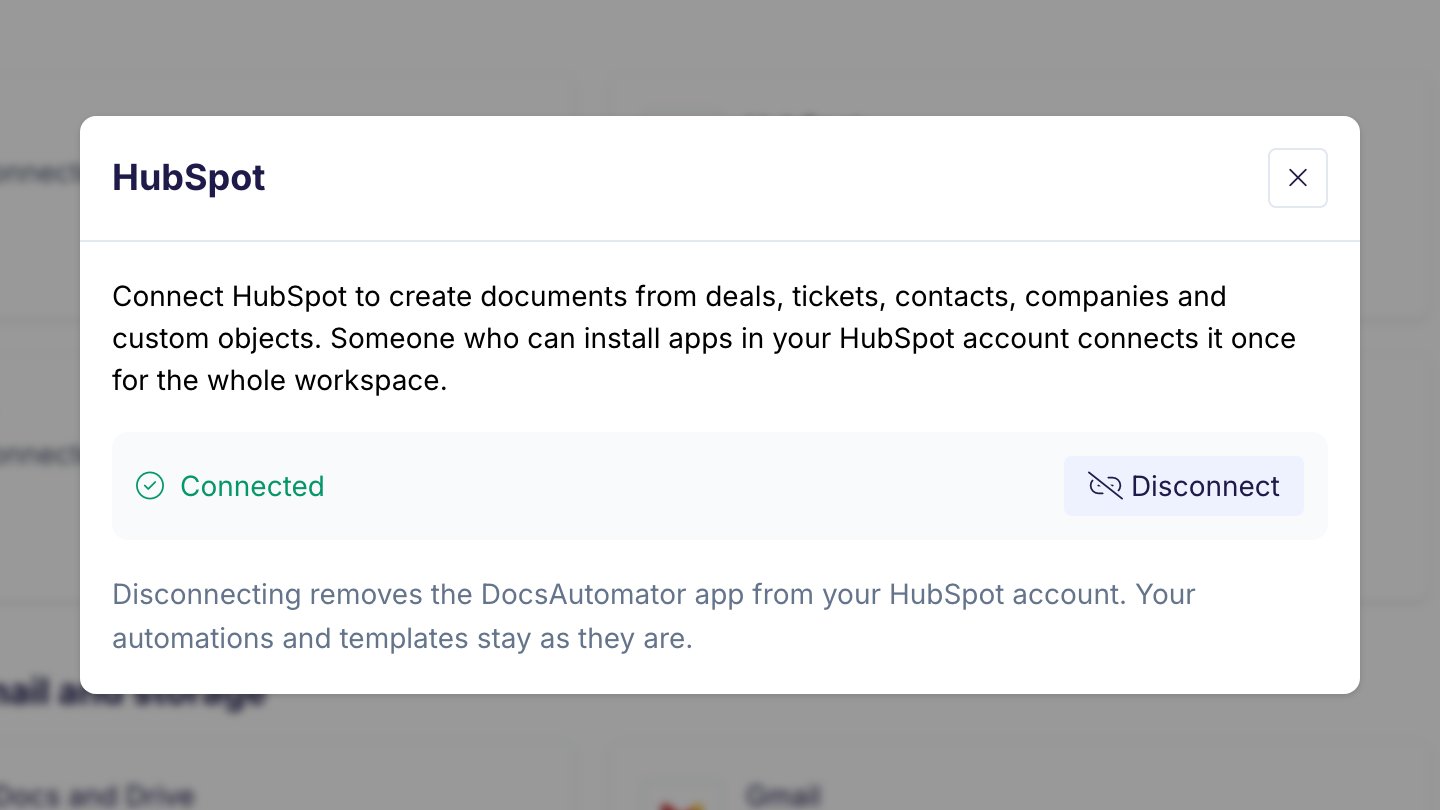
- Disconnect in DocsAutomator (Settings, Integrations): DocsAutomator removes the app and its cards from your HubSpot account and deletes the stored HubSpot tokens immediately.
- Uninstall in HubSpot (Settings, Integrations, Connected apps): the app stops working immediately. DocsAutomator marks the connection as broken and stops runs from HubSpot.
- Data in HubSpot: the notes and PDFs that DocsAutomator filed on your records stay in HubSpot. They belong to you.
- Data in DocsAutomator: your automations and templates stay, so you can reconnect later. Generated documents follow the expiry you set. After 90 days, the run log keeps the record id and the run details, not the record data. To delete your workspace or your account and its data, see Delete your account and data.
- What DocsAutomator stores and for how long is described in the privacy policy.