

Basic Setup
- Open the Actions card of the automation editor.
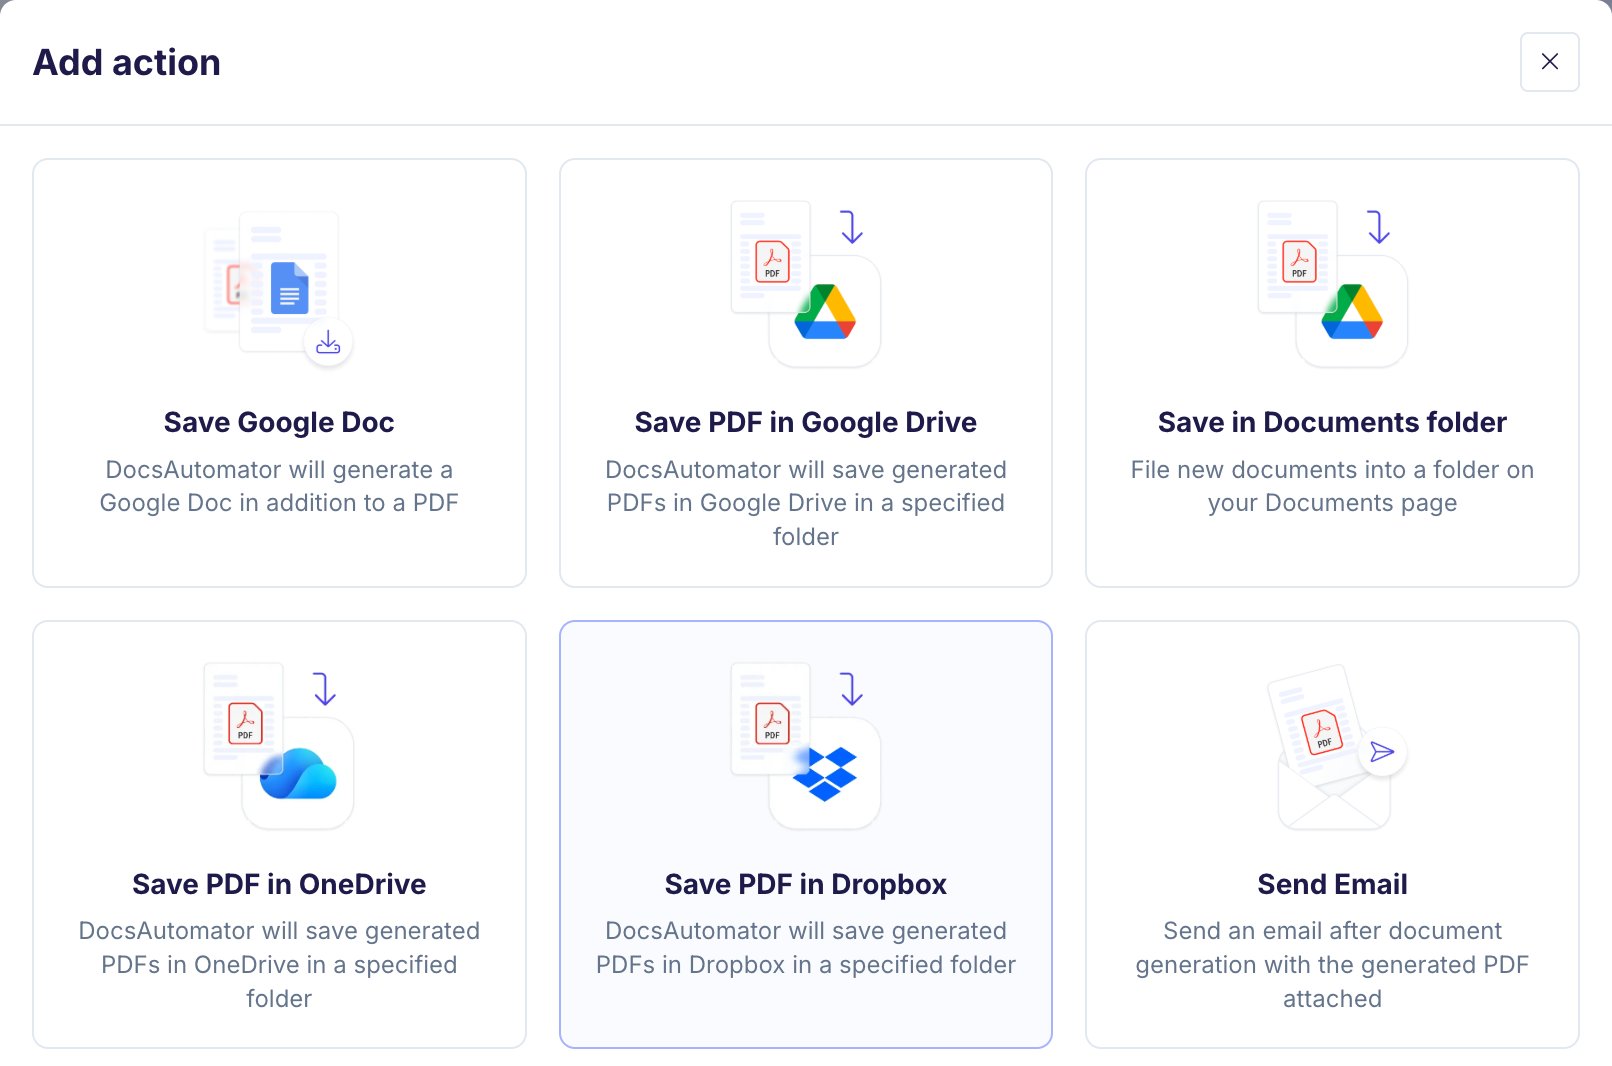
- Click Add action and pick “Save PDF in Dropbox”.
- Choose your connected Dropbox account, or connect one.
- Click Browse and open your target Dropbox folder.
- (Optional) Set a dynamic subfolder.
If no folder is selected, PDFs save to the top level of your Dropbox.
Connecting a Dropbox account
If you have not connected Dropbox yet, click Connect Dropbox Account and allow DocsAutomator access. DocsAutomator asks for three permissions: your account name and email, a list of your folders (for the folder picker), and permission to add files. You can connect or disconnect accounts anytime under Workspace Settings → Integrations.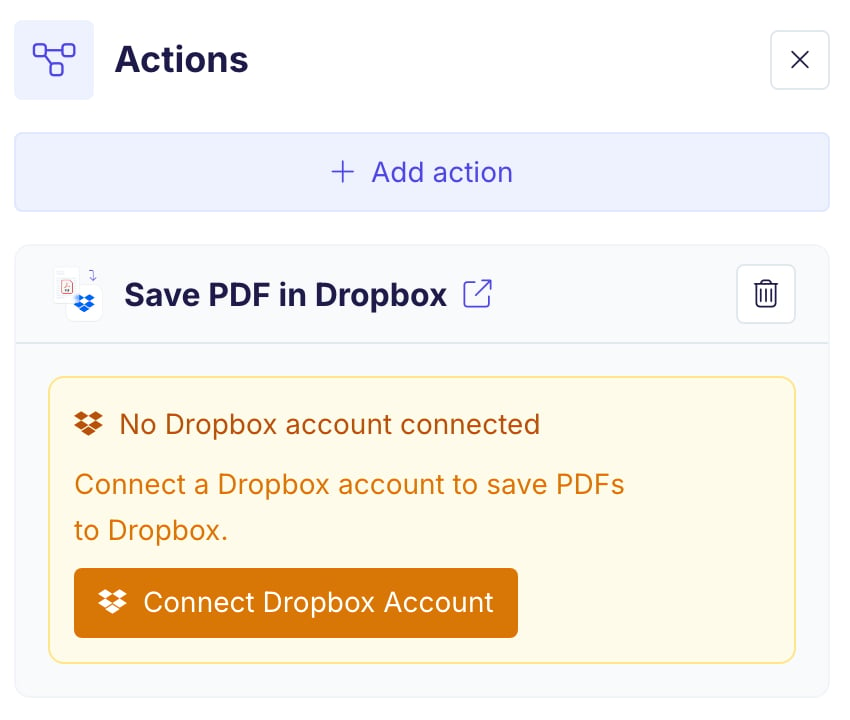
Dynamic Subfolders
Organize PDFs automatically with subfolders made of static text and placeholders.1
Pick a destination
Select your connected Dropbox account and browse to a destination folder.
2
Configure the subfolder
Enter a “Subfolder Name (optional)” using text and placeholders.
3
Create a hierarchy
Use forward slashes (
/) for nested folders./ in the subfolder field to browse your placeholders, or type {{placeholder_name}} yourself. Line item placeholders are excluded.
How It Works
- DocsAutomator replaces the placeholders with the values of the document.
- Dropbox creates any folder in the path that does not exist yet.
- The PDF is saved in the final folder. If a file with the same name already exists, Dropbox keeps both and adds a number to the new one, for example
Invoice 7 (1).pdf. Nothing is overwritten.
Word files and signed PDFs
- For Word templates, the Save Word Document action has a Save to Dropbox? toggle that uploads the
.docxas well. See Save Word Document. - For signing and acceptance, turn on Save to Dropbox under After signing to save the signed PDF. See Signed PDF Delivery.