.docx) file as the base for document generation. You type {{placeholders}} directly into the Word document, map them to your data source, and DocsAutomator fills them in and renders the result to a PDF at generation time. Your original template file is never modified.
Word templates support the same placeholder syntax and almost all of the same features as Google Doc templates. Line items, conditional sections, dynamic images, conditional styling, and e-signatures all work the same way.
When to Use Word Templates
Word (.docx) Templates
- Your team already designs documents in Microsoft Word
- You want to keep editing the template in Word, not Google Docs
- You need dynamic content: line items, conditional sections, e-signatures
- You have an existing
.docxbrand template to reuse
Google Doc Templates
- You prefer to build and edit templates in Google Docs
- You want the in-app live preview while editing
- You need nested (multi-level) line items
- You collaborate on the template in real time
Three Ways to Start a Word Template
In the Template step of your automation, choose Word (.docx) as the template type. You then have three ways to get a template in place.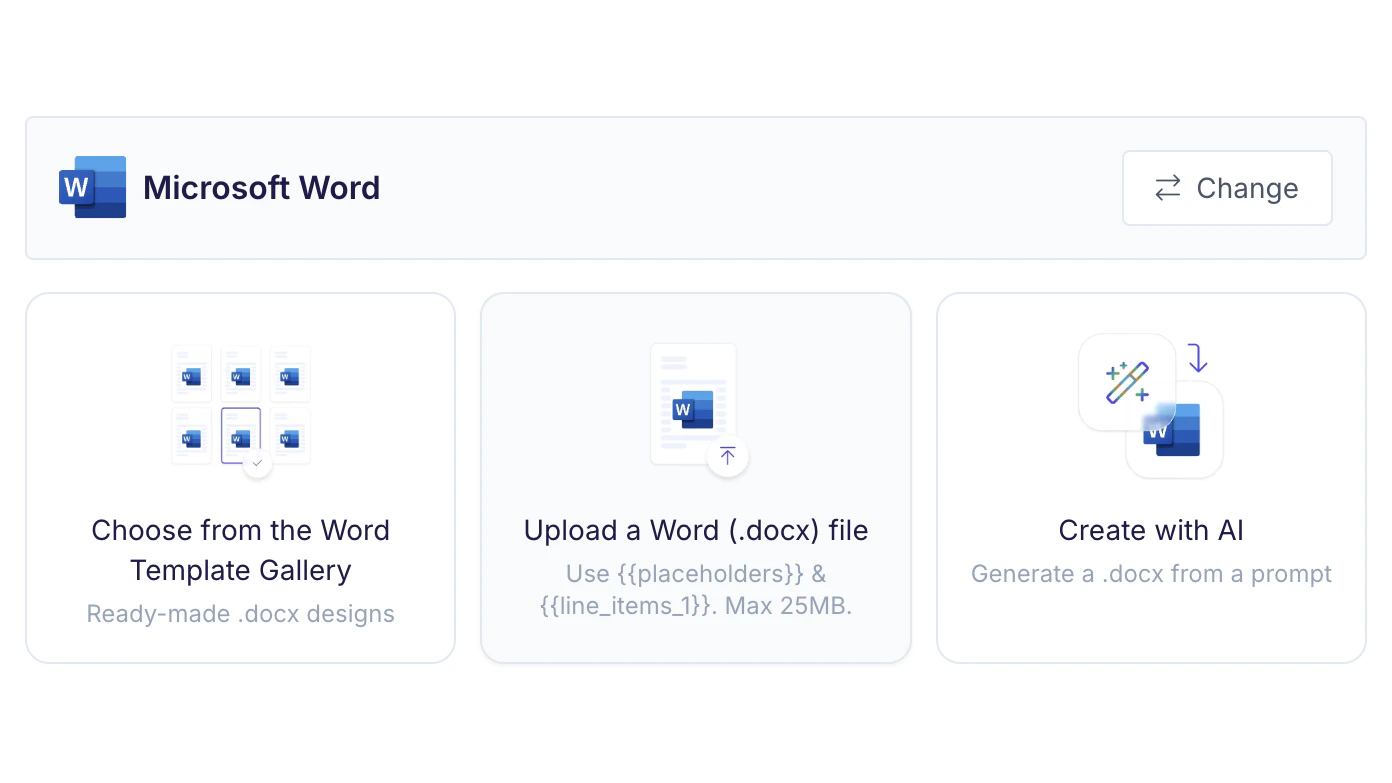
Word Template Gallery
Pick a ready-made
.docx design from the gallery. DocsAutomator copies it into your automation, detects its placeholders, and you map your data.Upload a .docx
Upload your own Word file with
{{placeholders}} already typed in. DocsAutomator scans it and lists every placeholder it finds.Create with AI
Describe the document you need and AI generates a complete
.docx template, layout, formatting, and placeholders included.Option 1: Choose from the Word Template Gallery
The gallery contains a large set of ready-made.docx designs (invoices, contracts, certificates, reports, and more). Select one and DocsAutomator copies the file into your automation and detects its placeholders automatically. From there you map each placeholder to your data source and customize the wording in Word if you want.
Option 2: Upload your own .docx
Build your template in Word
Type
{{placeholders}} directly into your Word document wherever you want data to appear (see Placeholder Syntax below).Upload the file
Click Upload a Word (.docx) file and select your document. The file must be a
.docx (not the older .doc) and under 25 MB.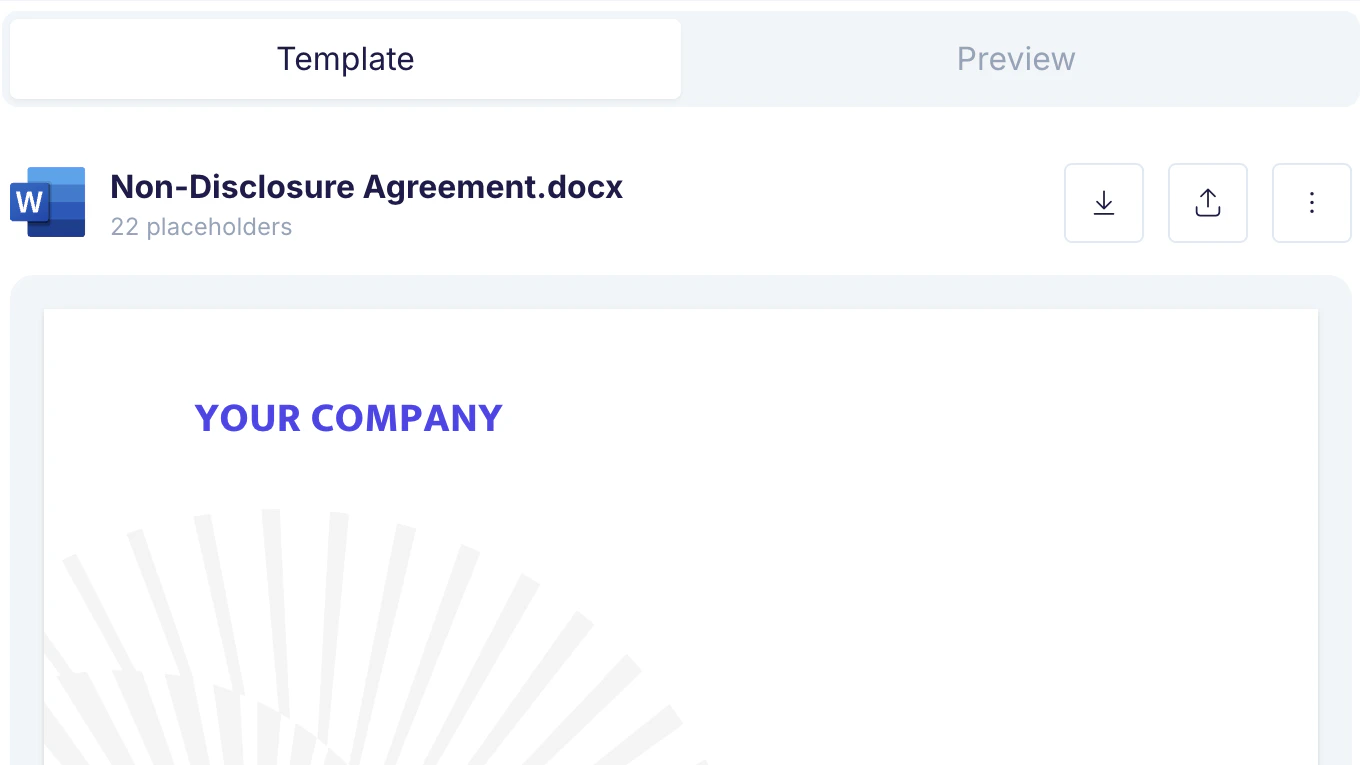
Option 3: Create with AI
Don’t have a template yet? Describe what you need (“a clean consulting invoice with a logo, line items, and totals”) and AI generates a complete.docx template for you, headings, tables, formatting, and {{placeholders}} in the right places.
You can:
- Refine the colors and title, let AI suggest a title or pull a brand color palette
- Add images, upload a logo or graphic to embed in the design
- Edit by chatting, ask for changes (“make the header navy”, “add a notes section”) and the document updates
- Undo, step back if an edit isn’t what you wanted
- Preview as PDF, see exactly how the document will render before you save
.docx becomes your template, ready for data mapping. This is the Word counterpart to the AI Template Generator, no Google account required.
Placeholder Syntax
You write placeholders directly into the Word document using double curly brackets. This is the same syntax as Google Doc templates.Standard Text Placeholders
| Syntax | Description | Example |
|---|---|---|
{{fieldName}} | Simple text replacement | {{company_name}} |
{{image_fieldName}} | Dynamic image, any placeholder whose name contains image is filled with a picture from your data | {{image_logo}} |
Line Items (Repeating Table Rows)
Line items repeat a table row once per record in a list, perfect for invoice line items, order details, or any repeating data. To build one in Word:- Insert a table with a header row and one data row.
- In the first cell of the data row, type the marker
{{line_items_1}}. - In the cells of that same row, type the bare field names for each column, for example
{{description}},{{quantity}},{{price}}.
{{line_items_2}}, {{line_items_3}}, and so on (up to nine).
Nested (multi-level) line items are not yet supported in native Word templates. The
{{line_items_1_1}} / {{line_items_1_2}} syntax for sub-lists currently works only in Google Doc templates. If you need nested line items today, use a Google Doc template. Single-level line items are fully supported in Word.Conditional Sections
Show or hide whole blocks of the document based on your data. Put each tag in its own paragraph.E-Signature Placeholders
Word templates work with DocsAutomator eSign using the same text-based tags as Google Docs:Supported Features
Almost everything you can do in a Google Doc template works in a Word template. The table below maps the platform’s features onto native Word support.| Feature | Native Word | Notes |
|---|---|---|
| Simple text placeholders | Yes | {{fieldName}} |
| Dynamic images | Yes | Any placeholder whose name contains image; one image per placeholder (a multi-image field inserts the first), with per-placeholder resizing, file-size optimization, and clickable links |
| Line items (single level) | Yes | {{line_items_1}} in the table row, up to 9 tables |
| Nested line items | No | Google Doc templates only (for now) |
| Auto row numbers | Yes | Inserts a numbered column into the line-item table |
| Conditional sections (show/hide) | Yes | {{section_x}}…{{/section_x}} |
| Conditional show/hide of placeholders | Yes | Empty/hidden values drop their paragraph or table row |
| Conditional styling | Yes | Bold/italic/color rules per placeholder |
| Markdown formatting | Yes | Rich text from markdown values |
| Date & number formatting | Yes | Per-placeholder formatting options |
| E-signatures | Yes | {{esign.*}} tags |
| In-editor live preview | Yes | Sample data rendered to PDF in the split view |
How Word Templates Render
When you generate a document, DocsAutomator fills your Word template and produces a clean.docx, then converts it to a PDF for the final output. To make those PDFs faithful, keep the following in mind.
Higher-fidelity rendering with Microsoft
If you connect a Microsoft account, you can render the PDF with Microsoft’s own Word engine instead of the default renderer, for the closest possible match to how the document looks in Word. This is the best option for templates with floating elements, text boxes, or non-standard fonts.- DocsAutomator turns it on automatically when it detects elements the default renderer may not reproduce exactly (for example floating objects or a font it cannot match), and you will see a note explaining why.
- You can also turn it on or off yourself for any Word template: it is a toggle in the template view, and an option in the template’s
⋮menu. - If Microsoft is briefly unavailable, generation automatically falls back to the default renderer, so documents always go out.
- Requires a connected Microsoft account (the same connection used for OneDrive output and Outlook sending).
Fonts
For the PDF to match your design exactly, embed your fonts in the Word file. In Microsoft Word:File ▸ Options ▸ Save ▸ “Embed fonts in the file”If a non-standard font isn’t embedded, the default PDF renderer substitutes the closest available font, which can shift spacing and line breaks. Standard system fonts (Arial, Times New Roman, Calibri, and similar) render reliably without embedding. DocsAutomator lists the fonts it detected in your template after upload so you know what to embed. Alternatively, rendering with Microsoft (above) draws on Microsoft’s broader font set and matches Word more closely.
Table Borders
The renderer automatically neutralizes invisible white borders on white backgrounds (which some converters would otherwise render as faint gaps in the PDF). Intentional, visible borders and dividers are always preserved, this fix is non-destructive and only touches borders that were invisible anyway.Floating & Anchored Objects
Floating text boxes and anchored drawings are kept as-is but can shift position when rendered by the default engine. Rendering with Microsoft (above) reproduces them most faithfully. For the most predictable results with the default renderer, prefer in-line images and standard tables over floating objects.Replacing or Removing a Word Template
Once a Word template is attached, the template card gives you two controls:| Action | What happens |
|---|---|
| Replace | Upload a new .docx in place of the current one. Placeholders are re-detected from the new file. |
| Delete | Removes the Word template and returns you to the template-type picker so you can start over (or switch to Google Docs or PDF). |
Data Source Compatibility
Word templates work with every DocsAutomator data source:Airtable
Notion
Google Sheets
SmartSuite
ClickUp
API
Zapier
Glide
Make
n8n
{{company_name}} can map to any column or field, regardless of what that field is called in your source.
Limitations vs Google Docs
Native Word templates support nearly the full feature set, with a few differences to be aware of:- Nested line items (
{{line_items_1_1}}) are not yet supported, use a single level, or a Google Doc template for multi-level lists. - Fonts must be embedded in the
.docxfor non-standard typefaces to render faithfully in the PDF. - Floating/anchored objects may shift position in the PDF; prefer in-line layout.
Related Pages
Templates Overview
Compare Google Doc, PDF, and Word template types
Placeholder Syntax Reference
Complete reference for all placeholder types
Line Items
Repeating rows and tables from list data
Sections
Show or hide blocks based on your data
DocsAutomator eSign
E-signature configuration and workflows
AI Template Generator
Generate a template from a prompt