Automating repetitive tasks, such as invoice creation, can effectively save time and minimize errors. By combining Zapier and Google Docs, it’s straightforward to set up a system for generating invoices automatically. Follow the detailed guide below to get started.
Step 1: Create a Google Docs Invoice Template
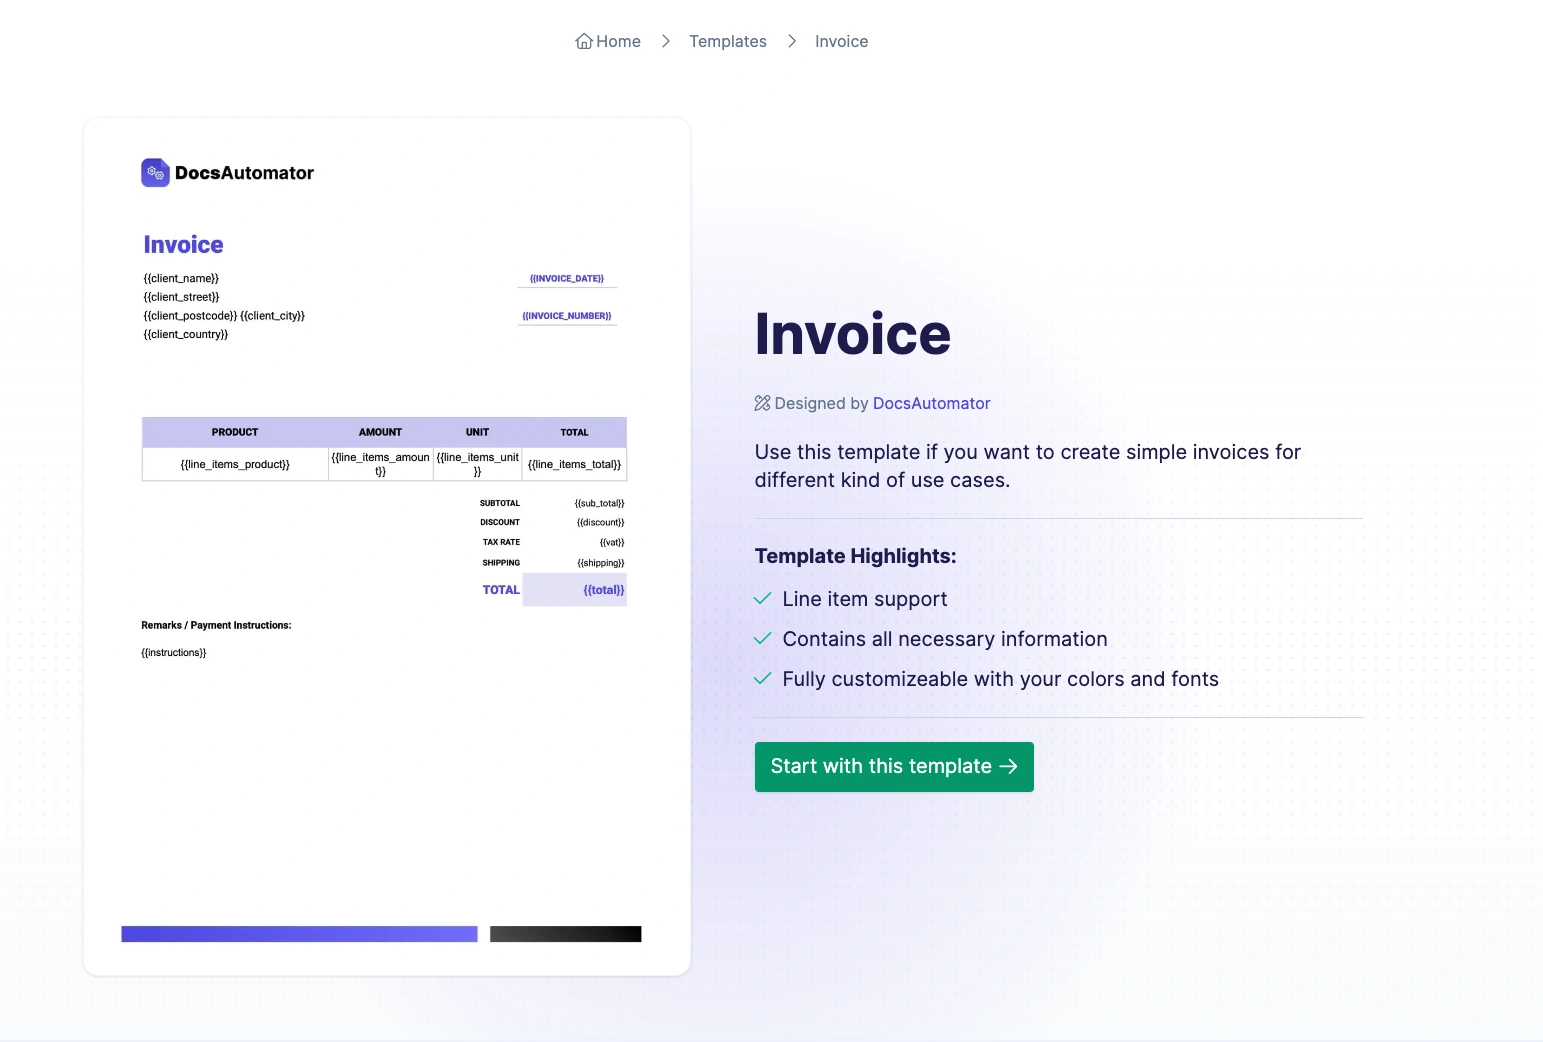
In order to automate invoices, the first step is to set up a Google Docs template. You can opt to start from scratch or utilize an existing invoice template. You'll find many pre-designed templates online, including those offered in the DocsAutomator Template Gallery. Starting with a template makes it easier for you to customize the invoice and ensure that it meets your needs.
Step 2: Add Placeholders for Dynamic Data
Once you have your template, the next step is to add placeholders where dynamic data will be inserted. Use double curly brackets to define these placeholders (e.g., {{CustomerName}}, {{InvoiceDate}}, {{TotalAmount}}). This is the syntax needed to identify the placeholder in a later step in order to replace them with data. In our example, the DocsAutomator invoice template already utilizes double curly brackets for placeholders.
Step 3: Triggering the “Zap”
Now, it's time to connect your template with your data source. Zapier is a great tool to flexibly stitch together different tools — in our case a data source and Google Docs to create the actual invoice document. Your data source could be your CRM, a Google Sheet, a forms tool, just about any of the 7000+ apps in Zapier.


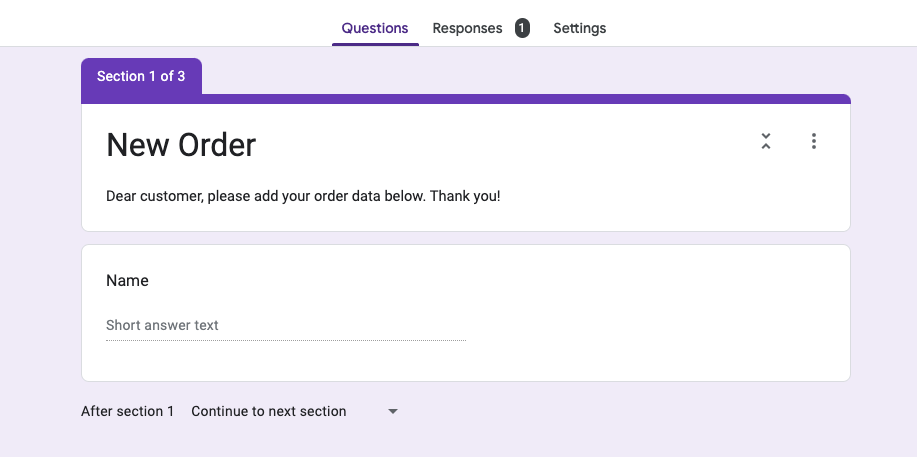
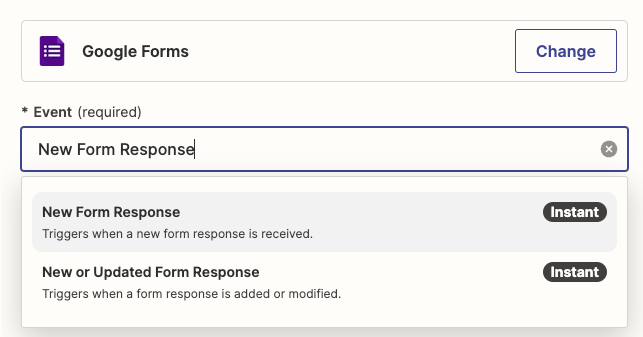
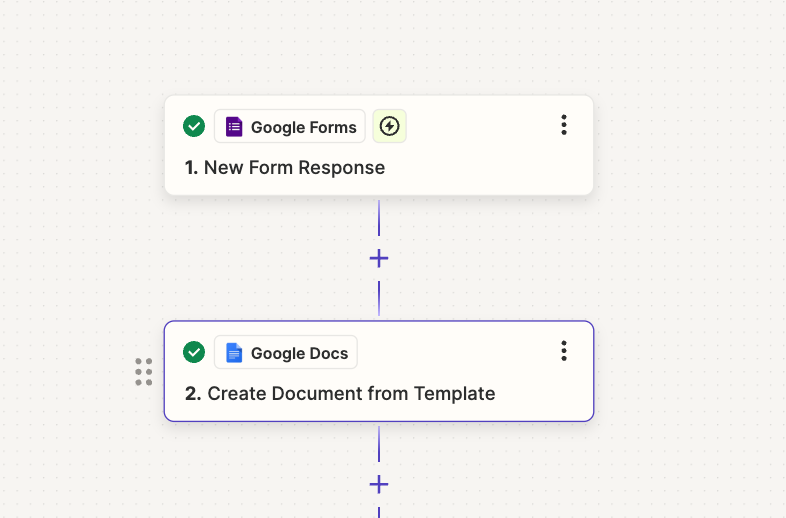
In our example, we want to create invoices from new orders submitted via Google Forms. Hence, we select the Google Forms app and use “New Form Response”. This Zap will run every time there is a new response to our form.
Step 4: Map Placeholders to Data
The Zapier Google Docs integration offers a straightforward way to create documents from a Google Docs template. This integration is ideal for simple use cases where you need to populate static information into your template.
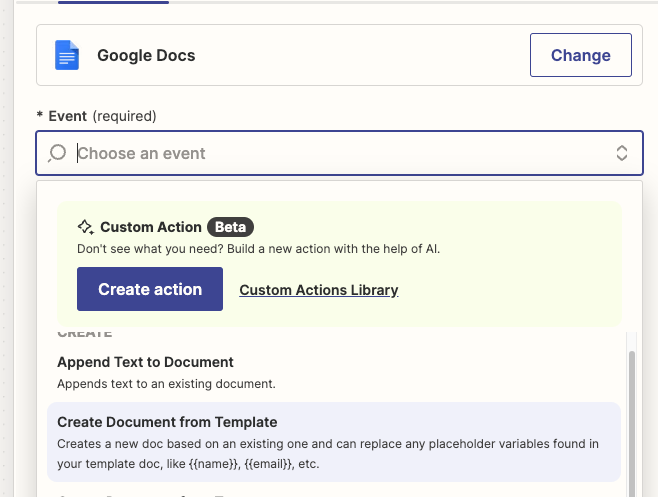
In the next step in Zapier, select Google Docs and set "Create Document from Template" as the event.
Now, select the template from step 1.

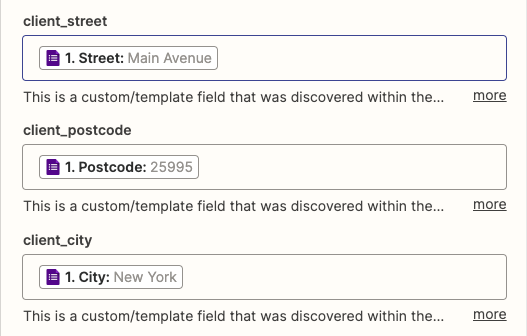
Selecting the template will pull all the defined placeholders from step 2 like {{client_name}}, {{INVOICE_DATE}}, etc., ready to be mapped to data from the previous step 3. Map all fields from the previous step.
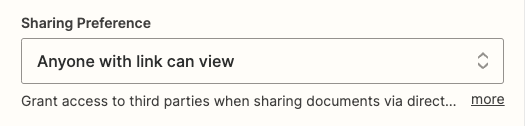
If you want to continue automating the generated document (uploading to Google Drive, sending via email, etc.), it’s important to set “Sharing Preferences” to “Anyone with the link can view”. You can reset the sharing preferences in a later step.
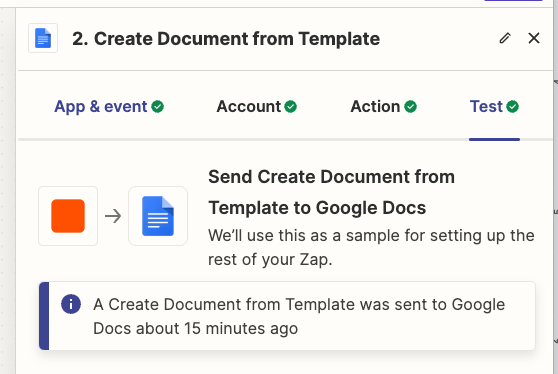
Step 5: Generate the PDF and process further
Having mapped all fields, we’re ready to generate a test document! Once the document is generated, you will see a bunch of responses from Google Docs. We will use the “Export Links Application Pdf” in a next step to continue working with it.
In our example we want to upload the PDF to Google Drive. For this, we use a next step, select Google Drive and the “Upload File” event:
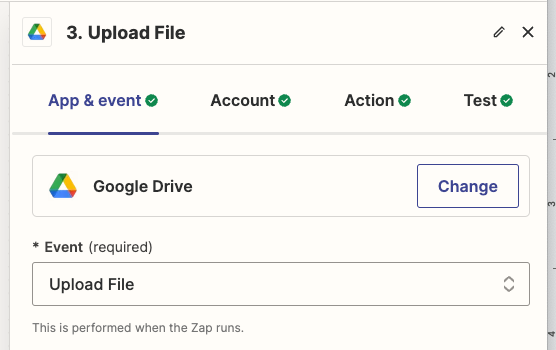
Set your drive, a folder and the “Export Links Application Pdf” link from step 2.

Testing this step, you will see the generated PDF appear in your Drive!
Conclusion
Automating your invoice creation process with Zapier and Google Docs is a powerful way to save time and improve efficiency. By following these steps, you can set up a robust automation workflow that generates professional invoices with minimal effort.
For more complex needs and to save additional time, make sure to check out DocsAutomator.
- Add Line Items: Use DocsAutomator to dynamically insert line items into your invoice template.
- Dynamic Images: Add images to your invoices dynamically, such as logos or product images.
- Conditional Content: Show or hide values based on specific conditions, ensuring that your invoices are always accurate and relevant.
- Conditional Styling: Apply different styles to your invoice elements based on certain criteria, such as overdue payments highlighted in red.
- Natively integrated with data sources: DocsAutomator natively supports a growing list of data sources like Airtable, Glide, Noloco, ClickUp and Zapier.
- Keep Google if you need it: DocsAutomator automatically removes the generated Google Doc after the PDF is exported. Optionally, you can keep the Google Doc to edit further.
- Markdown / Rich Text Support: Add Markdown / rich text to style text exactly as you need it.


