> ## Documentation Index
> Fetch the complete documentation index at: https://docsautomator.co/docs/llms.txt
> Use this file to discover all available pages before exploring further.
# Airtable
> Convert Airtable records into PDF documents and Google Docs
The DocsAutomator-Airtable integration enables you to convert Airtable records into PDF documents and Google Docs. The system operates on a "primary table and linked tables" model, where documents are generated from records in your main table while data lists ("line items") can be pulled from related tables.
Generated files automatically save to specified Airtable fields.
## Step-by-Step Setup
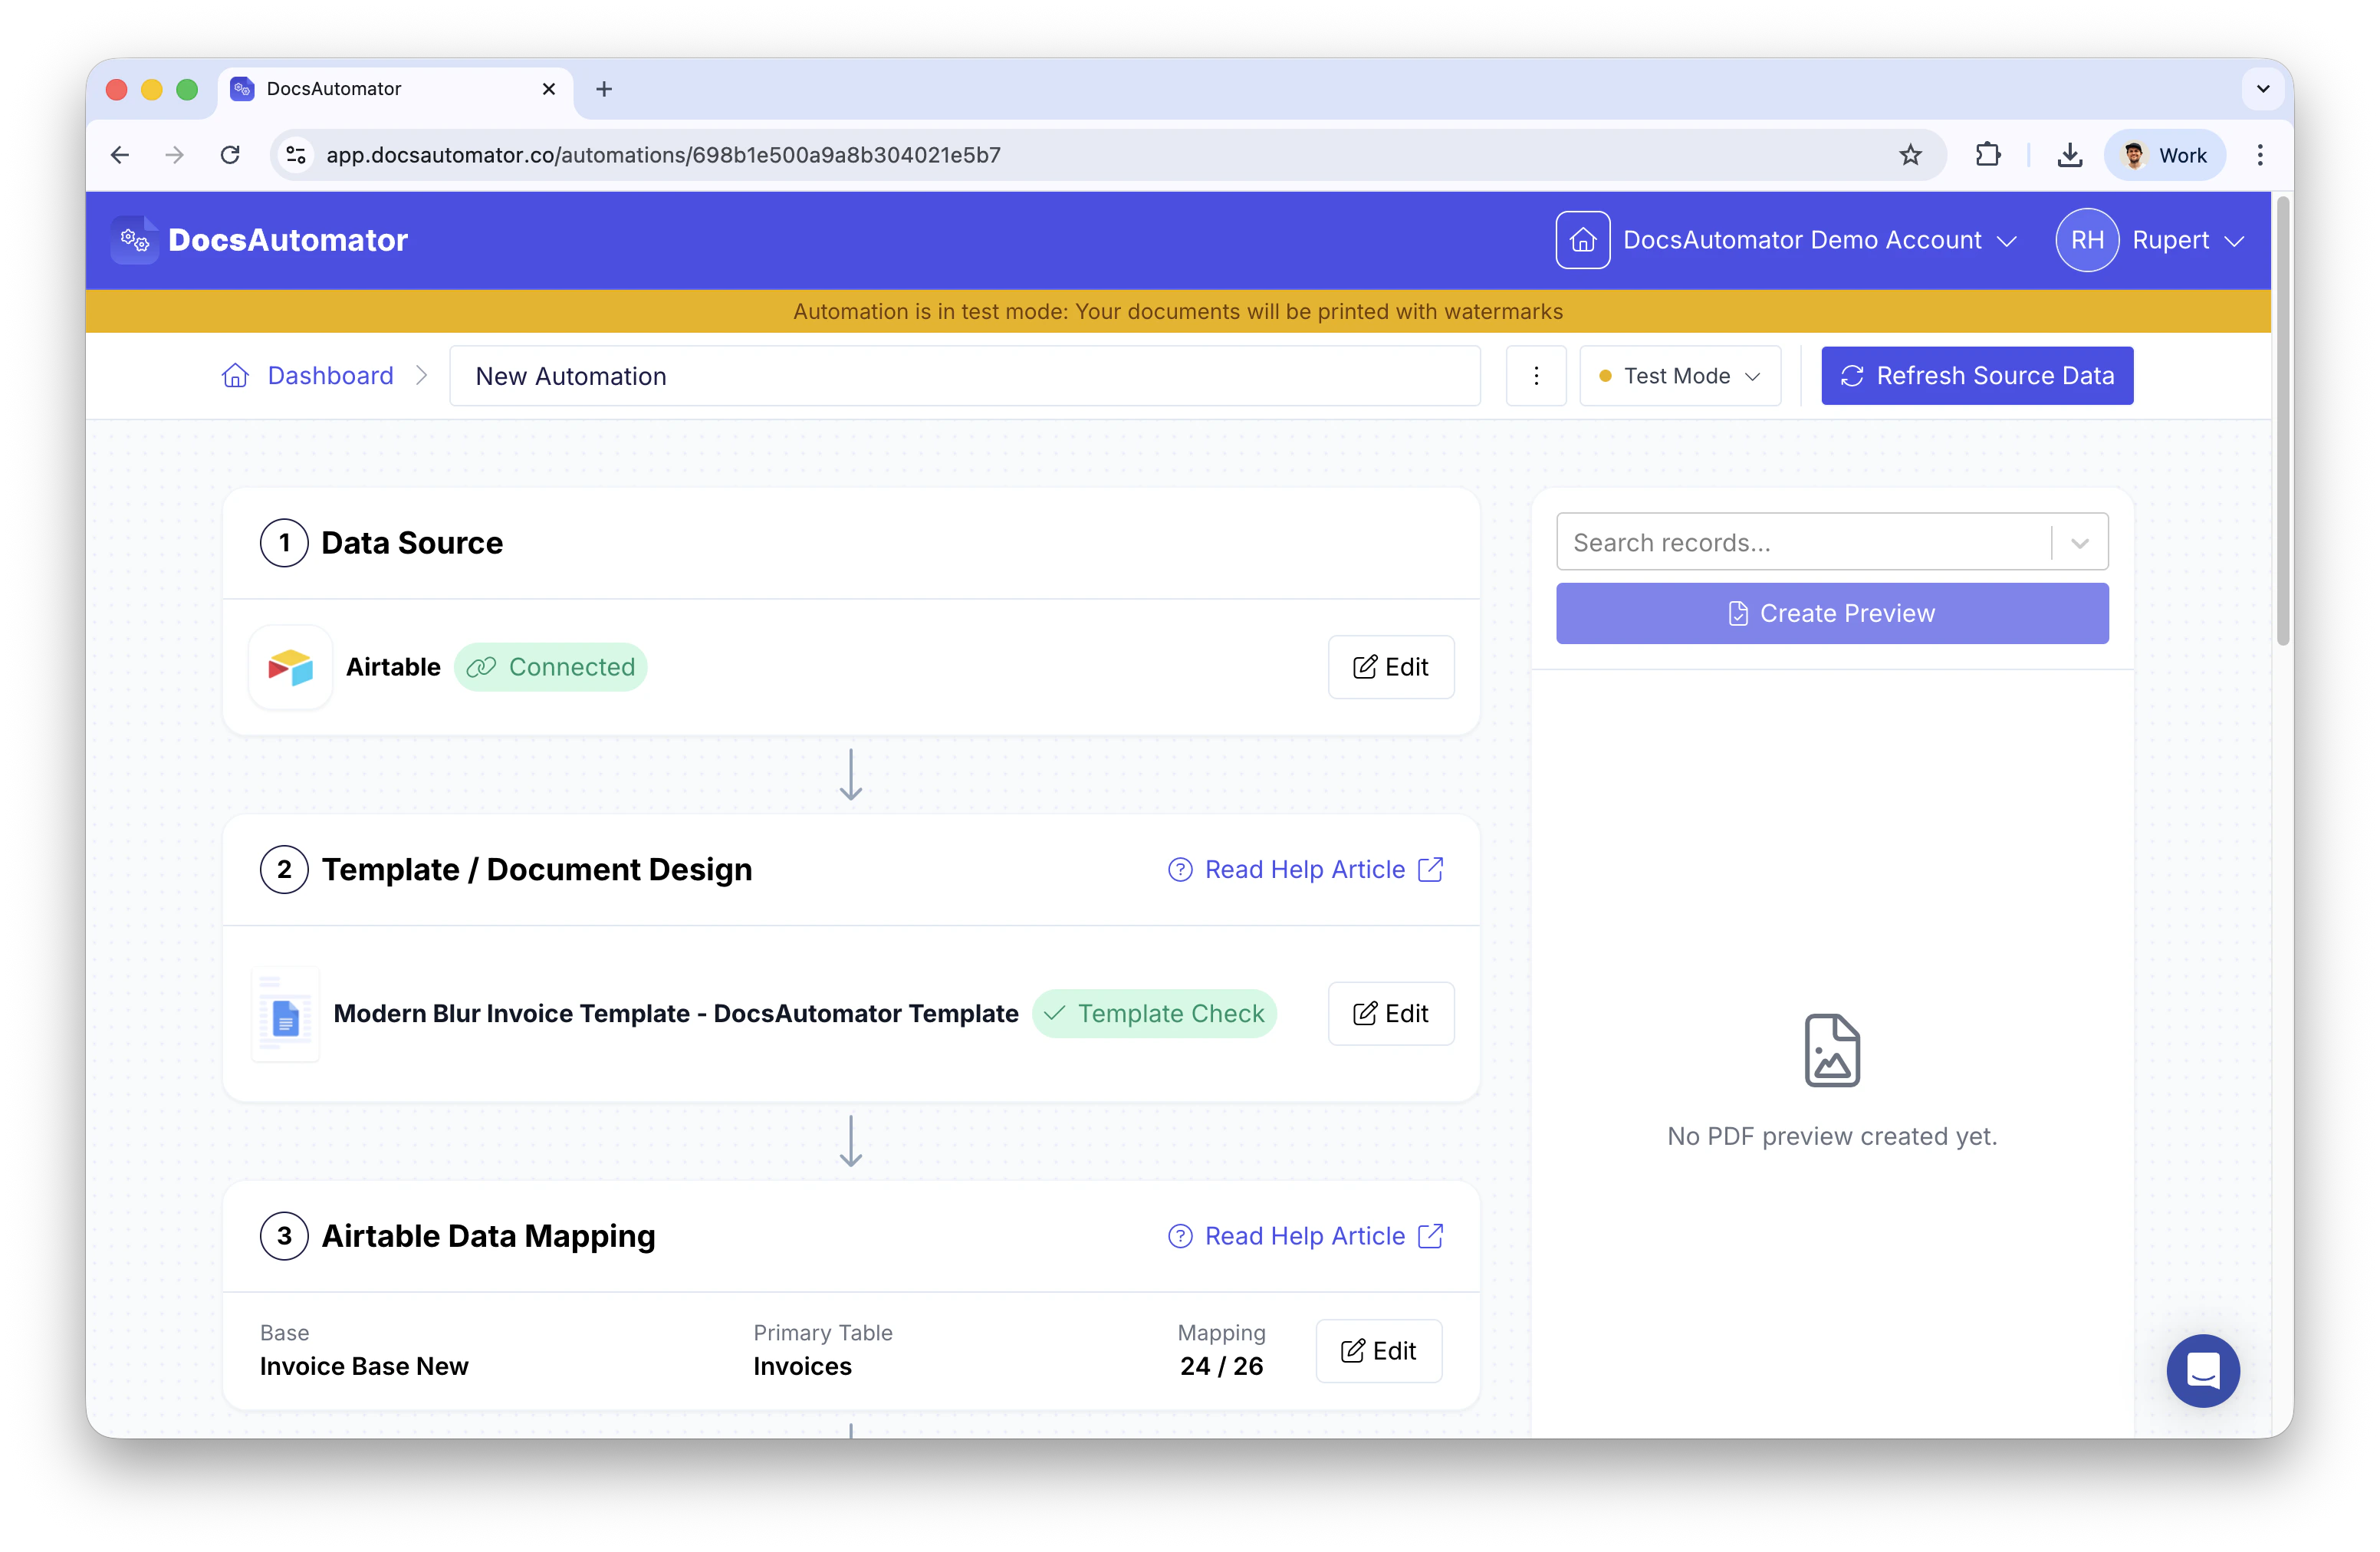
Begin by establishing a new automation within your DocsAutomator account.
Choose Airtable as your data integration source.
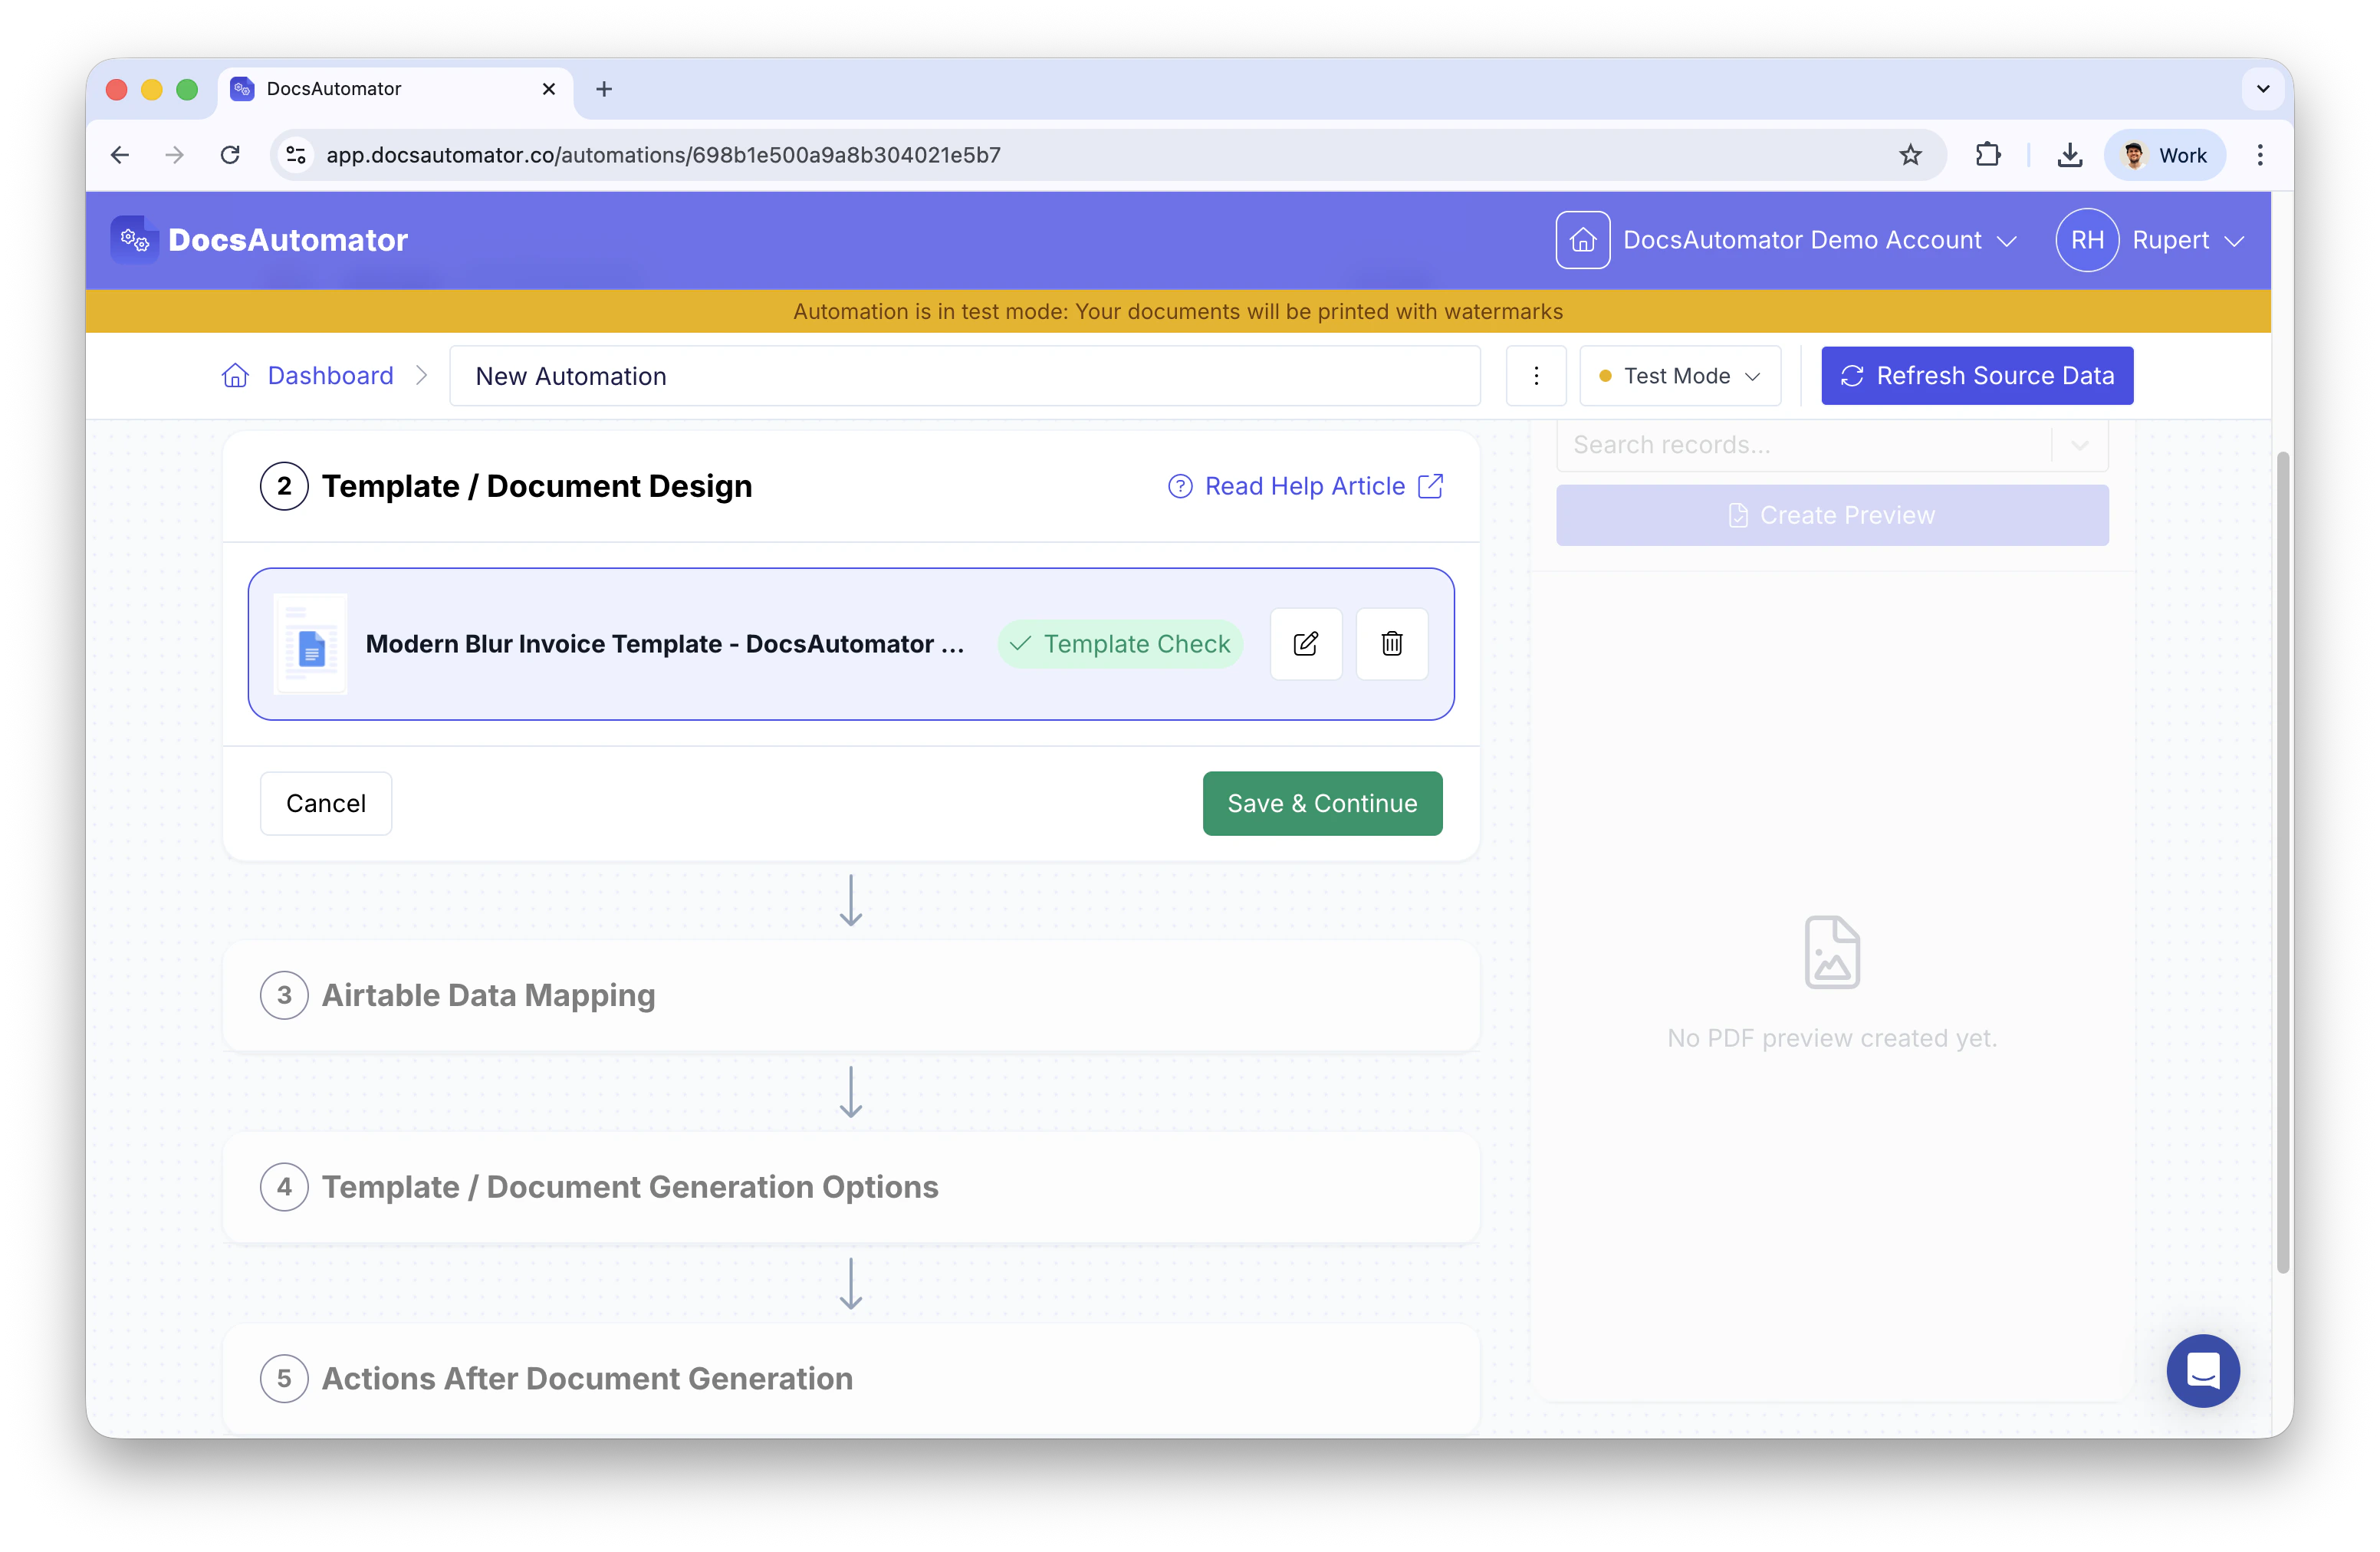
Every automation requires a Google Doc template. Consult the [Google Doc Template Guide](/docsautomator-basics/google-doc-template-guide) for setup details, or use the Playground Template for testing.
Select your primary Airtable base and table. DocsAutomator distinguishes between primary tables (containing main record data) and linked tables (containing related line items).
Specify three key settings:
* **Document name field**: Determines generated file naming. Pick any text-based field: single line text, **long text**, formula, select, number, date, and more all work (bases imported from Excel/CSV create long-text columns, which are now selectable). Long values are trimmed to a safe length and have line breaks removed automatically.
* **Attachment field**: Designates where PDFs store; select "Overwrite attachment" to replace existing files
* **Google Doc URL field**: Stores URLs for generated Google Docs (optional)
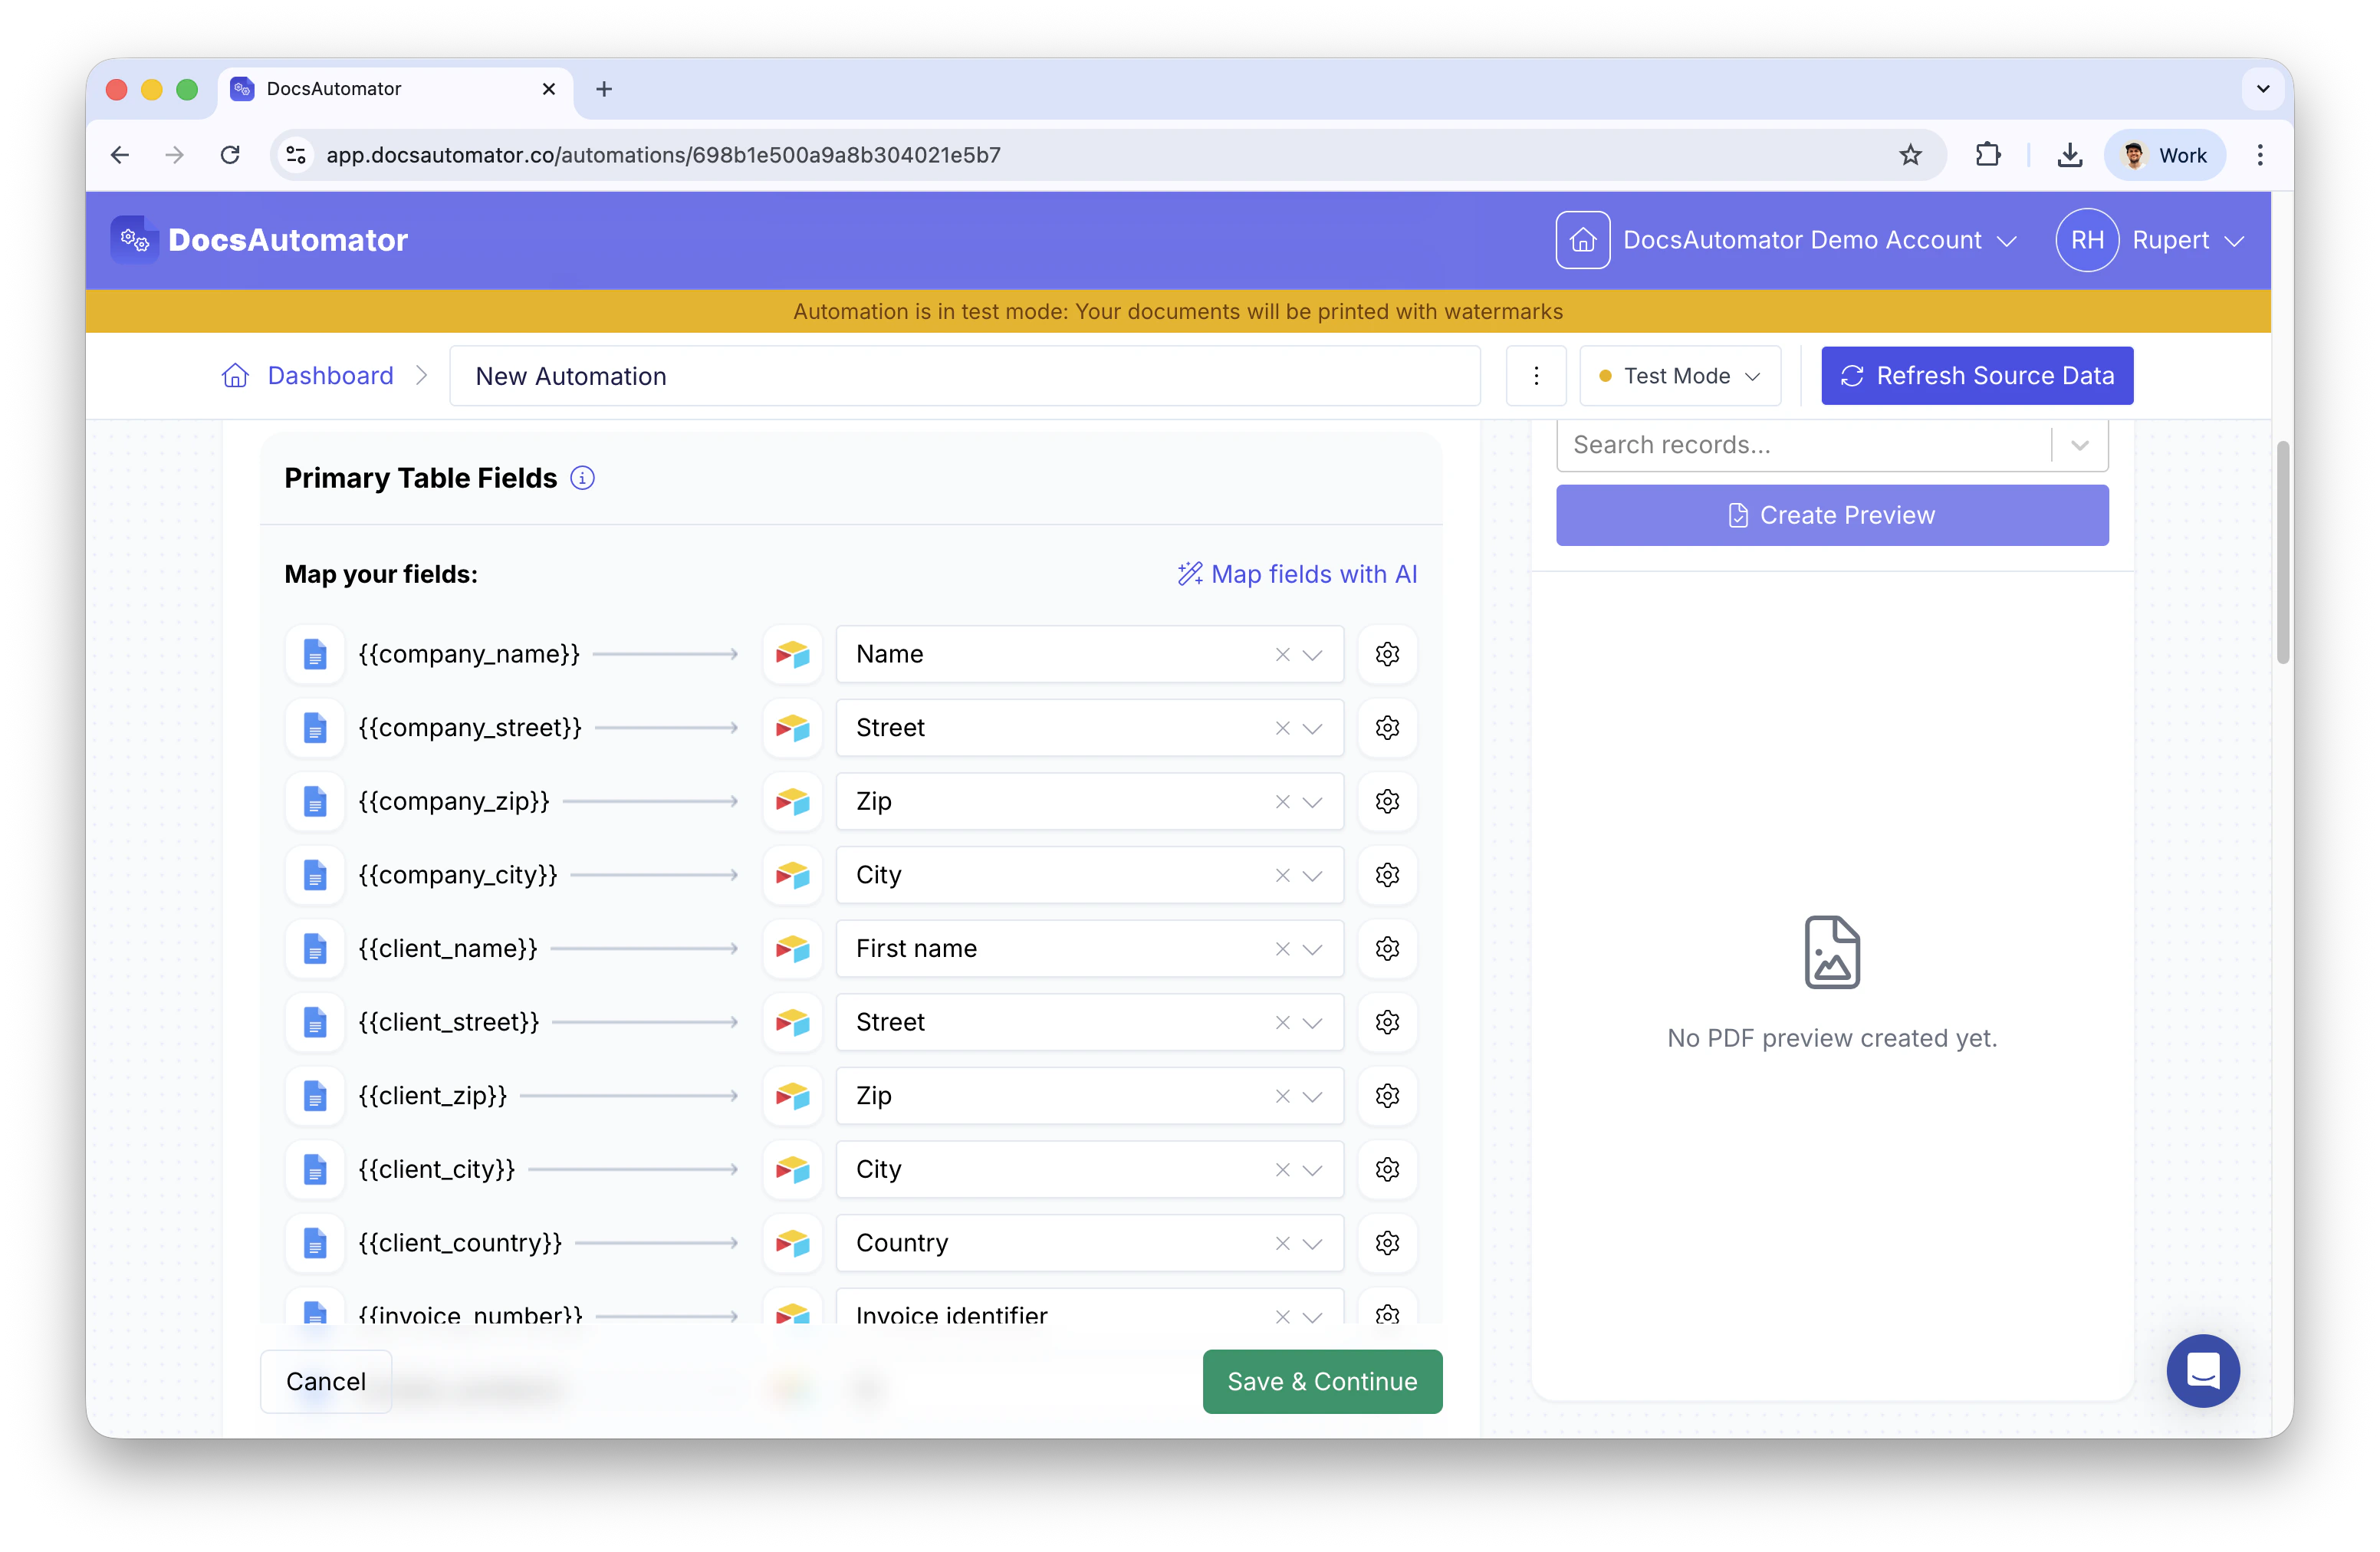
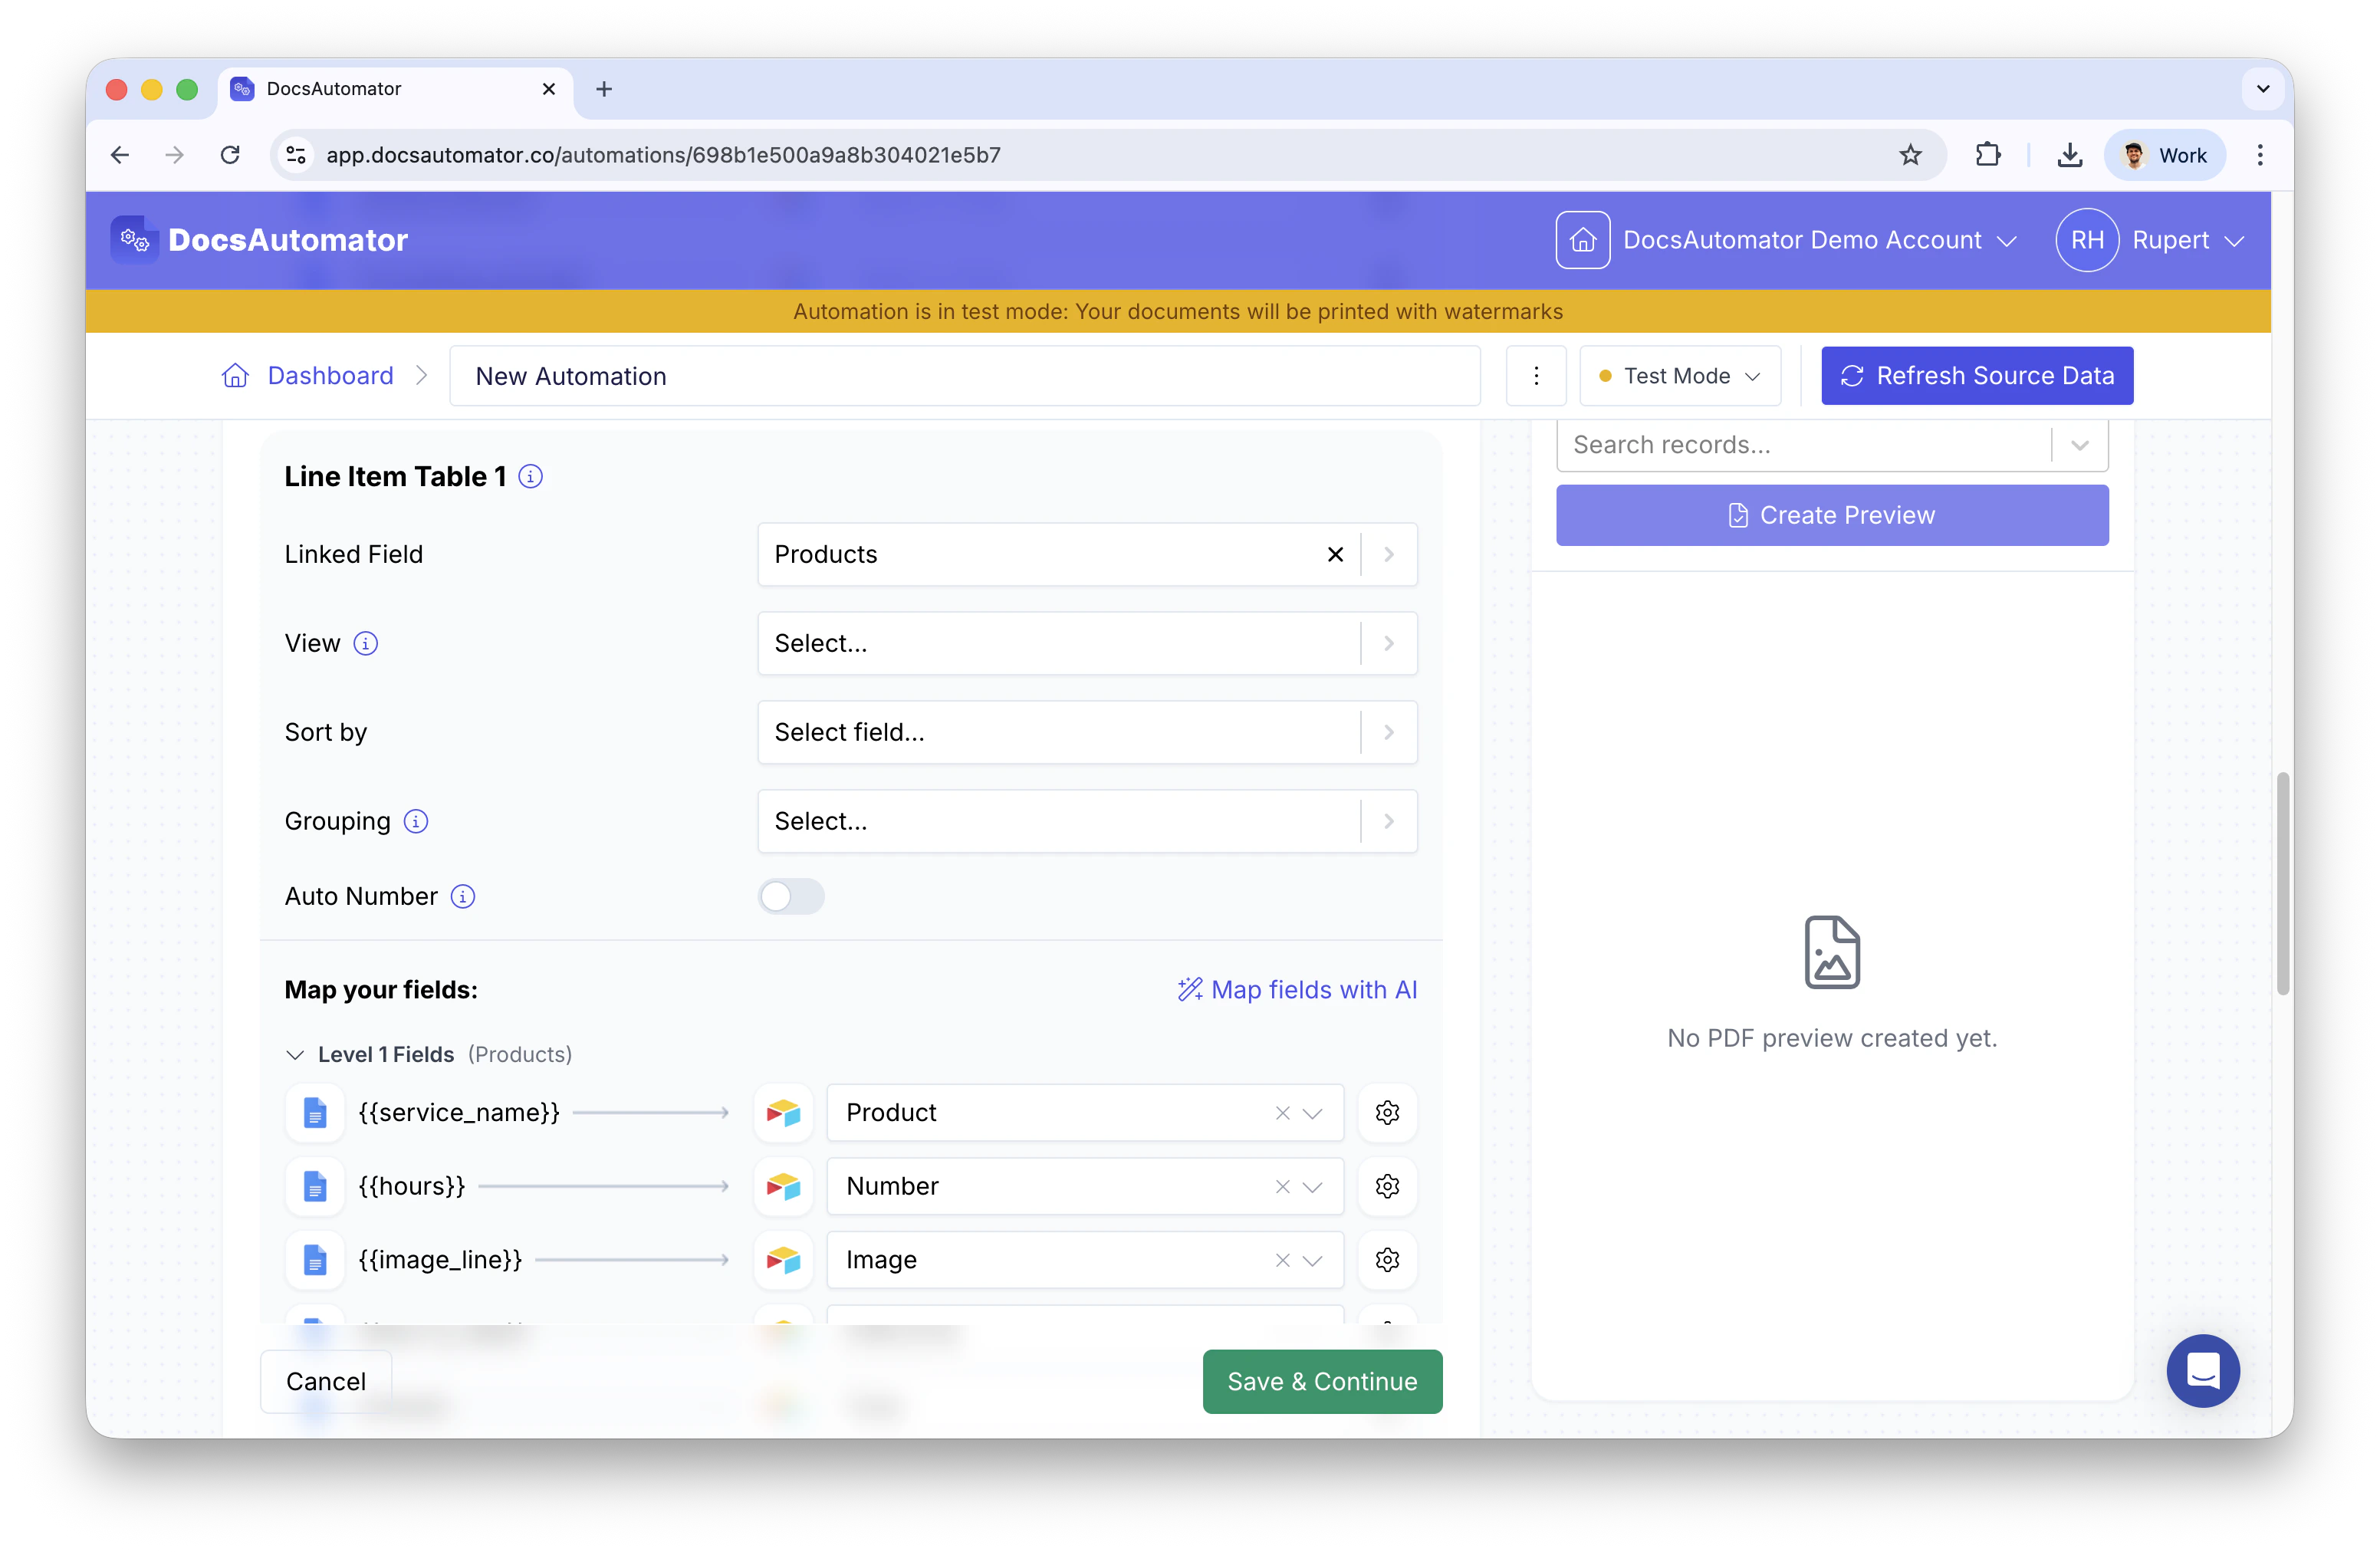
Connect all applicable fields from your Airtable table. For line items, select the linked field and corresponding view to determine sort order.
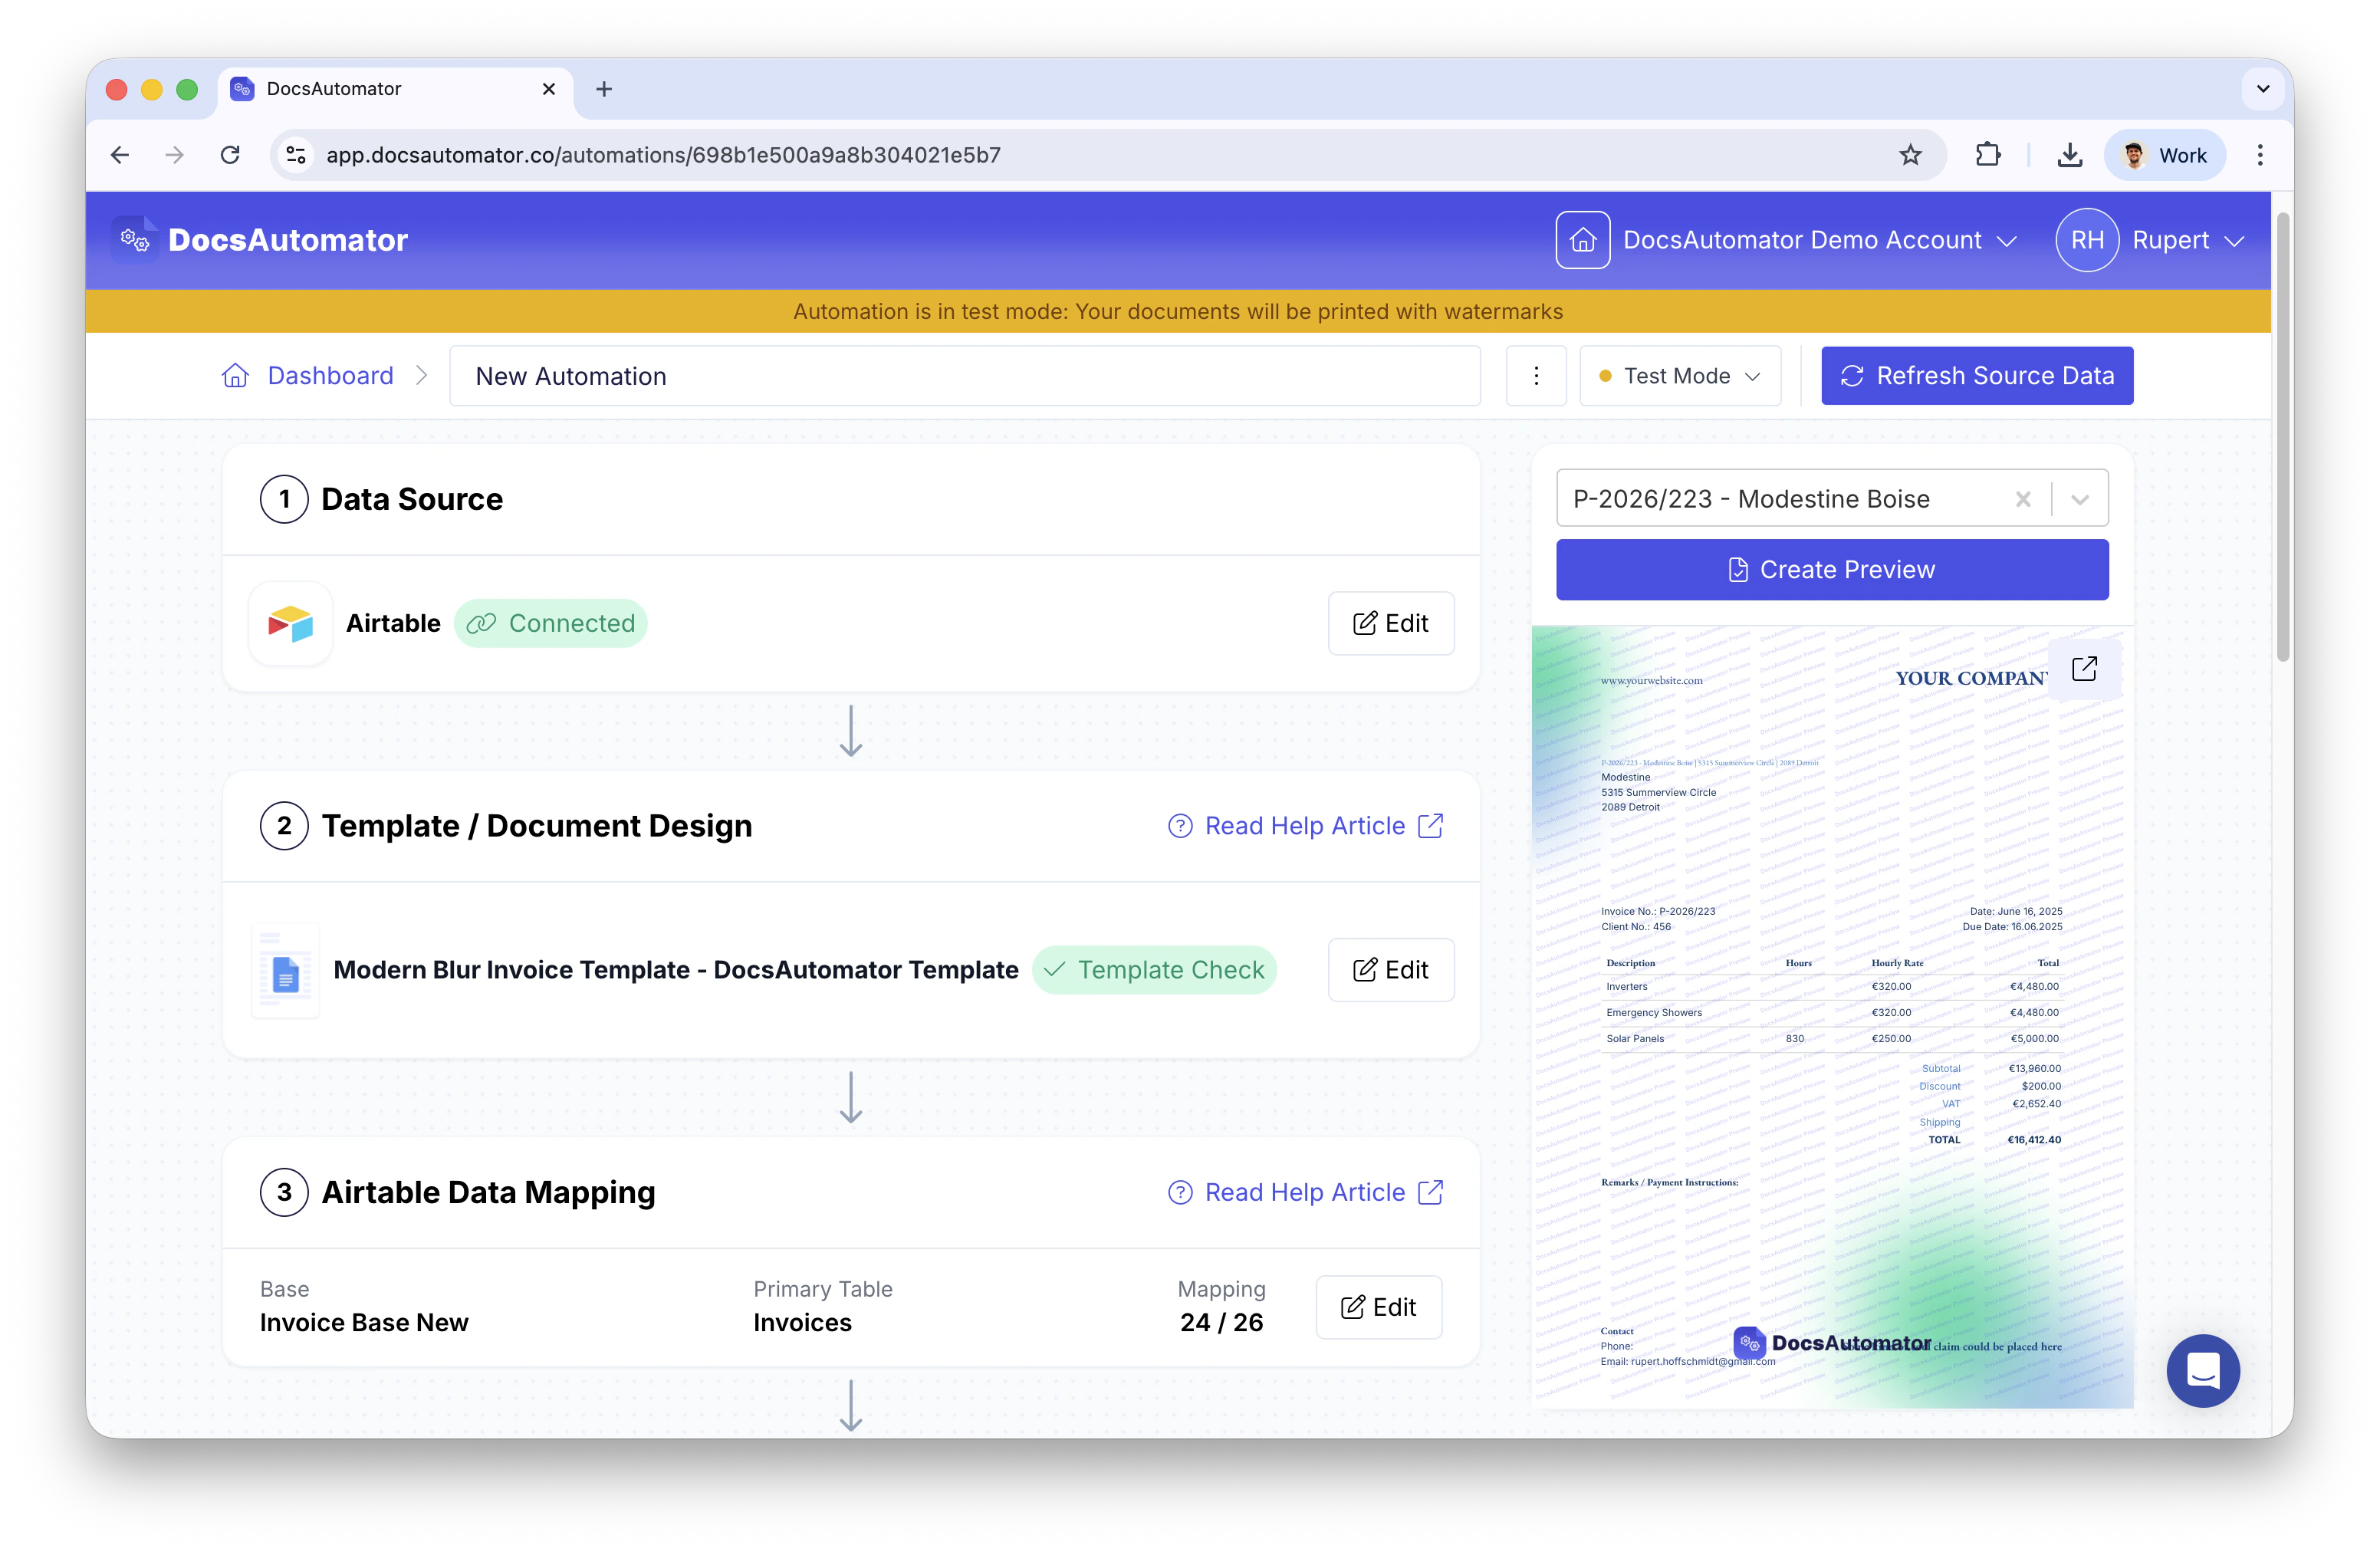
Generate document previews. The system loads 50 records automatically; search functionality enables previewing specific records.
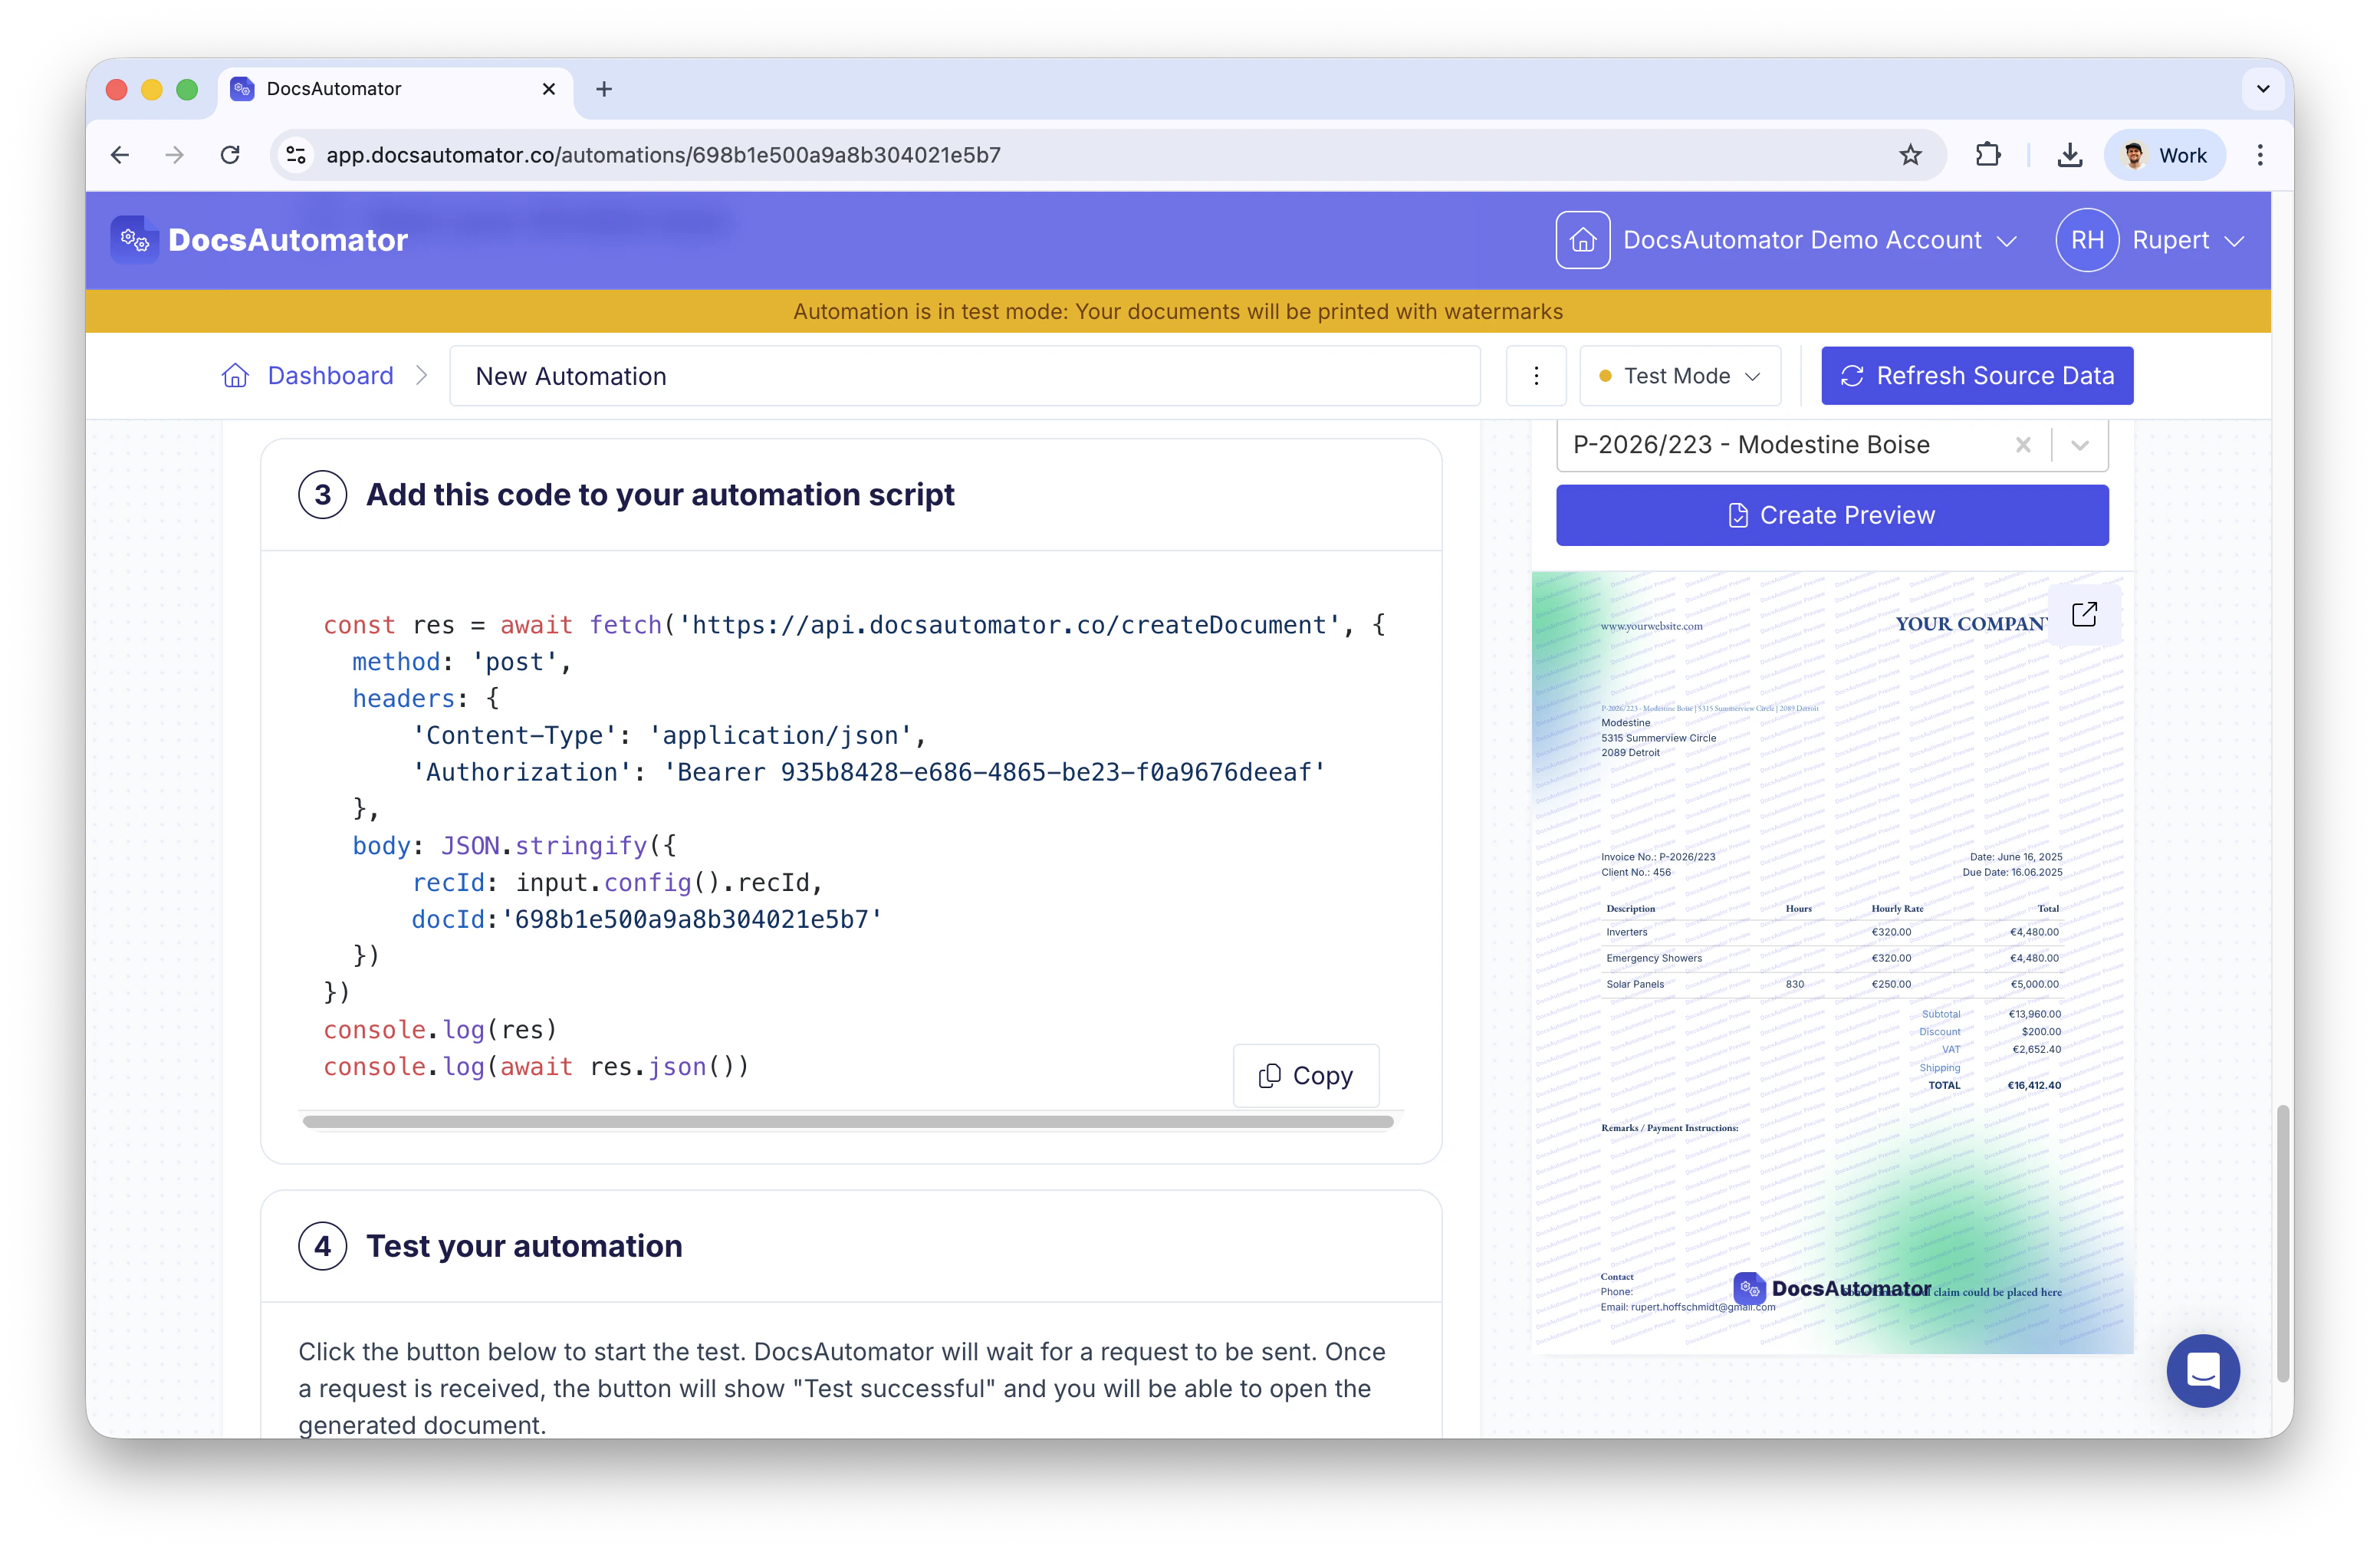
Choose from three triggering methods: Automation Script, Scripting Extension, or Webhook.
## Triggering Methods
DocsAutomator supports two modes for generating documents from Airtable: **Automatic** and **Manual**.
### Automatic
Documents are generated automatically when records are created or updated, using an Airtable Automation Script.
Copy the provided script into Airtable's automation action. Define the Record ID parameter to pass the triggering record's identifier.
Automation scripts require a paid Airtable account.
### Manual
Choose from three manual triggering methods:
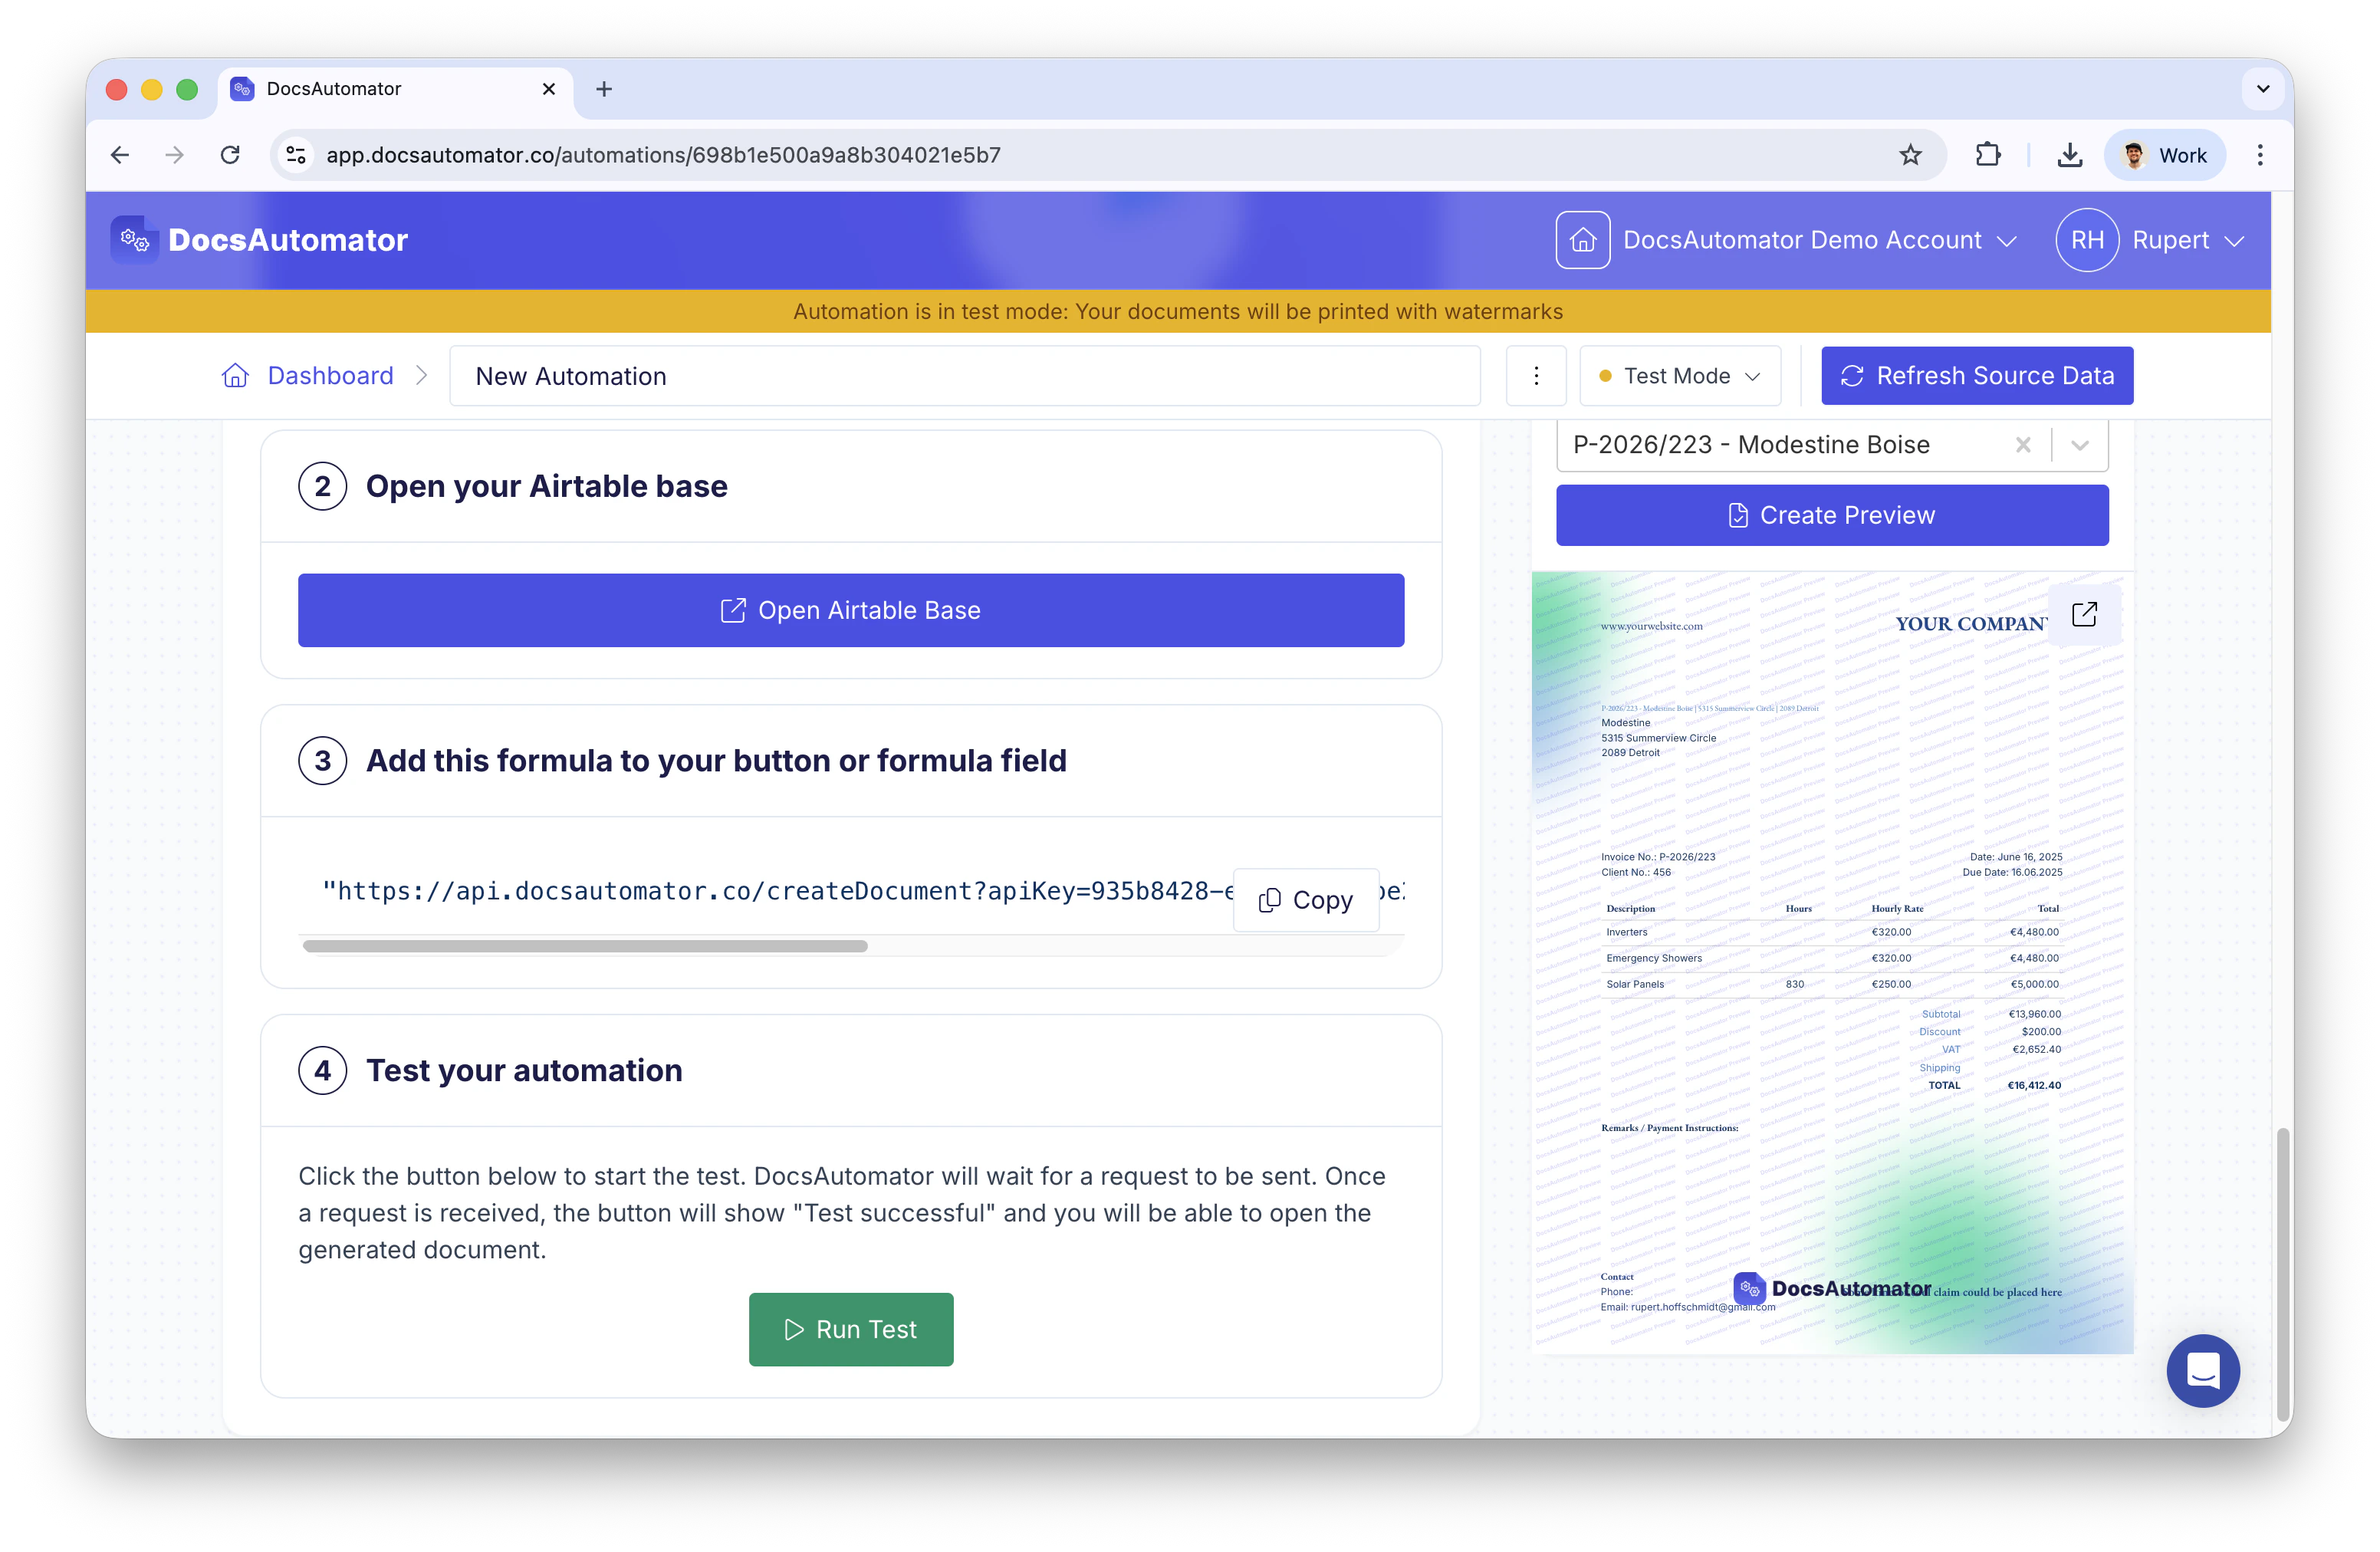
Add a webhook URL to a button or formula field in your table. Clicking the button triggers document generation — the PDF appears within seconds and stores in Airtable.
This method works on free Airtable plans — no paid account required.
When the button opens the link in your browser, DocsAutomator shows a **"Generate this document?"** confirmation page, and the document is created only after you click **Generate document**. This prevents accidental duplicates from browser prefetching, link scanners, or double-clicks. A re-submitted generation (double-click or page refresh) is treated as a duplicate and not generated again, with a **Generate another copy** option when you want a second document on purpose.
Install the DocsAutomator Airtable Extension for a dedicated document generation UI directly inside Airtable.
1. Install the DocsAutomator Extension from the Airtable Marketplace
2. Copy your API key from DocsAutomator account settings into the extension
3. Select your automation and generate documents from any record
Add a button to an Airtable Interface that triggers document generation via an automation script.
Copy the provided script into an Airtable automation triggered by an Interface button. The Record ID is passed automatically from the button click.
Interface buttons require a paid Airtable account.
## Field Type Reference
| Field Type | Output Format | Notes |
| ---------------- | --------------- | --------------------------------------------------------------------------------------------- |
| Single line text | Unmodified | Text displays as-is |
| Long text | Unmodified | Rich text formatting may vary |
| Attachment | Image(s) | Supports dynamic image placeholders |
| Checkbox | ✅ or ❌ | Icon reflects checked/unchecked state |
| Multiple select | Comma-separated | Includes space before each item |
| Single select | Unmodified | Text displays as-is |
| Date | 21/05/2024 | Format respects automation settings |
| Number | 299.99 | Precision follows automation settings |
| Currency | \$299.99 | Symbol and precision preserved |
| Formula/Rollup | Varies | Respects formatting options |
| Lookup | Varies | Matches the looked-up field's format. Lookups of linked record fields resolve to record names |
| Linked record | Record name(s) | Displays primary field value, comma-separated for multiple |
| User | Name format | Comma-separated for multiple |
## Configuration Options
Control number/currency notation (comma vs. dot) in automation template settings under Document Generation Options.
Line item sort order follows the selected view's configuration.
Professional assistance available for integrating DocsAutomator into existing workflows (service fee applies).
## E-Signatures
DocsAutomator supports collecting legally binding e-signatures on documents generated from Airtable records. After a document is created, it can be automatically routed to one or more signers for signing.
To enable e-signatures, open your automation's output settings and toggle on the e-signature option. You can then configure signers by mapping their email address and name to Airtable fields -- for example, map a "Client Email" field to the signer email and a "Client Name" field to the signer name.
If your document requires multiple signers, you can choose between **sequential signing** (signers sign in a defined order) and **parallel signing** (all signers receive the request simultaneously). Add e-signature placeholders such as `{{esign.signature.1}}` and `{{esign.date.1}}` to your template to define where signatures and dates appear in the final document.
Signed PDFs can be stored back to an Airtable attachment field automatically once all parties have signed. This keeps your records up to date without any manual steps.
E-signatures work with both Google Doc templates and [PDF templates](/docsautomator-basics/pdf-template-guide). See the [E-Signature Guide](/features/docsautomator-esign) for full configuration details and placeholder reference.
## Frequently Asked Questions
Yes! Webhook triggering functions on free Airtable plans. Automation scripts require paid accounts.
Disconnect and reconnect in settings while selecting all desired bases.
Find record IDs in the URL bar (format: "rec...") when expanding records, or create a formula field using `RECORD_ID()`.
The specified view determines sort order for printed line items.
Connected apps may require whitelisting on Enterprise plans; contact workspace administrators with the DocsAutomator client ID.